The following instructions will guide you through the installation of Adobe Creative Cloud on a PC or a MAC with a University Build.
PC Instructions
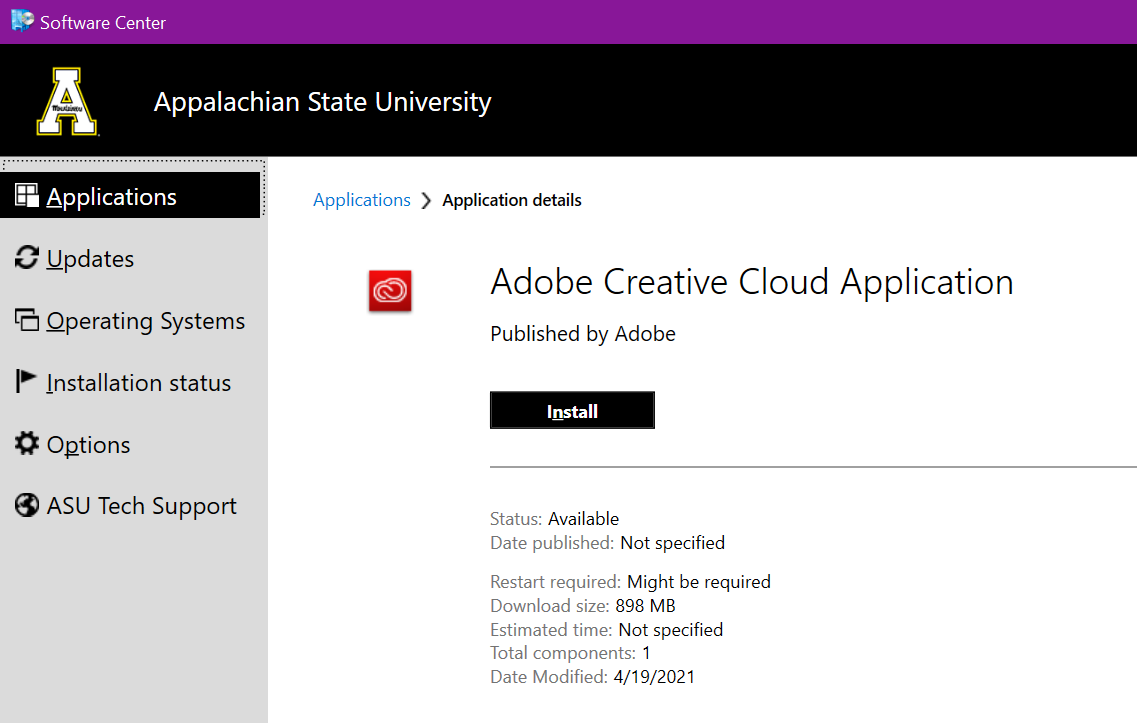
- Open the Software Center application found on your desktop

- Select Adobe Creative Cloud App from the software offerings (Note: You may need to use the search box to search for Adobe).

- Click Install and wait for the installation process to complete.
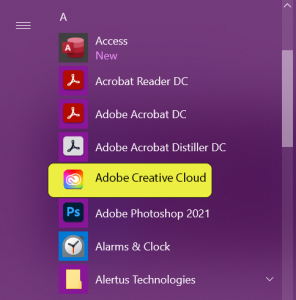
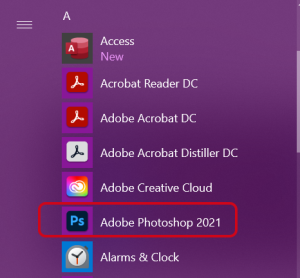
- Access the Windows Start Menu located in the lower-left corner of your desktop screen.

- Click on Adobe Creative Cloud. (Note: The program may need to update. Please allow it to complete the update process)
- You will be redirected to the Sign-in screen. Enter your App State email address in the Email address field and click on the blue "Continue" button.

- You will be redirected to the App State Single Sign-On page. Log in with your App State username and password.

- You will be redirected to the Duo Mobile authentication screen. Select your method of authentication.
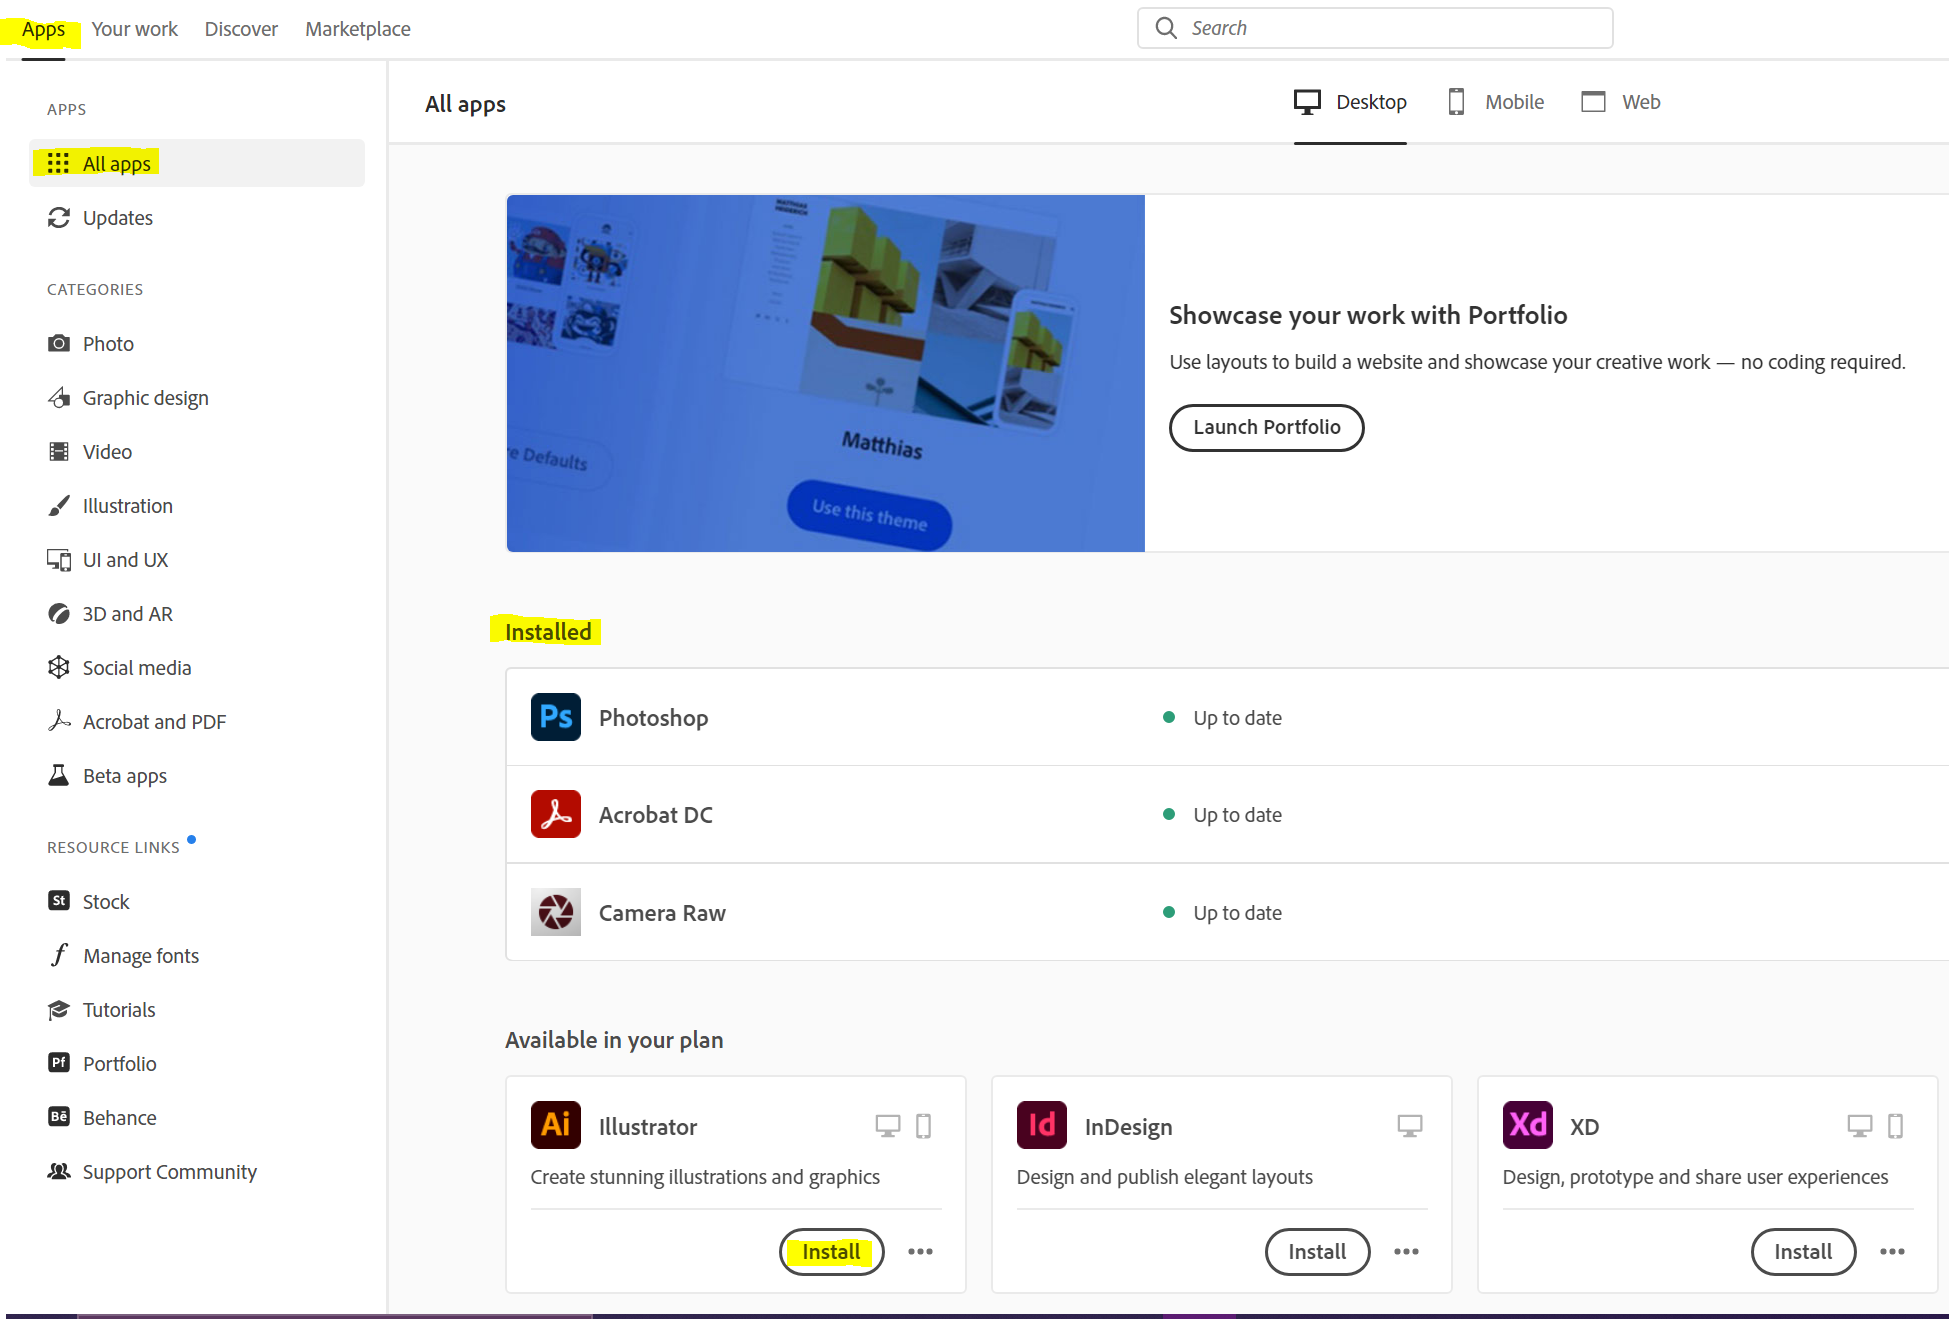
- Select the Apps Tab then All Apps.
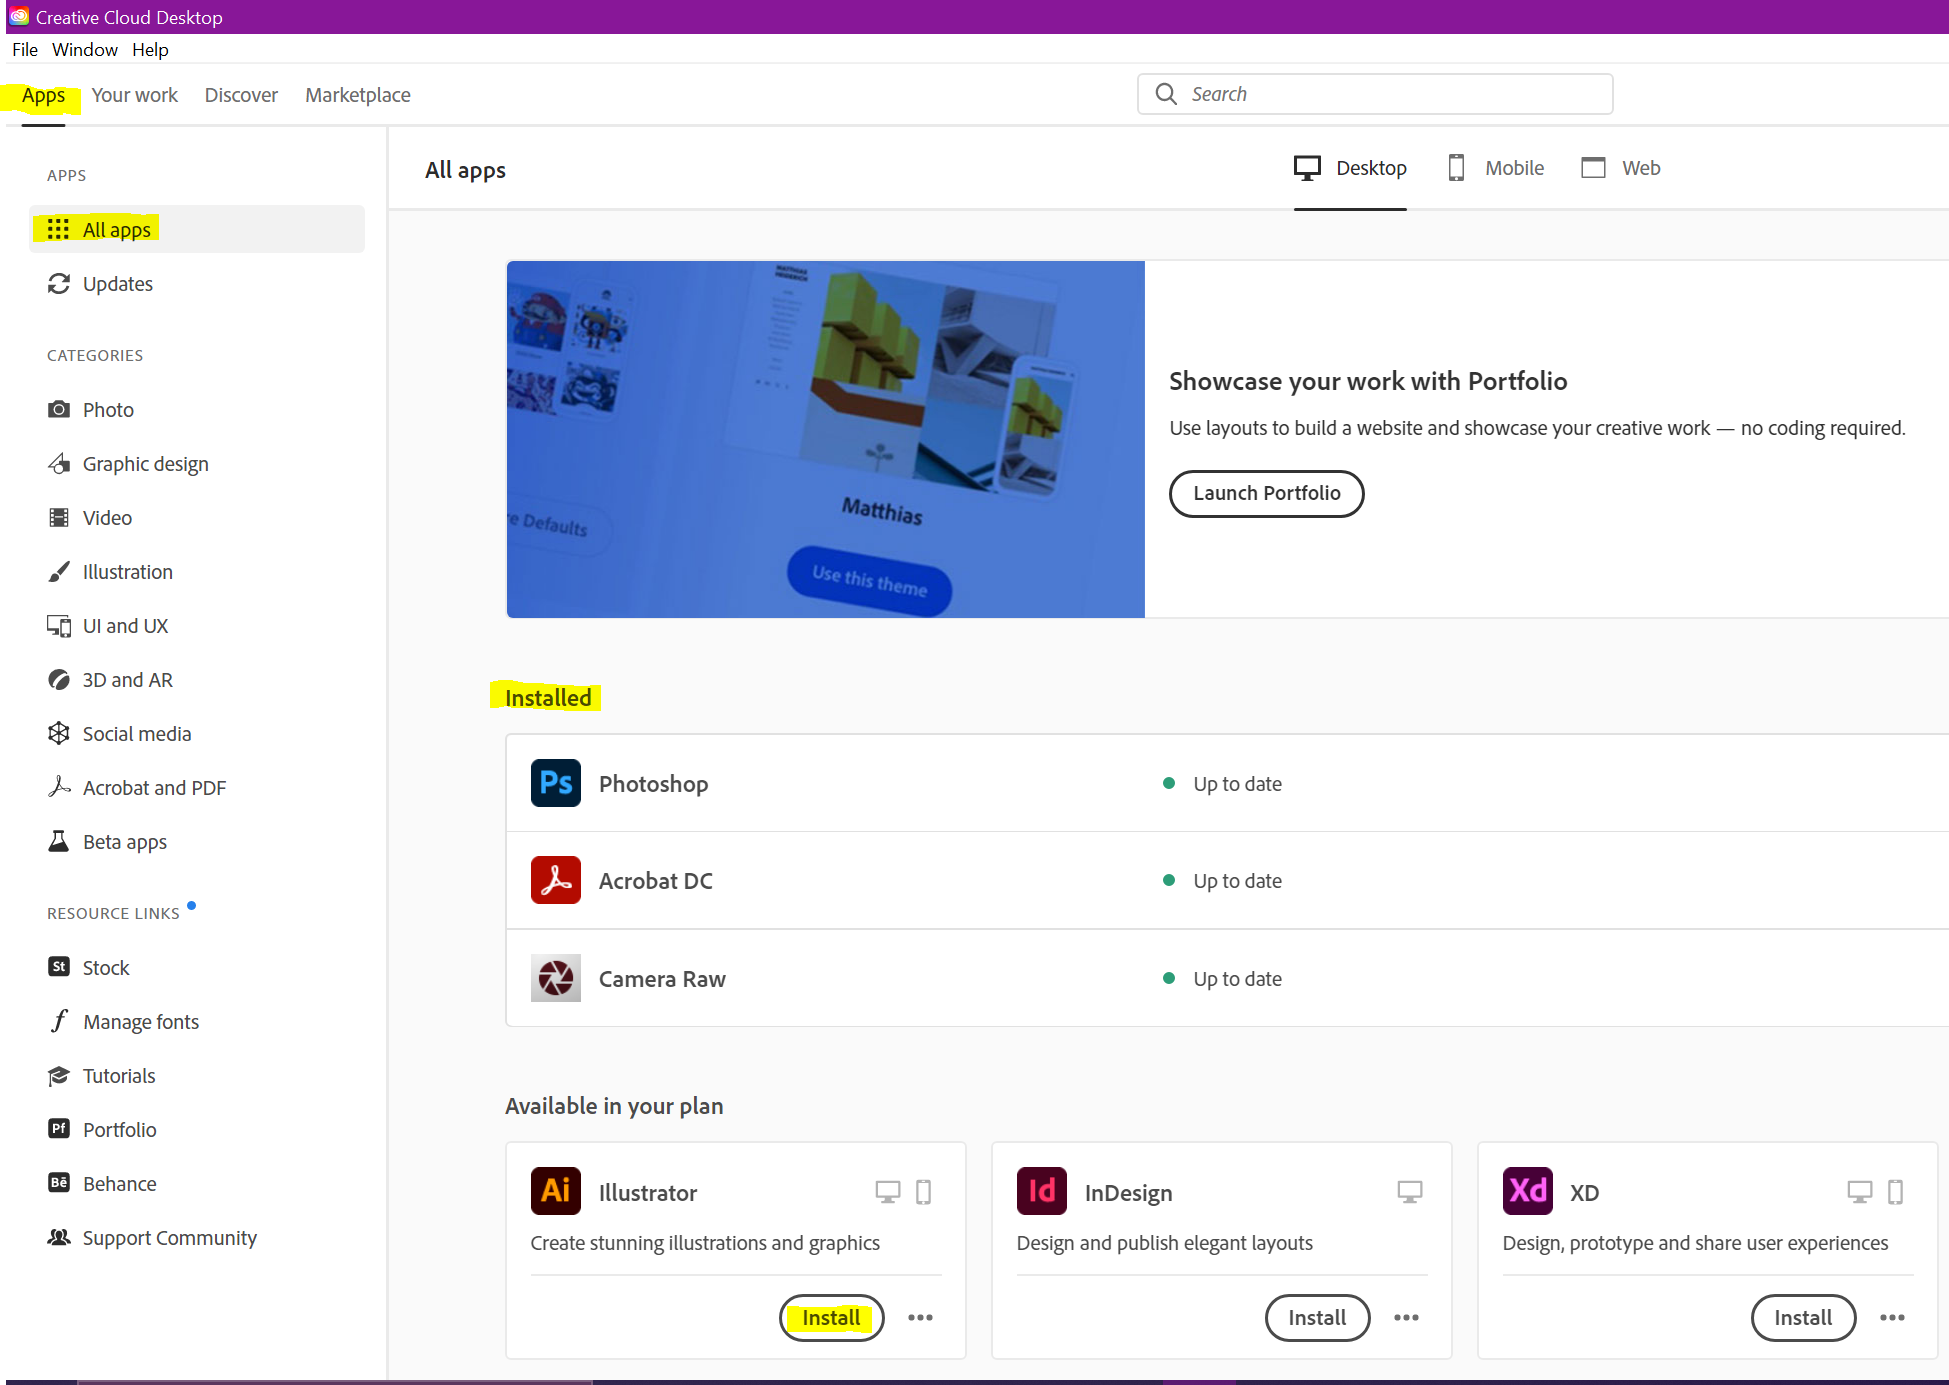
- Select the Adobe product you wish to install from the list of applications and click Install.

- When the installation is complete, access the Start Menu and locate the icon for the newly installed application.
- Click the Icon to open the program.
MAC Instructions
- Open the Self Service application found on your Dock.

If Self Service Icon is not in the dock:
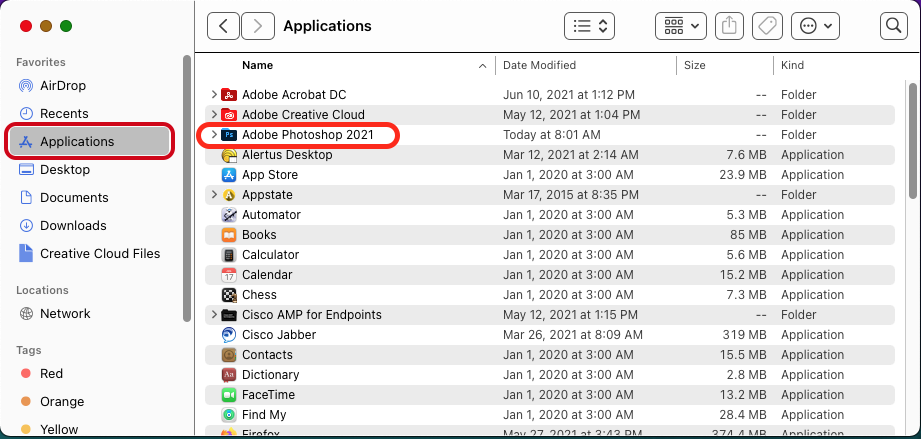
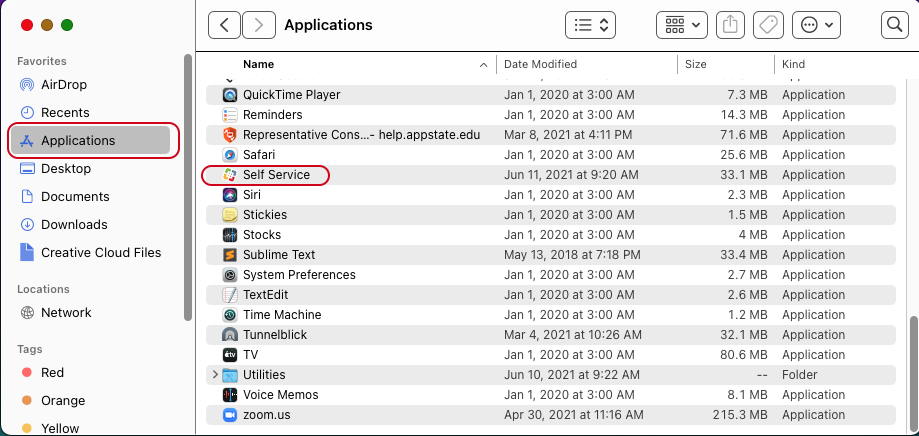
a. you can search for it by using Finder.

b. Once Finder is open, select Applications from the Left Side Navigation. Locate Self Service in the list and open it.
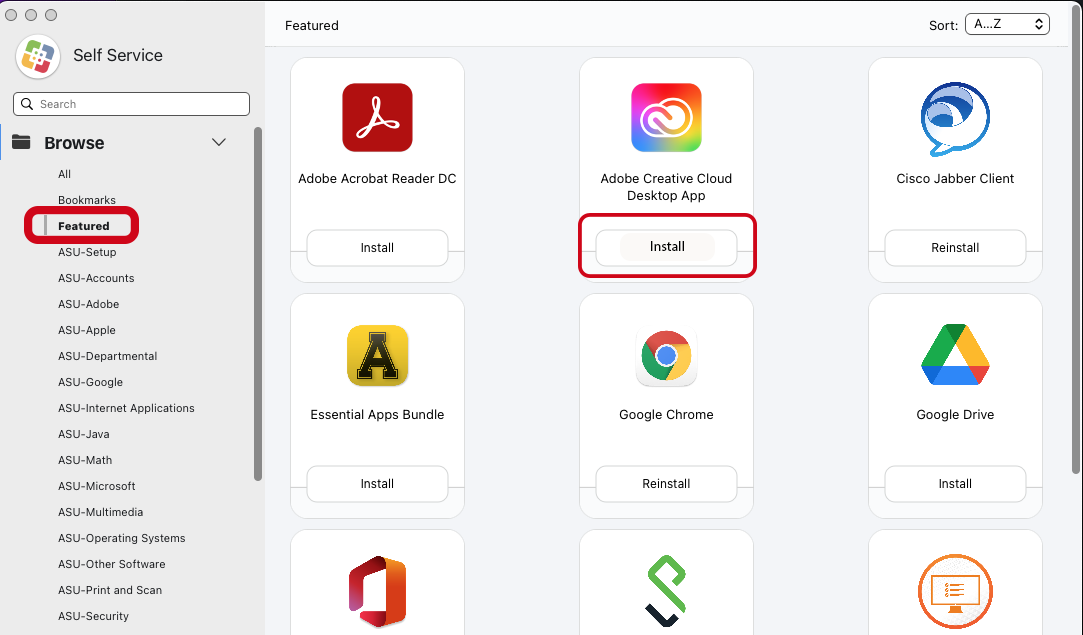
- From within the Self Service App, select Featured, from the left sidebar navigation. Select Adobe Creative Cloud Desktop App from the software list and click Install then wait until Finished is displayed. (Note: You may need to use the search box to search for Adobe)
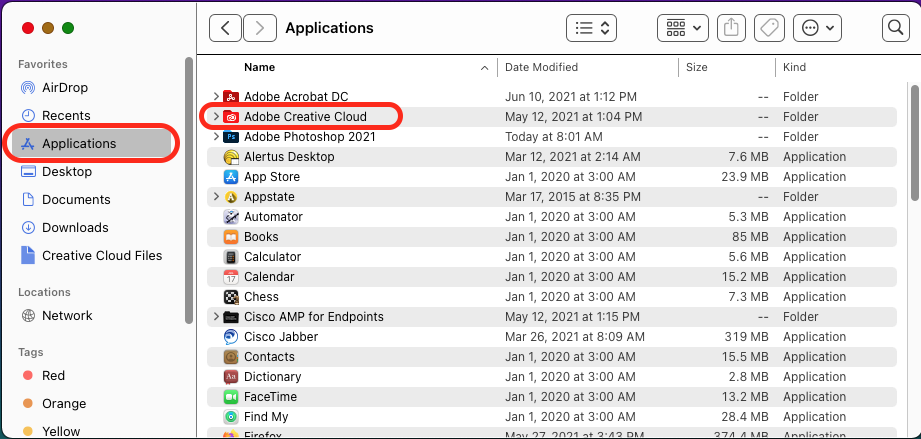
- Access the Applications Folder and find the entry for Adobe Creative Cloud. Click on the icon (Note: The program may need to update. Please allow it to complete the update process)
- You will be redirected to the Sign-in screen. Enter your App State email address in the Email address field and click on the blue "Continue" button.
- You will be redirected to the App State Single Sign-On page. Log in with your App State username and password and authenticate on the Duo Mobile authentication screen.
- Once Adobe Creative Cloud is open, select the Apps Tab, then All Apps to display the list of available software.
- Select the Adobe product you wish to install from the list of applications and click Install.

- When the installation is complete, access the Applications Folder and find the entry for the newly installed application. Click on the icon to start the application.