This is a step-by-step guide on how to set up your University-owned Mac through the Zero-Touch process once you receive it.
This is a guide for the 1-to-1 assignment of a macOS device. This device will be assigned to you as the PrimaryUser of the device.
Contact your consultant if you need to set up macOS devices for multiple users.
Your IT Support Consultant will let you know if the zero-touch setup guide applies to your Mac.
Step-by-Step Guide:
- Walk Through the macOS Setup Assistant
Power on the computer and walk through the macOS setup screens. You can customize settings now if you’d like, or set them up at a later time if the option is available.
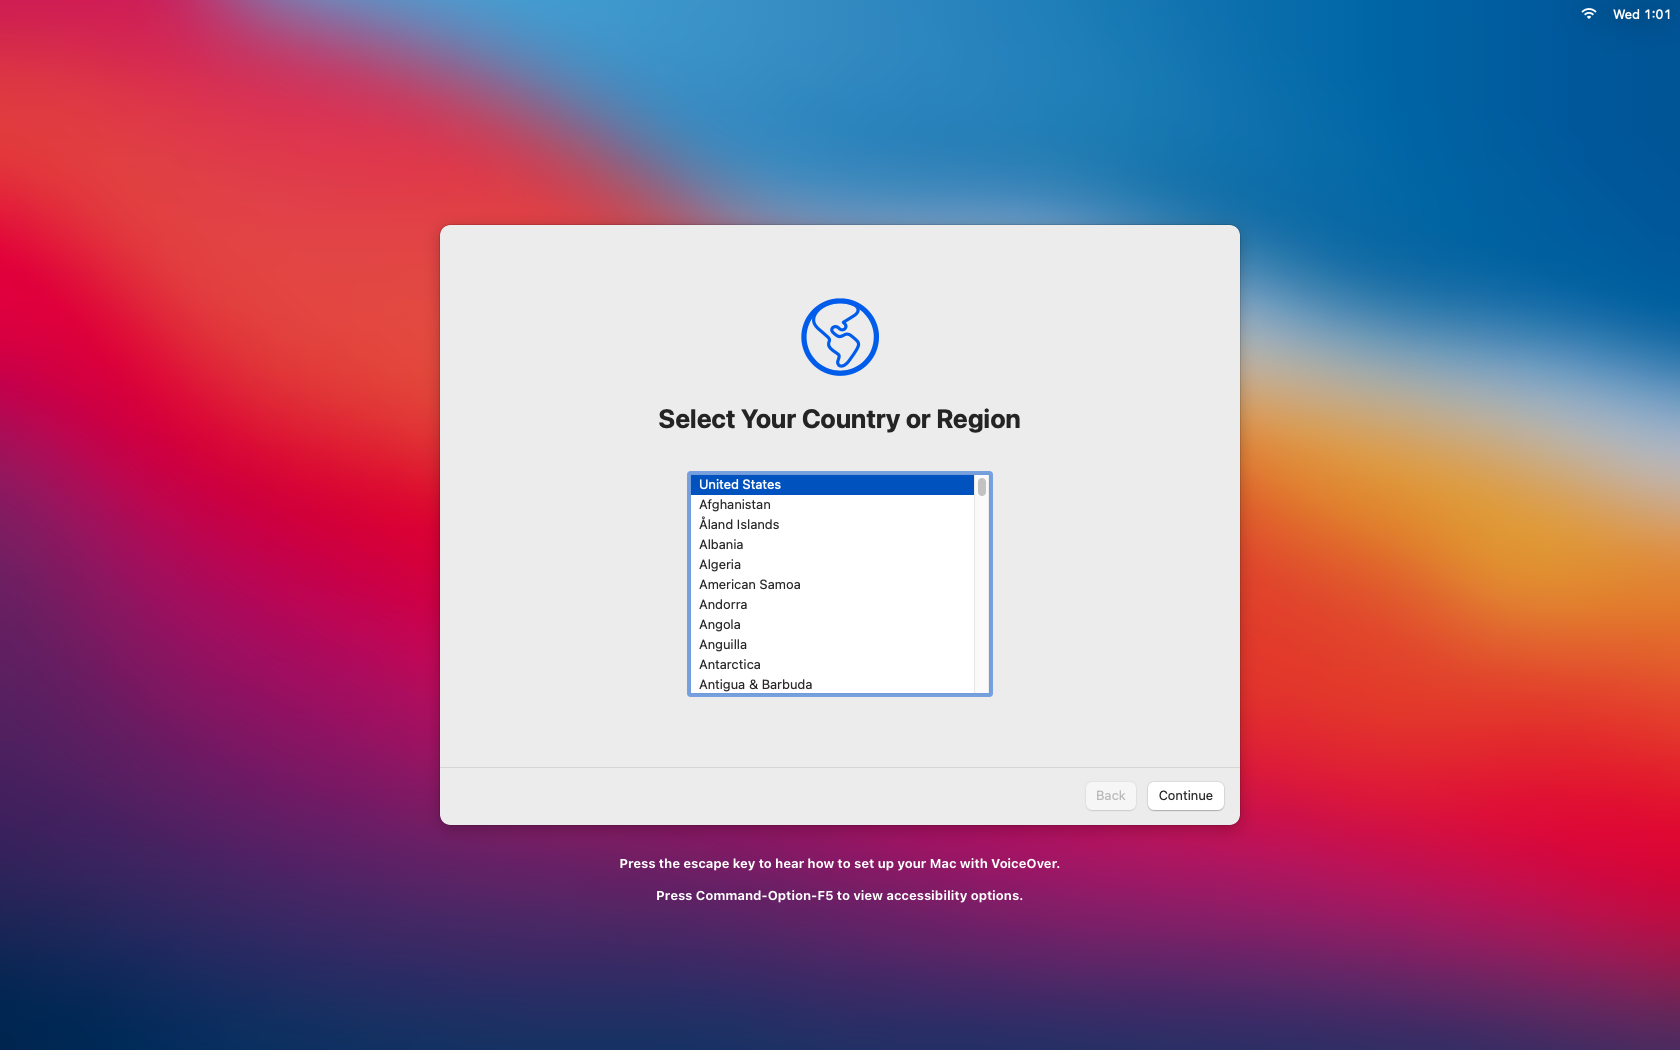
Be sure to choose the correct time zone and turn on location services if you prefer.
Note:
If your Mac is not running the latest or one previous version of macOS, contact IT Support to upgrade the Mac.
- Connecting to a Network
Option 1: If you are wired, unplug and connect wifi to asu-visitor or use a home network if not on campus.
Option 2: If your wired connection is already registered at netreg.appstate.edu, you can continue using the wired connection.
Option 3: If your wifi connection is already registered at netreg.appstate.edu, you can connect to the asu ssid.

It is normal for there to be a delay after connecting to a network and continuing on to the next screen. Please wait until the next screen loads!
- Automated Device Enrollment
- Follow the enrollment screens and sign in with your App State credentials.

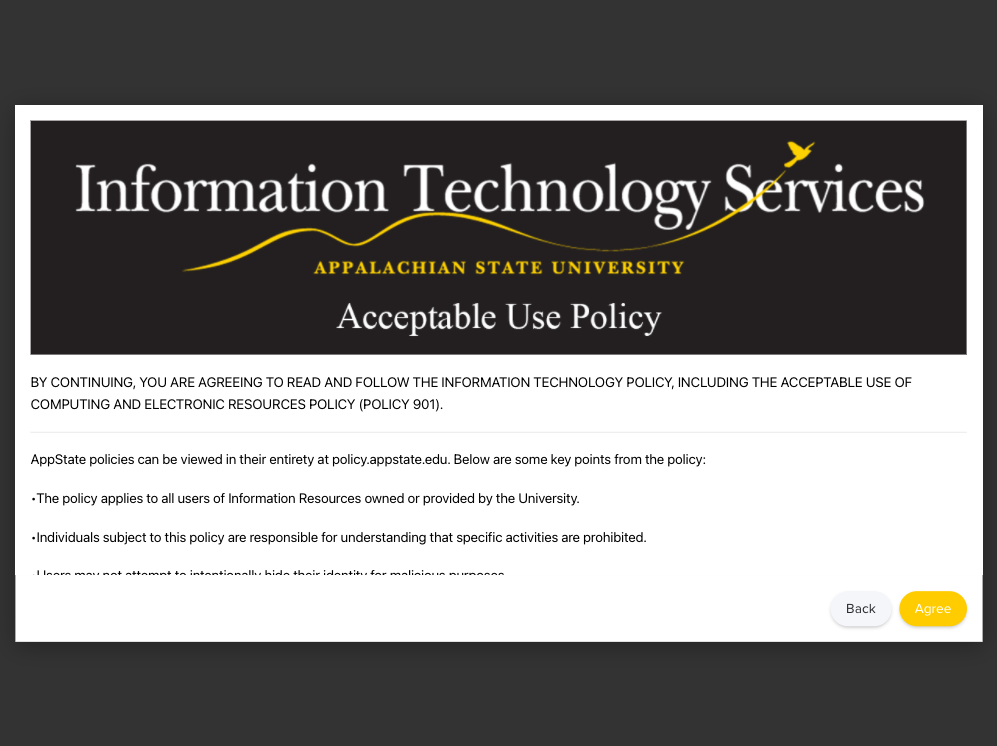
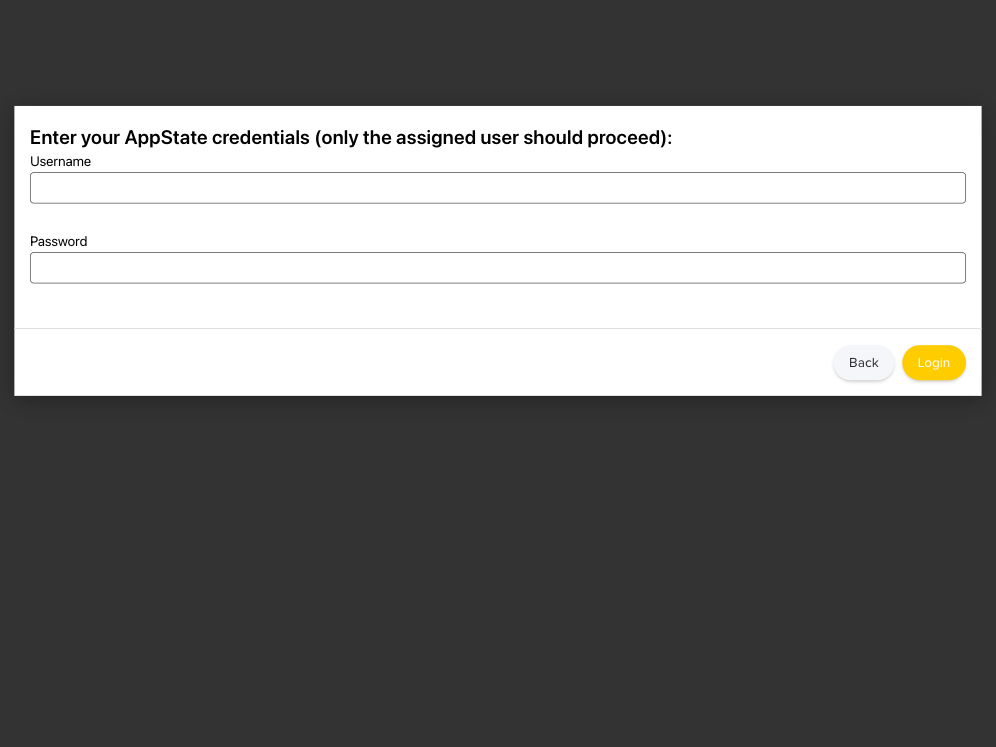
This will assign the Mac to the user who signs in. Only the PrimaryUser should sign in to the Mac at this point.
- The Mac will install profiles and packages. This may take a few minutes, but continue waiting until the next screen appears.

5. Jamf Connect
This is our new Federated login system. It allows for on-demand account creation and keeps your Mac password in sync with your App State password.
- Login with your App State email address and password.

- If it says "re-enter your cloud password", re-enter your App State password when prompted and Jamf Connect will create a local account on the Mac that is synced with your App State password.
- To learn more about Jamf Connect, see our guide on What is Jamf Connect.
6. Onboarding Screens
a. This quick introduction will provide useful information to help you get started with your Mac at App State. 

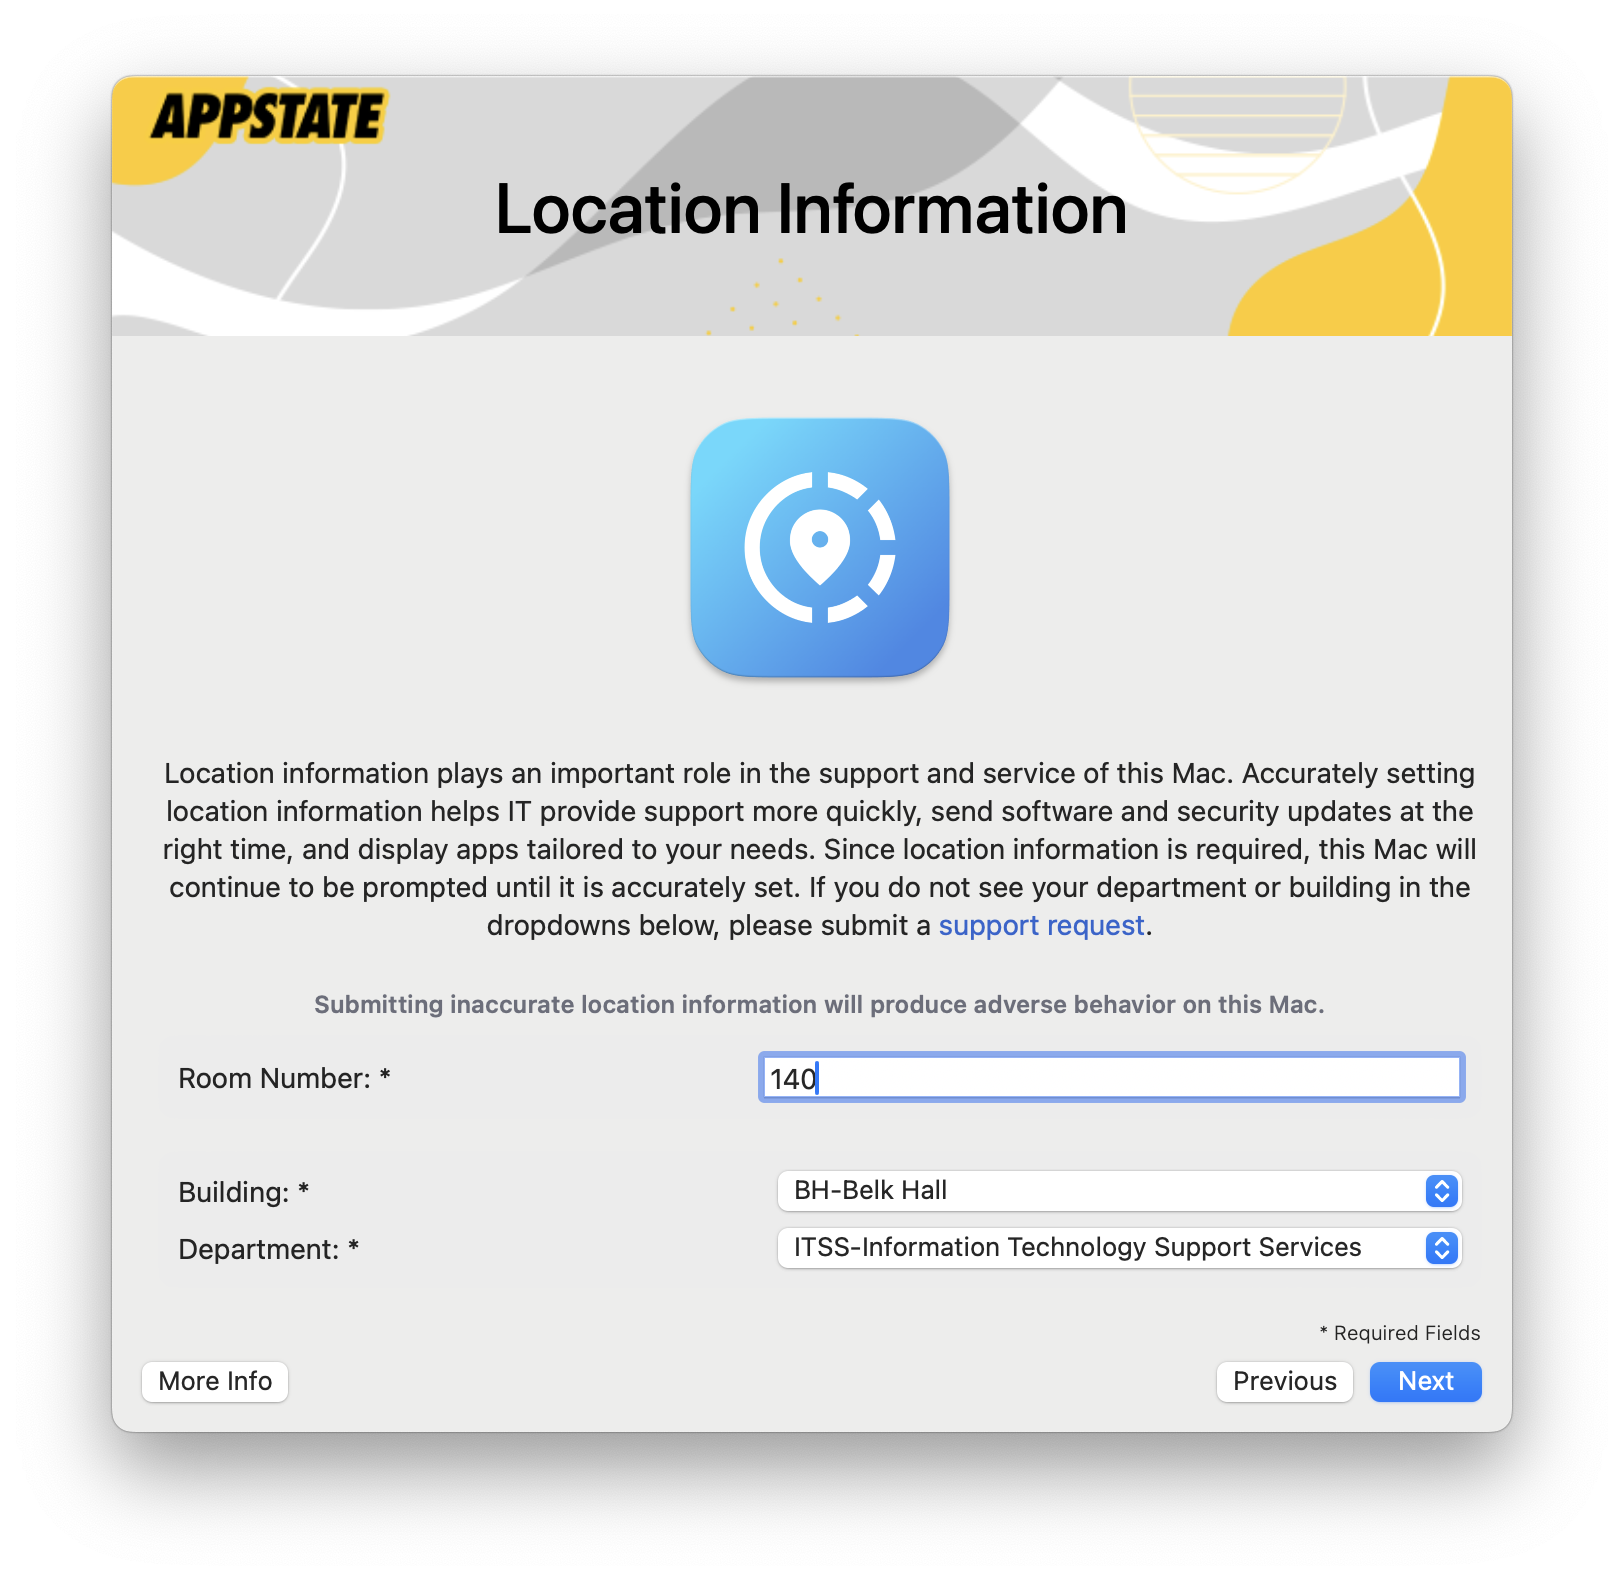
b. Submit the required fields.
c. All PrimaryUser Macs will be automatically encrypted with FileVault. For more information, refer to What is FileVault.
d. All PrimaryUser Macs will come preinstalled with Admin By Request. For more information, refer to Using Admin By Request.
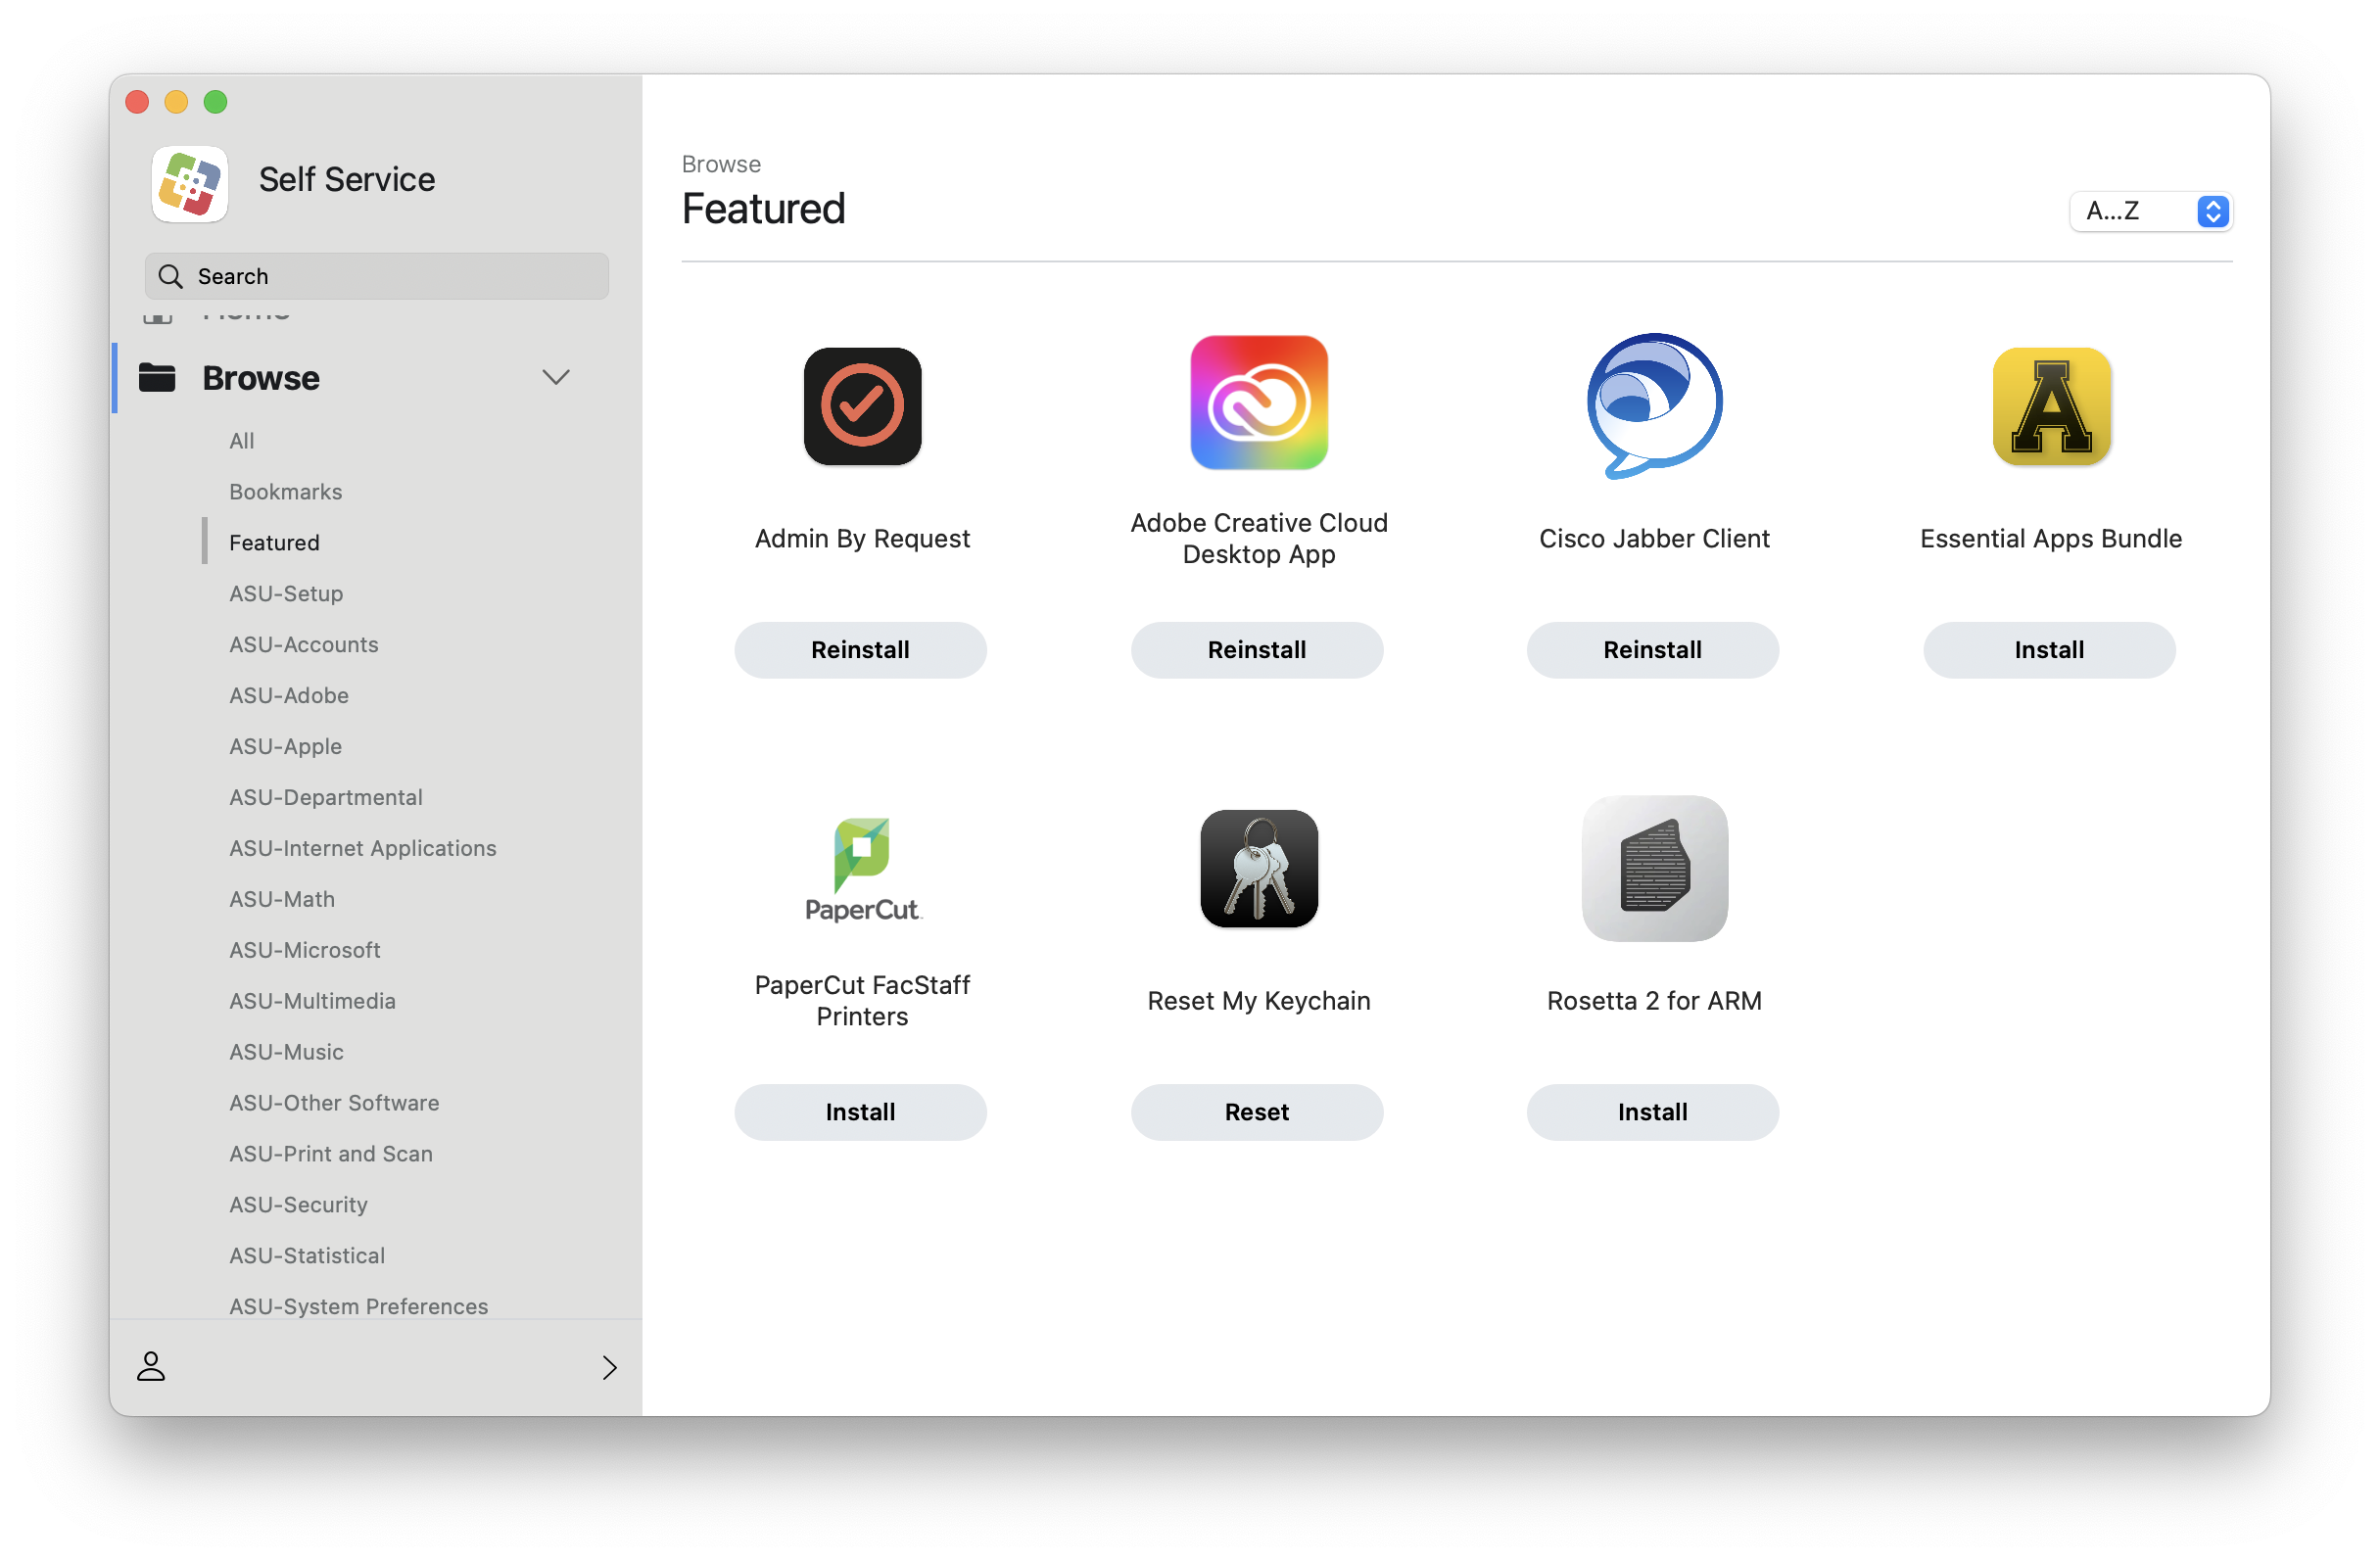
e. Self Service is an application used to install software and run fixes on Mac Computers.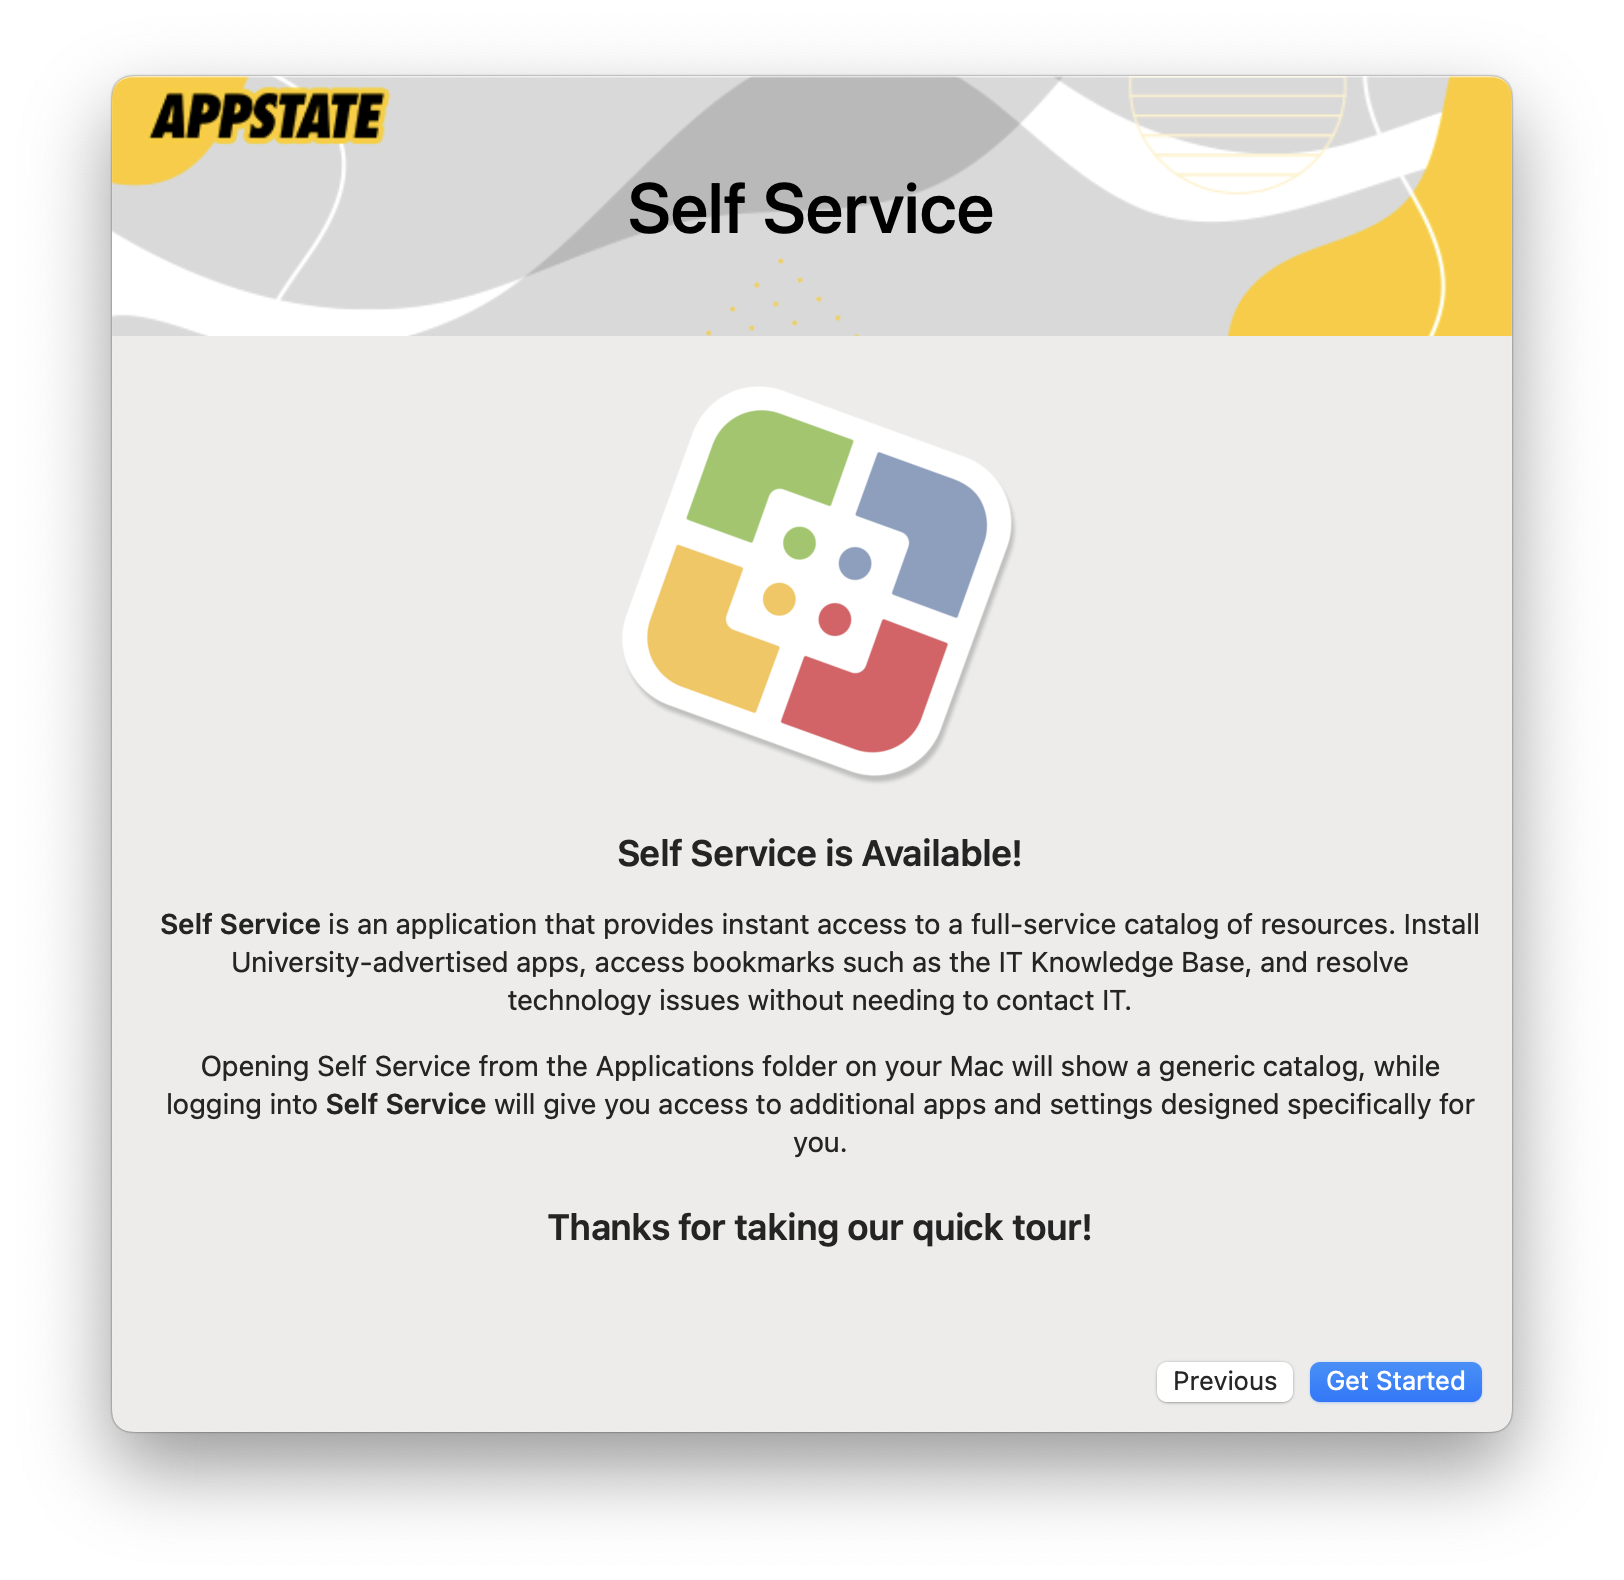
f. The following error may occur if your device fails to connect to the internet. Please verify you have an active internet connection and select Try Again. You may be re-prompted for Location information at login later if your Mac fails to connect again. 
7. Self Service
Self Service will launch automatically. Here you can install any apps you may need for University business. You can reopen Self Service from the Applications folder at any time.