1. Authenticate at the printer by either AppCard, Banner ID, or App State username and password.
2. Load your document into the scanning tray face-up with the left horizontal edge feeding into the printer or place it on the glass copy surface face-down on the left-hand side.
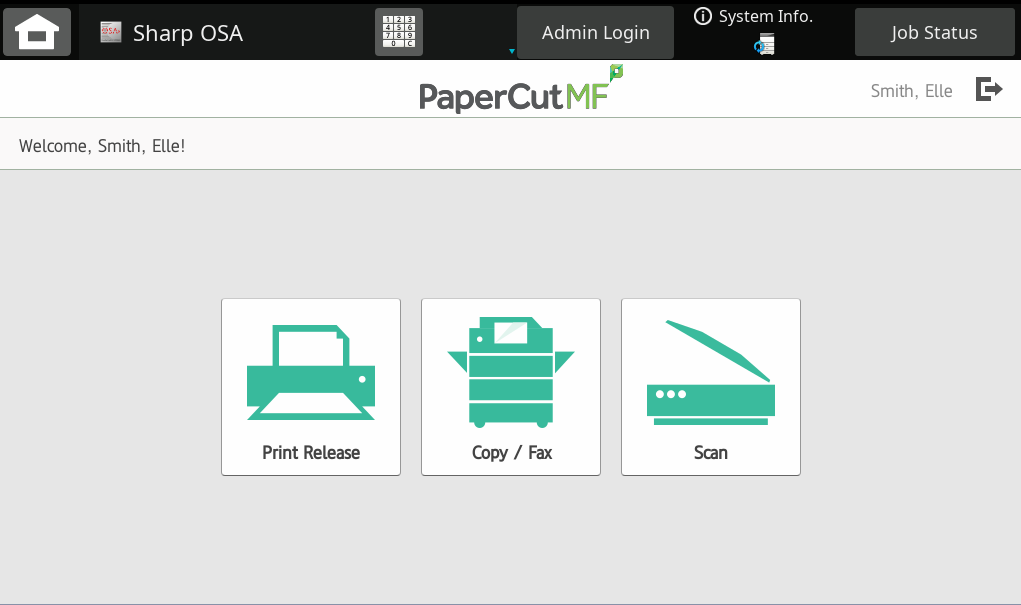
3. On the printer home screen, click Copy/Fax (the middle button).
4. Next, click the account that you want to copy from. Either a personal student account, or a department account (for Faculty, Staff, Graduate students, and student employees). 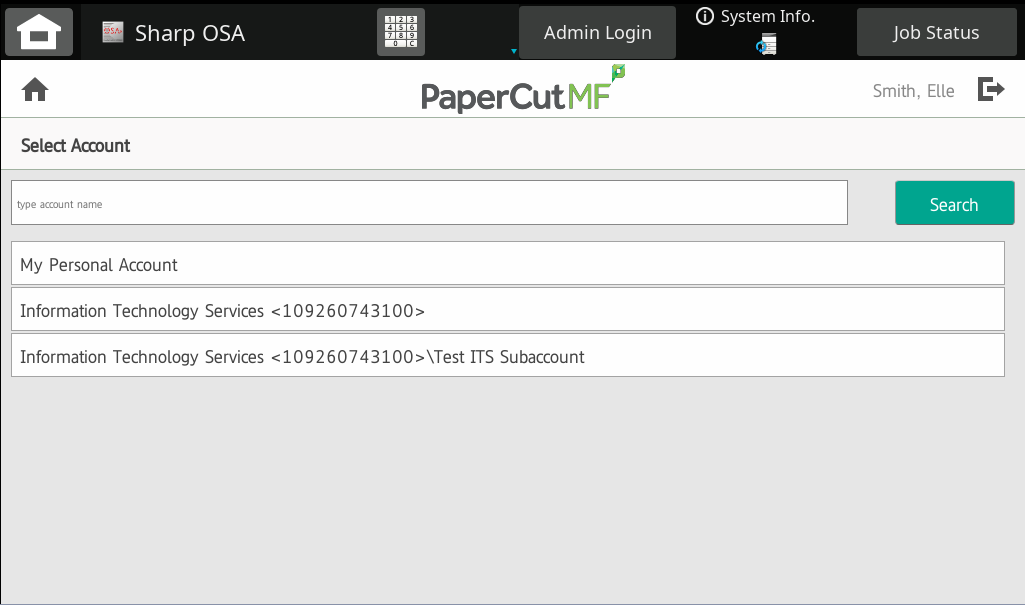
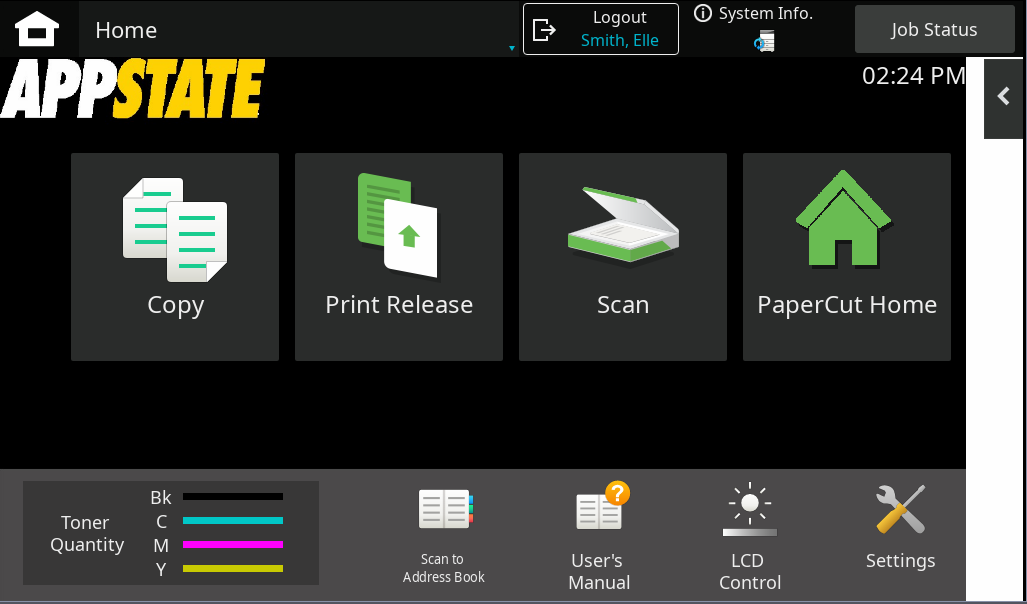
5. Click Copy.
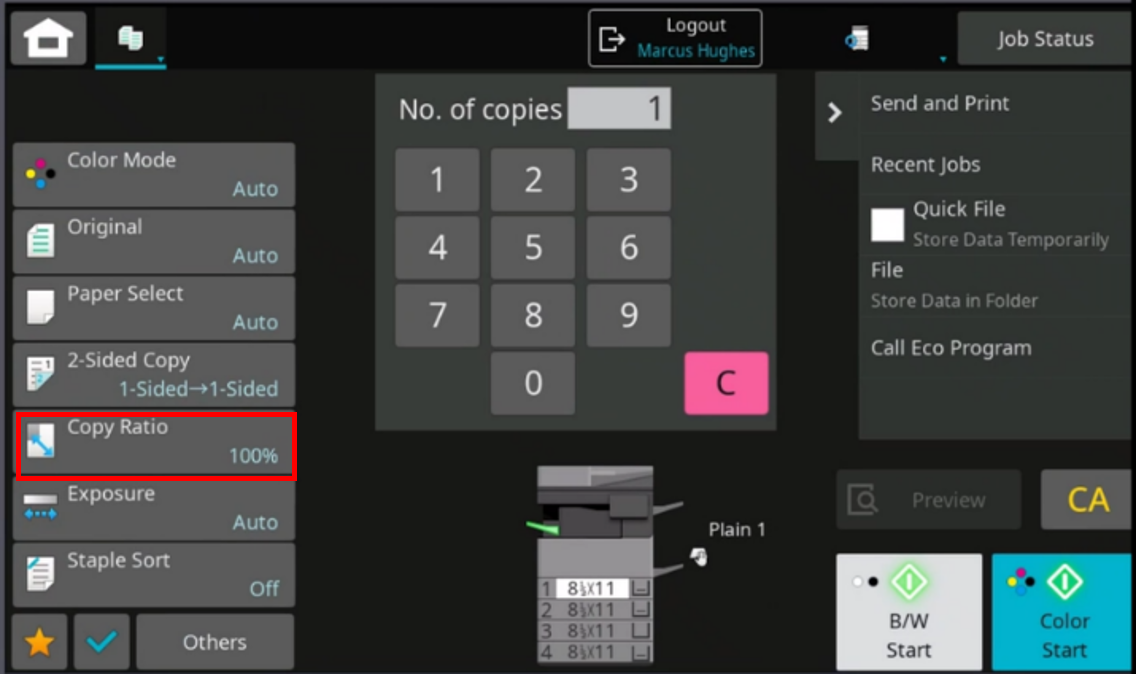
6. From the next screen you can adjust copier settings, as usual, such as color mode, paper type, two-sided printing, staple, hole-punch, etc. click CA to clear everything back to default or click C to clear the number of copies.
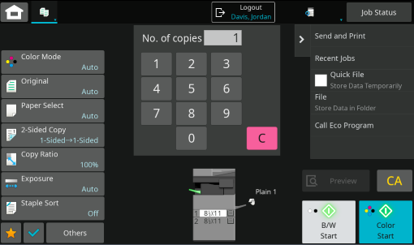
5. Once you have adjusted any settings, click either the B/W Start or Color Start button in the bottom right of the screen, to begin copying your document.
Additional Copier Options
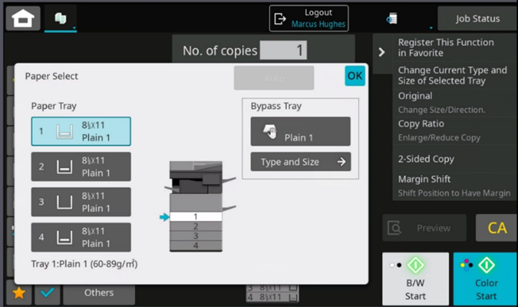
The copier will automatically choose the type of paper.
To Choose Another Drawer
- Click Paper Select in the left sidebar menu on the Copy homepage.

- Choose another drawer by touching the copier image in the center of the screen and choosing the drawer, or choose one of the listed trays on the left.
- Click 2-Sided in the left sidebar menu on the Copy homepage.

- The image on the left is what your pages look like before they are copied, one-sided or two-sided. The second image is what you want your copy to look like when it comes out. The default setting, Book, will print long side. Choosing Tablet will print short side.

- Click the OK button in the top right corner to accept.
- Click Preview to verify the orientation or click Start to begin copying.
To Reduce or Enlarge Your Copies
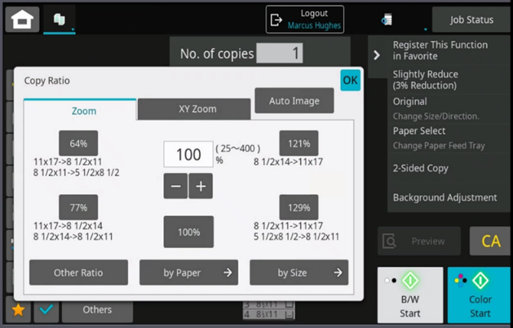
- Click Copy Ratio in the left sidebar menu on the Copy homepage.
- Choose a preset or use the - or + icons to adjust. Users can also click the white box that says 100% to manually enter a ratio using the keyboard.
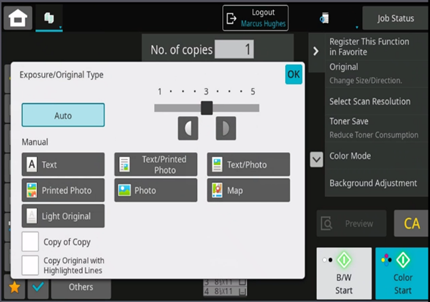
- Click Exposure in the left sidebar menu on the Copy homepage.

- To lighten adjust the slider to the left, to darken adjust the slider to the right, or select a preset exposure setting based on the type of the original document (photo, text, etc.)
For Copiers with Stapling Functionality
- Click Staple Sort in the left sidebar menu on the Copy homepage (If you don’t see Staple Sort, click Others to find this option).

- Choose the position where you want your staple. 1 staple or 2 staples, or, If applicable, stapleless staple.
Copiers with traditional stapling can staple up to 50 pages. Copiers with stapleless stapling functionality can stapleless staple up to 8 pages with the newer models (5 on the older models).
For Copiers with Hole Punch Functionality
- Click Others in the left sidebar menu on the Copy homepage.

- Click Punch.

- Click On.

To 3-Hole Punch
- For a standard 3-hole punch, click Left.
- Click OK to accept.
To 2-Hole Punch
- Place your original in landscape in the feeder and you must have 8½X11R paper in one of your drawers.
- Click Top for the punch position.
- Click OK to accept.