With optical character recognition (OCR), scans are automatically turned into text-searchable and editable smart documents to retrieve information easier than ever.
There are two options under the scan menu.
1. Authenticate at the printer by either AppCard, Banner ID, or App State username and password.
2. After logging in load your document into the scanning tray face up with the left horizontal edge feeding into the printer and then click Scan from the main menu.

3. To send a scan to your email, click Scan to My Email:

4. From the Scan Details menu, you can change the subject line of the email, the filename of your document, and other print settings.

5. To make a change to the subject title or filename of your document, click the subject or filename box to edit. After your changes have been made, click OK.

6. To adjust other print settings, click Change settings.

You will get the following screen:

7. Click Start to begin scanning your document.
8. To scan multiple pages, click the Scan next page button. (The feeder tray can hold 300 pages to scan or copy.) To scan multiple documents, click the Scan new document button.
Once you have completed all scanning, click Finish.


9. Your scans will be sent to your App State email.

1. Authenticate at the printer by either AppCard, Banner ID or App State username and password.
2. After logging in load your document into the scanning tray face up with the left horizontal edge feeding into the printer and then click Scan from the main menu.
3. On the printer, click Google Drive.

4. On the Scan Details screen that follows, you can change the filename of your document or adjust the print settings.

5. Change the filename of your document by clicking the filename box, typing a new name, and click OK.

6. To change the print settings, click Change Settings:
7. In the Scan Settings screen that follows, you can change the duplex mode, orientation, paper size, file type, DPI, or color mode of your scan. Click Start after your changes have been made.
8. To scan multiple pages, click the Scan next page button. To scan multiple documents, click the Scan new document button.
Once you have completed all scanning, click Finish.


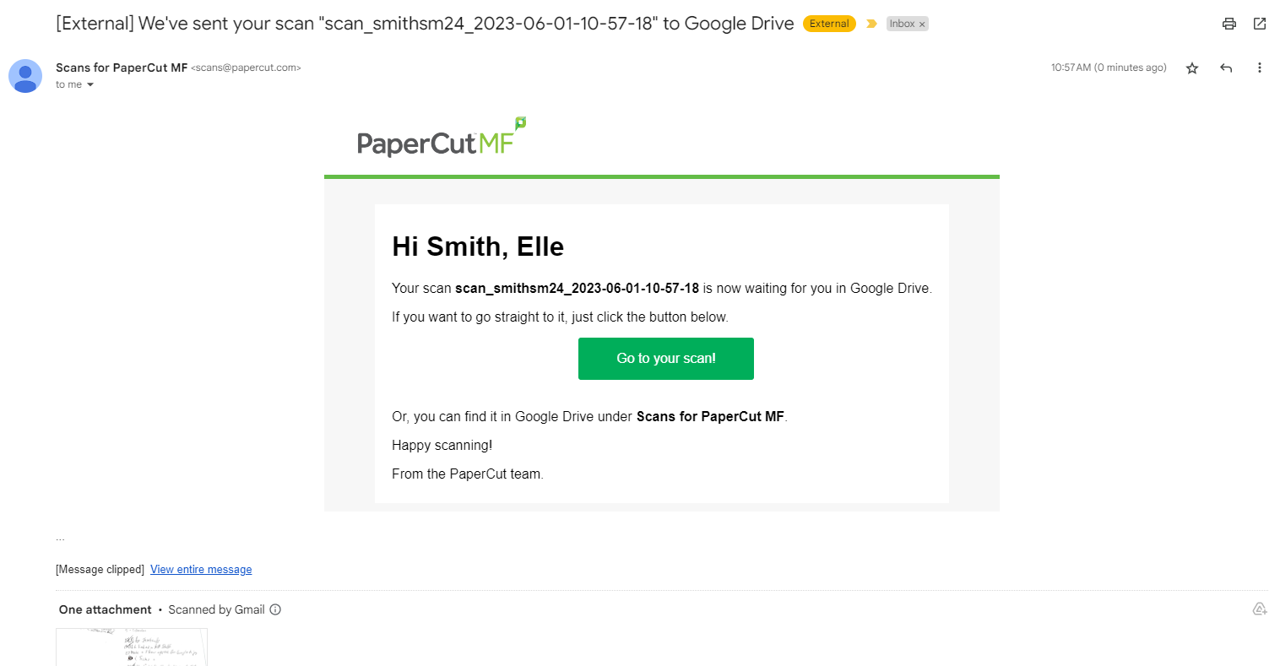
You will be sent an email confirmation that the scan has been sent to your Drive.
9. To find your scan in Drive, locate the folder called Scans for PaperCut MF.

First-time users of the Scan to Drive feature must authorize PaperCut to access their Google Drive.
1. Once you have completed your first scan, you will be sent a 1-time authorization email.
2. In the email, click the link that says Login to Google Drive.

3. Next, choose your App State Google account.

4. Finally, click Allow, which will authorize Scans for PaperCut to send your scans to your Google Drive.

Scan to Address Book
- After logging in, click Scan from the main menu, load your document into the scanning tray face up with the left horizontal edge feeding into the printer.
- On the next screen, click the Scan to Address Book button.

- If they person you want to send your scan to is not listed, click Add New.

- Enter a name and address into the Name and Address fields. To enter multiple addresses click the Number of Addresses field and enter the number of addresses you want to enter. Once done, click Register.

- Check the address of the email you want to send scans to then click OK.

- Enter a subject line for the email and click Start to scan and send.

Using an External Memory Device (USB)
Notes on Scanning:
- Most email systems have a maximum allowed attachment size of 20MB. By default, PaperCut will block any email scan larger than 20MB to prevent it from being rejected by the email system. What is 20MB? Depending on what's in the document, i.e. text, photos, graphs, etc a plain text document of 20MB can be 120+ pages.
PaperCut Scan creates Optical Character Recognition (OCR) documents. OCR is the process of taking an image, such as a scanned document, and reconstructing its text. This allows scanned documents to become searchable and/or editable.
Text-searchable documents have two major benefits over other scan outputs:
You can search for and copy specific content within the document.
If the document has been added to a document management system, you can find the document by searching for its content.
Performing OCR is a resource-intensive process that can add seconds or tens of seconds per page to the time it takes to deliver a document.
Currently, PaperCut MF supports the following text-searchable file types:
PDF (text-searchable)—PDF v1.4 with PDF/A-1 compliance according to the requirements defined by the PDF/A standard.
DOCX
Blank Page Removal detects and removes pages with no content. This helps reduce the size of scanned documents and provides a more seamless experience when reading the digital output. You configure Blank Page Removal ON or OFF at the scan action level. It defaults to OFF.