It is strongly recommended that you create and download a backup of each course you teach each semester, especially for courses you only teach on an interim basis. See the Course Access and Retention page for details on how long courses are available to you on the server. Ultimately, if you have created and downloaded a backup of your course, you can upload and restore it independently - no support ticket needed - in a matter of minutes. NOTE: It is not possible for instructors to back up user data in this process, only the course content.
| Info | ||
|---|---|---|
| ||
Q: When can I use Import instead of the Backup & Restore process? |
Here's a video walkthrough on creating and managing your course backups, with step-by-step directions following below.
| Widget Connector | ||
|---|---|---|
|
You may create a course backup to restore it to another course or to create an archive of the course to download to your computer.
...
Step-by-step guide
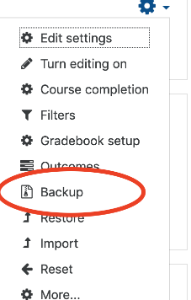
- From the main course page, select Backup from the gear icon (top right).
, Select More from the Course Menu along the top, then click Course reuse in the dropdown menu.
- The Course reuse page is displayed. From here, you can choose any action related to reusing your course (Backup, Restore, or Import). In this case, select Backup from the dropdown menu at the top left.

- The Backup settings page is displayed. It is strongly recommended that you simply skip to the bottom of the page, and click Jump to final step. NOTE: This process will preserve the category structure, aggregation, and organization of the course Gradebook. If that is important to you, definitely just click Jump to final step:

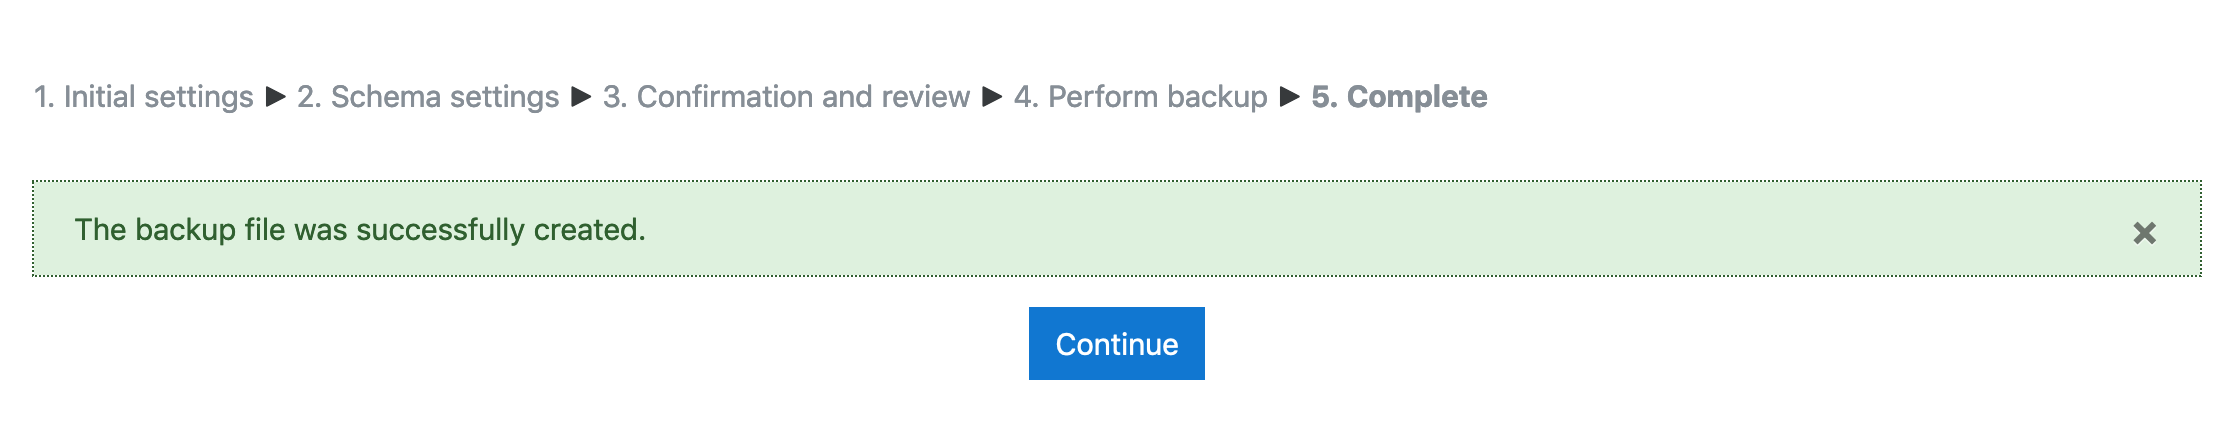
Wait for the Success confirmation
- If you want to make a backup with all the defaults (including file name), click Jump to final step, click Continue, and then skip to step 3 below.

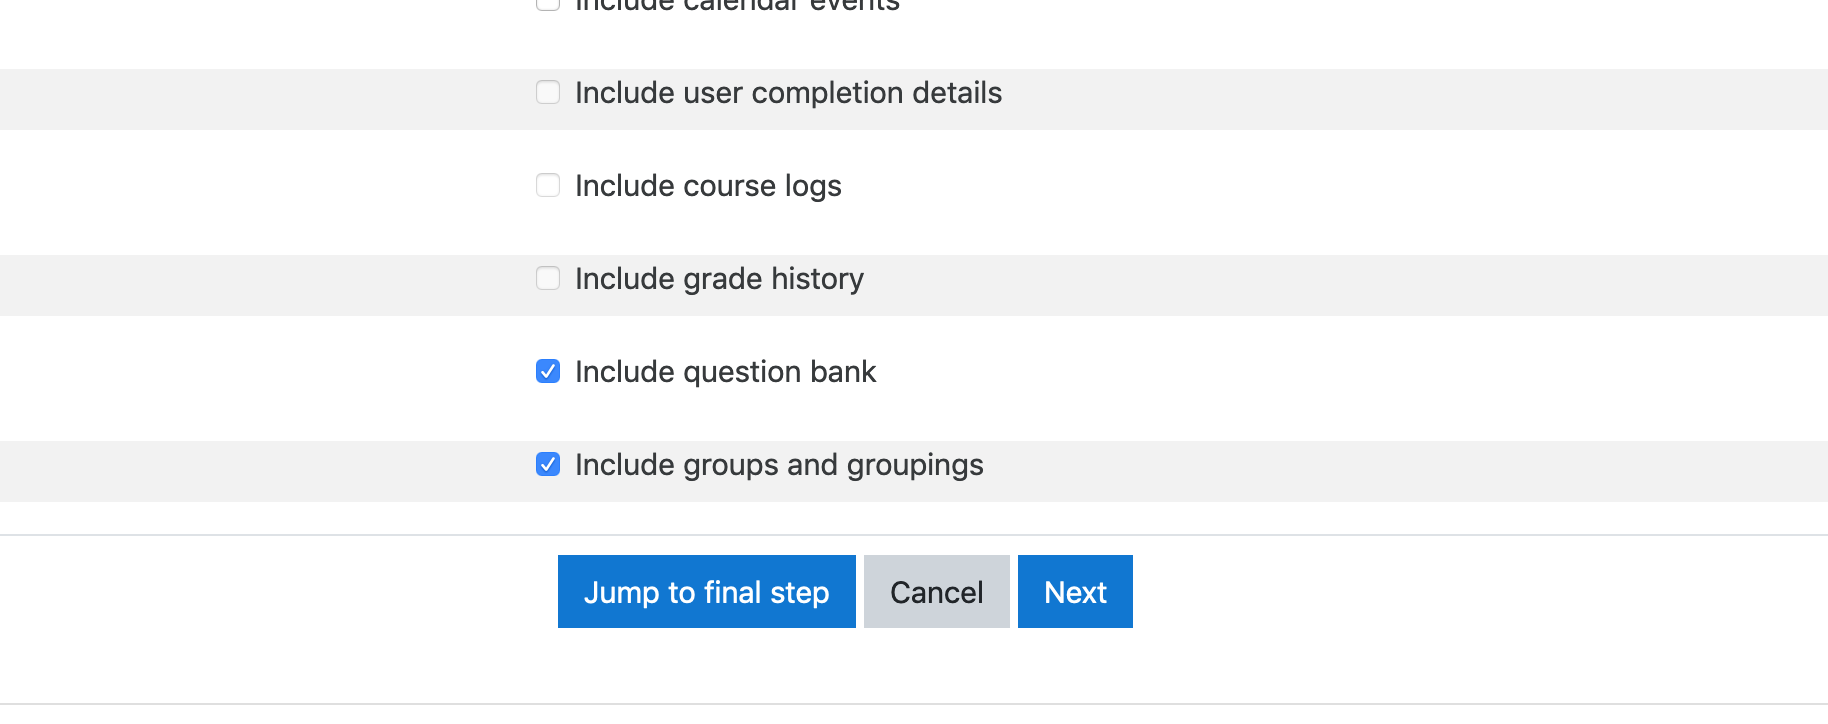
- If you want to select preserving the structure of your Gradebook is not important to you, you may also use the Backup settings page to "cherry-pick" individual items to include in the backup, click Next. By default, all items are selected for inclusion in the backup. Uncheck the items you do not want to include.
NOTE: It is not possible for instructors to back up user data in this process., then click Next (rather than Jump to final step as shown above). - Click Next for each screen until you get to the summary showing what will be included (green check) or excluded (red ×).

- Leave the default Filename or enter your own, being careful not to remove the .mbz file extension. The default filename includes the date and time at the end.
- Confirm the Backup settings, then scroll to the bottom of the page, and click the Perform Backup button.
- The Backup settings page is displayed. It is strongly recommended that you simply skip to the bottom of the page, and click Jump to final step. NOTE: This process will preserve the category structure, aggregation, and organization of the course Gradebook. If that is important to you, definitely just click Jump to final step:
- Wait for the message: The backup file was successfully created. Click Continue.
After creating the backup file, the filename will appear in your User private backup area list.
...
You should immediately click the Download link to the right of the backup file name to save the backup file to your computer
...
.
Info title Note! The backups you create in the User private backup area will be retained and available for download for 30 days. You'll receive an email to remind you before the backup is deleted, so you can download it before their removal. The best idea is to download it when you create it!
You can upload and restore your backup file (filename.mbz)
...
to any other AsULearn course
...
Support Video
...
at any time of your choosing.
Related Articles
| Content by Label | ||||||||||||||||||
|---|---|---|---|---|---|---|---|---|---|---|---|---|---|---|---|---|---|---|
|
Search Knowledge Base
Submit a Service Request
We value your feedback! Click HERE to suggest updates to an existing article, request a new article, or submit an idea.
| Page properties | ||
|---|---|---|
| ||
|
...