...
3. Under Activities, click Attendance, then click the Add button at the bottom.
4. On the Adding a new Attendance page, click to expand the Grade section to set your preferences for grades with relation to attendance.
| Info | ||
|---|---|---|
| ||
The Center for Academic Excellence strongly recommends selecting Grade Type: None to keep the attendance activity from affecting your gradebook totals. |
...
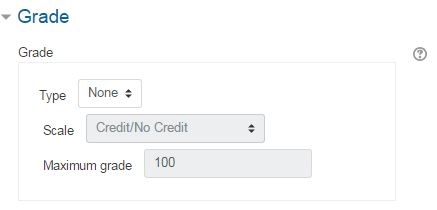
Many faculty lower students' final grades when a certain threshold is crossed. For example, if you want to lower a student's grade after three absences, then set Grade Type: None, and manually adjust grades at the end of the semester.
5. Click Save and display to show the attendance Attendance setup page for the course.
6. Click Click the Status set to tab to review the options for marking attendance. Many faculty use the The default settings ofare: Present, Absent, Late, Excused. Points are set to 0 if Grade Type: None was set (step 4). If you make changes on the Status set page, click the Update button at the bottom to save them.
...
7. Click the Add session tab to add attendance dates/sessions for your course.
Add attendance sessions
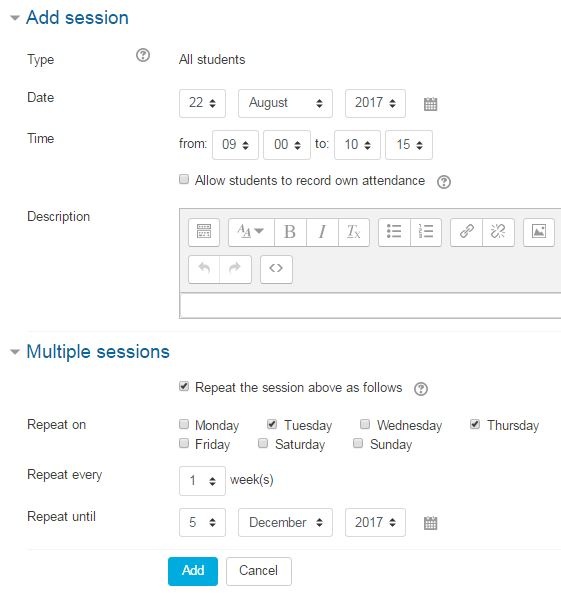
Click the Add session tab, and follow these steps to add sessions.
- In the Add session section, enter the Date and Time for the initial class meeting.
- In the Multiple sessions section, select Repeat the session above as follows to set up sessions for the entire semester.
- Repeat on: Select the days of the week that the course meets.
- If the class meets on those days every week, leave the default on Repeat every 1 week(s).
- Repeat until: Enter the last day of class on Repeat until. NOTE: You can delete class sessions that fall on university breaks from the Attendance activity screen.
- Click Add , and at the bottom of the screen and your attendance sessions will be built.
...
Take attendance
From the course homepage (with Editing turned off), click the Attendance activity.
You Note that you can view All sessions, All past sessions, or filter by Months, Weeks, or Days with the buttons at the top right.
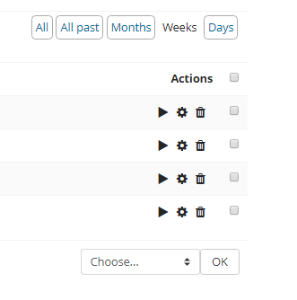
To take attendance during (or after) a class meeting, click the forward arrow for the daysession.

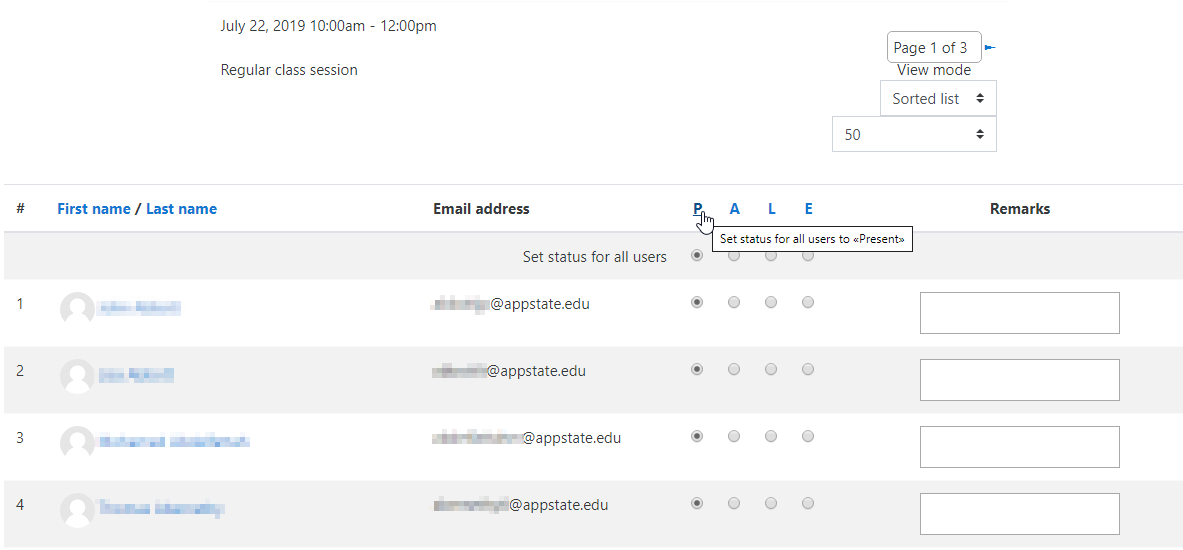
The list of students is automatically generateddisplayed. Note if there are more than 50 students in the session, there will more than one screen for the student list: in the upper right, change the dropdown with 50 to Do not use paging to display the fill student list on one screen. Otherwise, click the arrows beside the Page # of # field to move through the screens. Change Sorted list to Sorted grid to display student pictures prominently (max 50 students per screen).
A shortcut for taking attendance is to click the letter P at the top , and this will to mark everyone Present. Then the teacher can change the mark for any late or absent students. The Use the Remarks column allows teachers to make notes that are visible to the teacher and the individual student, such a as the reason for an excused absence, etc.
Click Save attendance button at the bottom of the screen.
The forward arrow turns to a green arrow when attendance has been taken for a session. To edit the attendance in a previous class, click the green arrow for that class day (forward arrows turn to green arrows after you've taken attendance)session.
The Report tab provides an aggregated visual record to the teacher about class attendance, as well as summaries for individual students (: click on their student name in the Attendance report).
The From the Export tab allows teachers specify the options to export attendance data to a downloadable (Excel) filefile and download, then click OK at the bottom of the screen.
...