How to Retrieve Personal Google Photos Content Prior to Separation/Retirement.
University accounts and the data contained within are property of Appalachian State University and every effort should be made to adhere to the Acceptable Use of Computing and Electronic Resources Policy for data integrity and retention:
https://policy.appstate.edu/Acceptable_Use_of_Computing_and_Electronic_Resources_Policy
The University shall not be responsible for any personal material or information stored on University Information Technology. The University assumes no responsibility for backing up personal material or personal information stored on University Information Technology and shall have no obligation to produce any such personal material or information at any point during or after an individual’s period of employment, enrollment, or other affiliation. The user accepts all responsibility of removing personal materials prior to their separation with the University. This provision does not apply to current students’ academic work stored on University Information Technology.
Method One: Download Google Photos to your local computer (recommended for those with minimal photos and ample hard drive space)
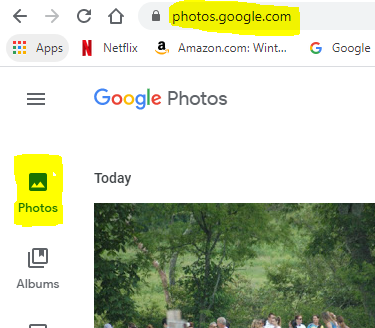
Step 1. Login to Google Photos
- Go to photos.googe.com and sign in with your AppState credentials.
- Click on the "Photos" Icon on the left. This is a collection of ALL your photos, including photos in Album labels.
Step 2. Select all photos and download
- Place a check in the box beside of the photos you would like to copy. Note: selecting the check beside the date will select all photos for that date. To date, there is not a way to select all photos at once in Google Photos.
- Click on the three dots in the top right corner and select download. (Please make sure there is ample room on your Hard Drive to accommodate the download, Google compresses the files)

- The download will be offered as a .zip file in your browser or in your downloads folder.
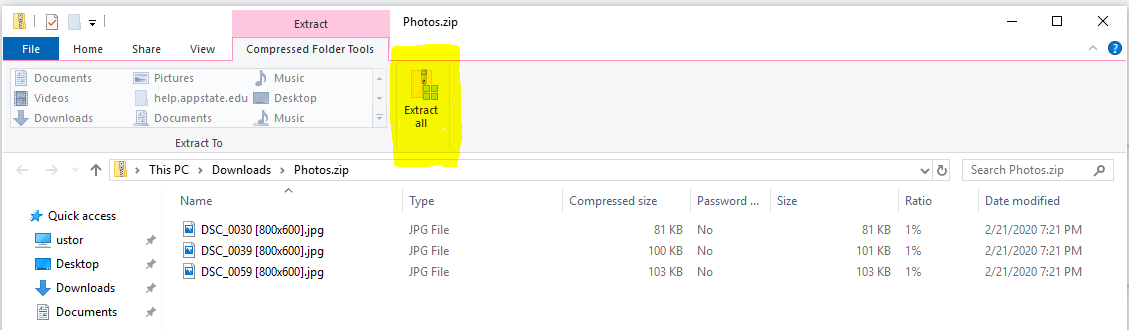
Step 3. Unzip downloaded file
- Locate the downloaded .zip file and open it.
- Click Extract all and choose a location on your computer to extract your photos to.
Step 4. Decide on a permanent storage option for your photos.
- Save your extracted file to removable storage/external hard drive.
- Copy your photos to your personal Google Photos space.
Method Two: Share AppState Google Photos to your personal Google account and add to Library (recommended for those with many photos)
Step 1. Login to Google Photos
- Go to photos.googe.com and sign in with your AppState credentials.
- Click on the "Photos" Icon on the left. This is a collection of ALL your photos, including ones with Album labels.
Step 2. Select Photos and Share
- Place a check in the box beside of the photos you would like to keep. Note: selecting the check beside the date will select all photos for that date. To date there is not a way to select all photos at once in Google Photos.
Click Share
.
Type your private google email address.
- Click the blue send button

Step 3. Login to your Private Google account and Add photos to Library.
- Login to your Private Google account and go to photos.google.com
- Click on Sharing on the left column
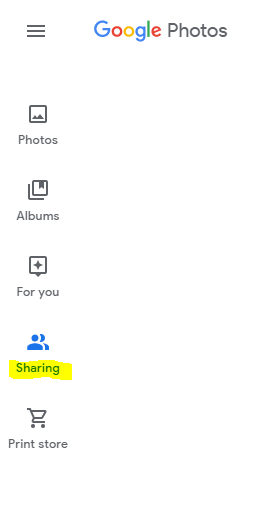
- Locate the images that you shared, open the collection, and click on the Add to Library icon in the top right. (There is no need to select individual files, clicking on Add to library will add a copy of the shared collection to your personal Google Photos Account.