AppState academic and business units have the ability to obtain licenses for apps from Apple's App Store (for Mac, iPad, iPhone, and iPod Touch) for deployment on University-owned and managed devices. Follow these steps to obtain licenses of a free or paid app from the App Store, which can then be distributed to your devices over the network.
Requirements
Apps can only be distributed to University-owned devices that are managed in Jamf Pro. We cannot distribute these to personal or non-managed devices at this time.
Check to see if your device is managed by Jamf Pro using this guide: https://confluence.appstate.edu/display/public/ATKB/Enroll+iOS+Device+in+JamfCloud
Step-by-step guide
Request an Apple School Manager (ASM) Account
- If you already have an Apple School account, continue to Step 3.
- You need to be a purchasing authority with access to the departmental P-Card. For example, an Administrative Support Specialist.
- Submit an "Account Assistance" support request at tech.appstate.edu with the following information:
- In the summary: Need Apple School Account Created for App Purchasing
- In the description: submit your name, email, and department
- The Chair and/or Director of your department will need to approve this account creation.
- Information Technology Services will generate your account and you will be notified before you can continue to Step 2.
Log in with your created Apple School account for the first time
- Once ITS has created your Apple School account, you will receive a temporary password in your email.
Go to school.apple.com and log in with your newly created Apple School account and temporary password.

When prompted, add a phone number that can receive texts for 2-factor authentication.
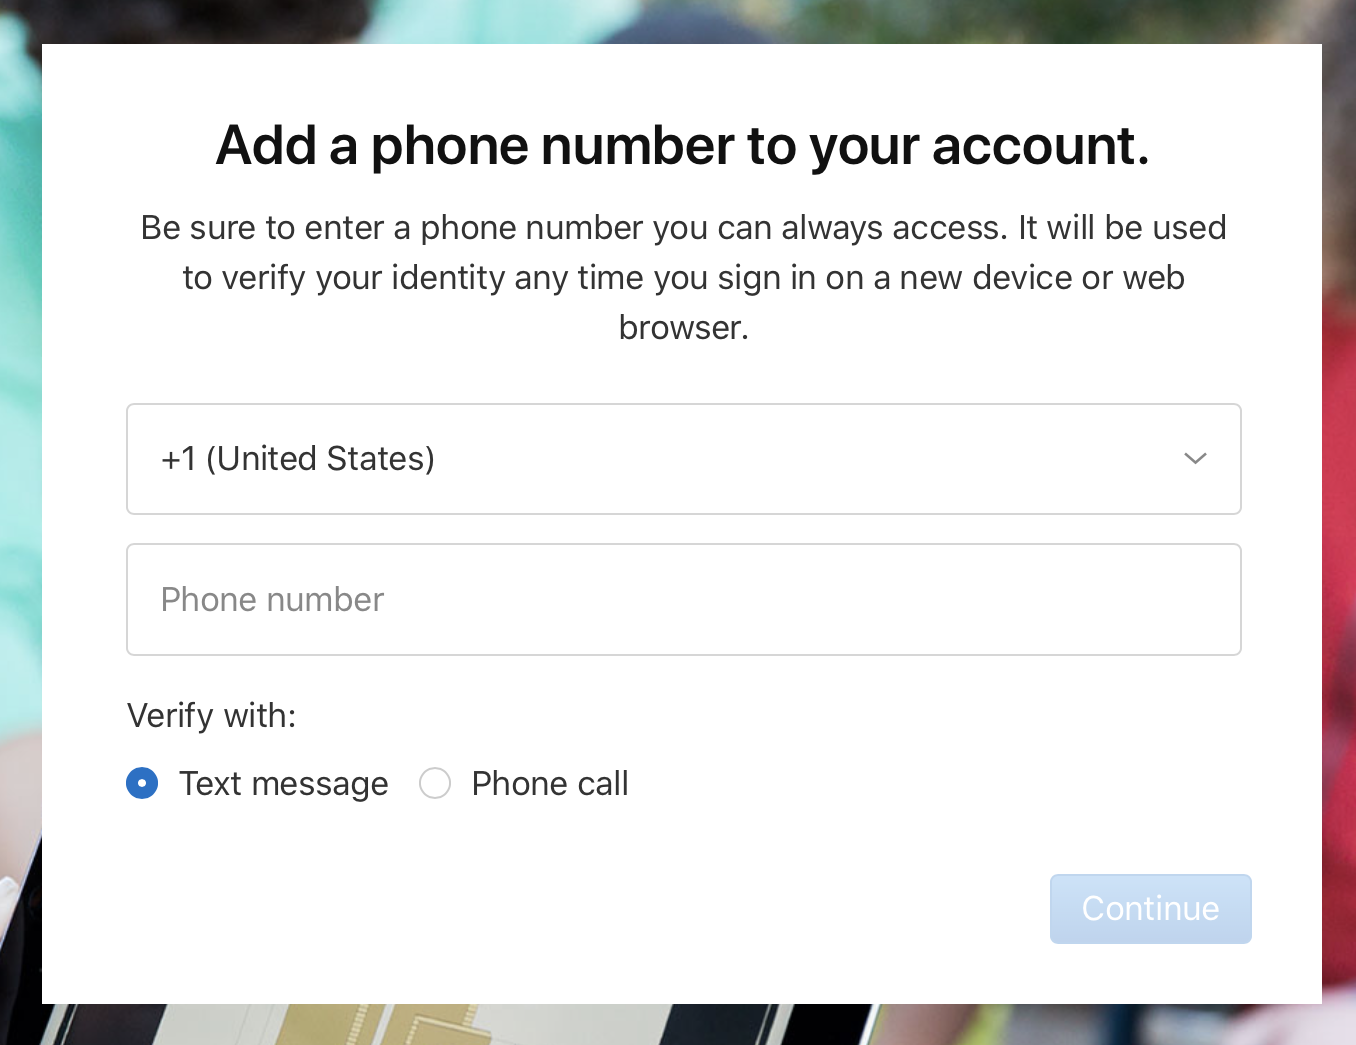
Enter the verification code sent to your phone.

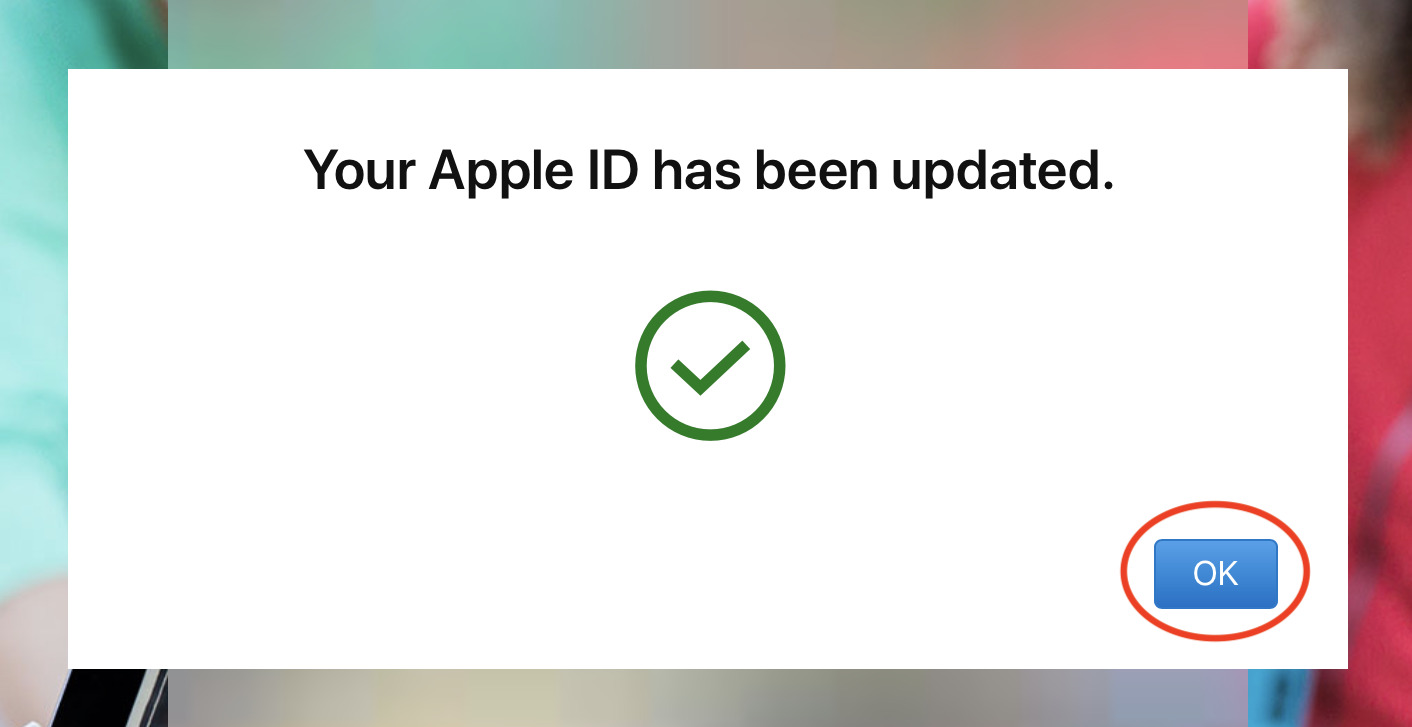
Update your password (use your temporary password as your current password).

Click continue when prompted.

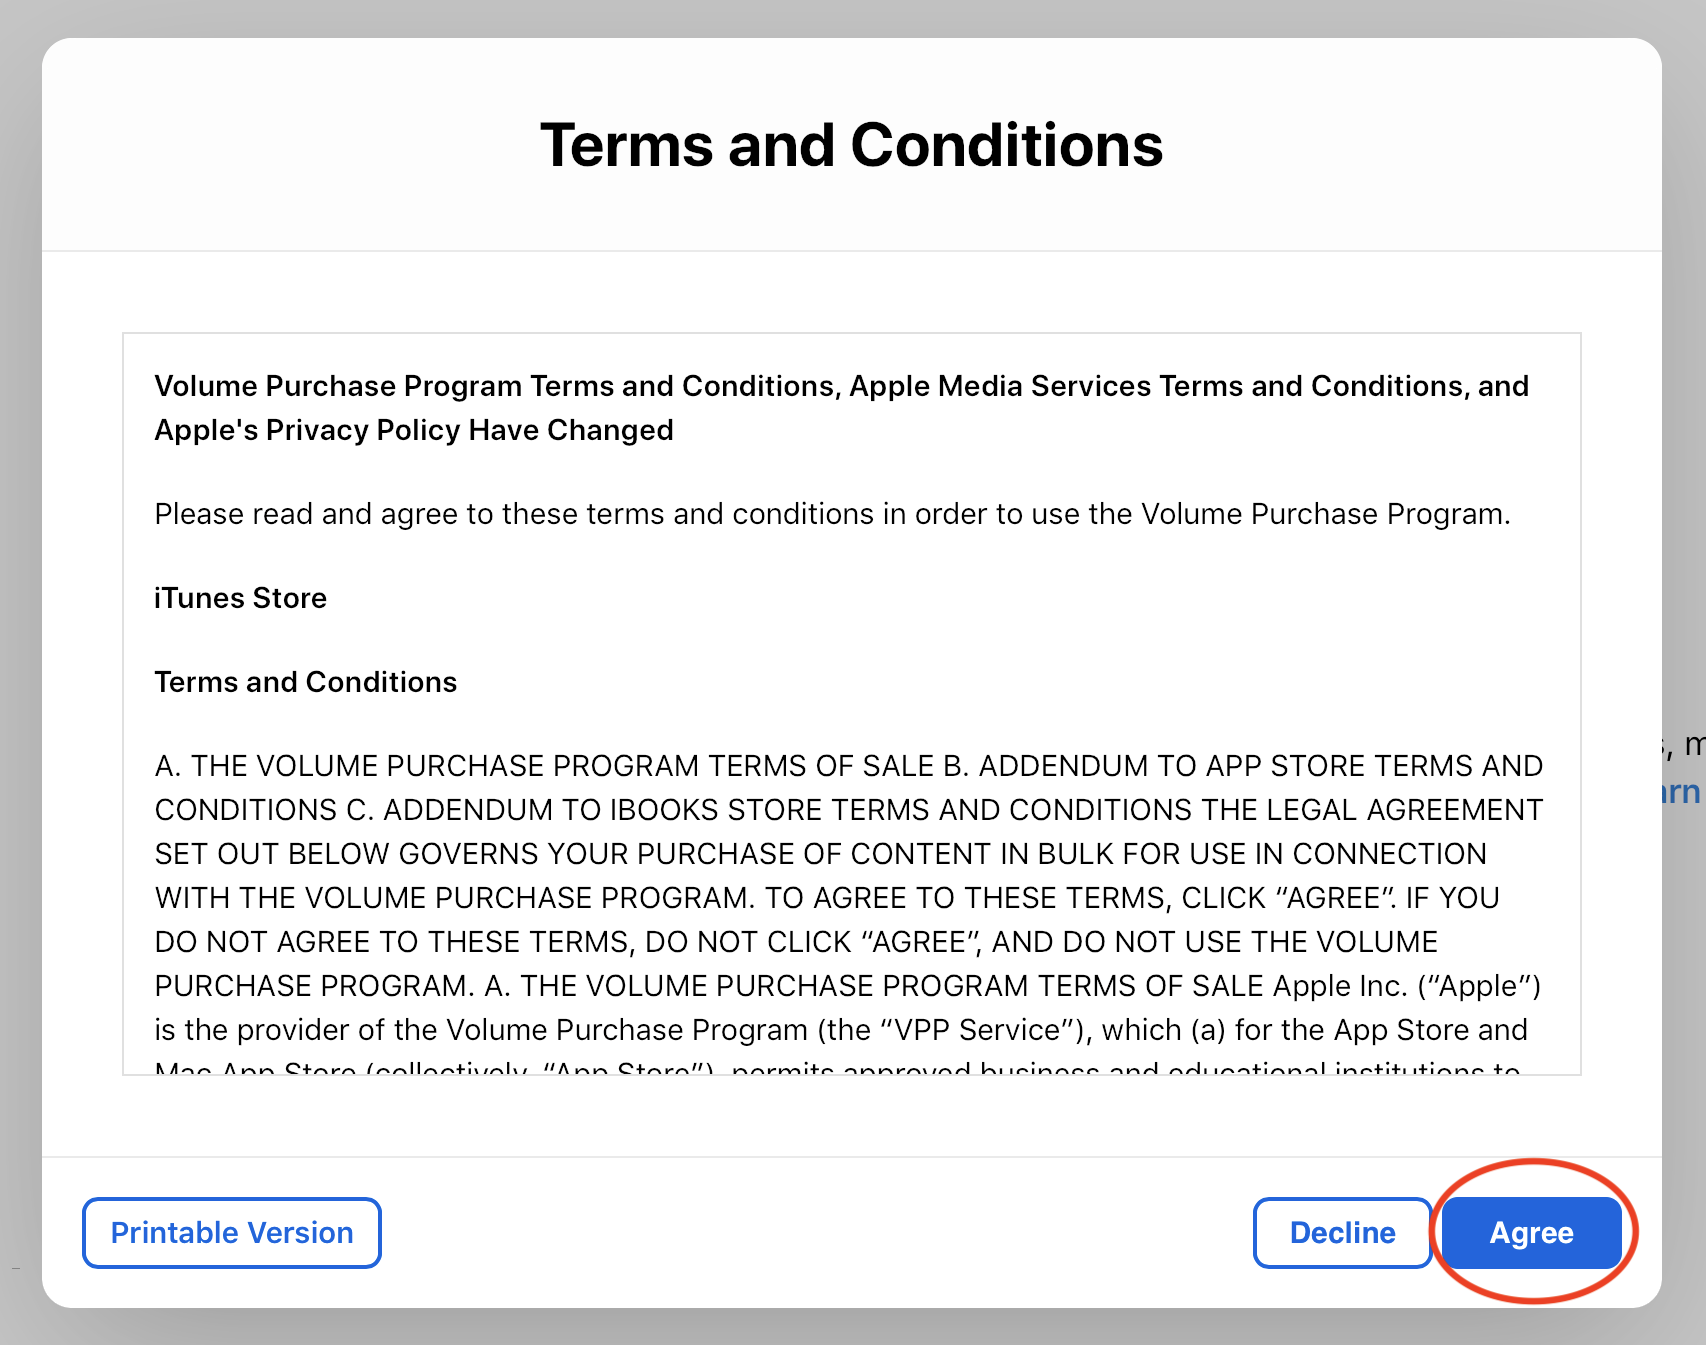
From the left sidebar, under Content click on Apps and Books. Then click Get Started.

Read and agree to the Terms and Conditions.
Next, we need to add a purchasing method. From the bottom of the left sidebar, click on Settings.
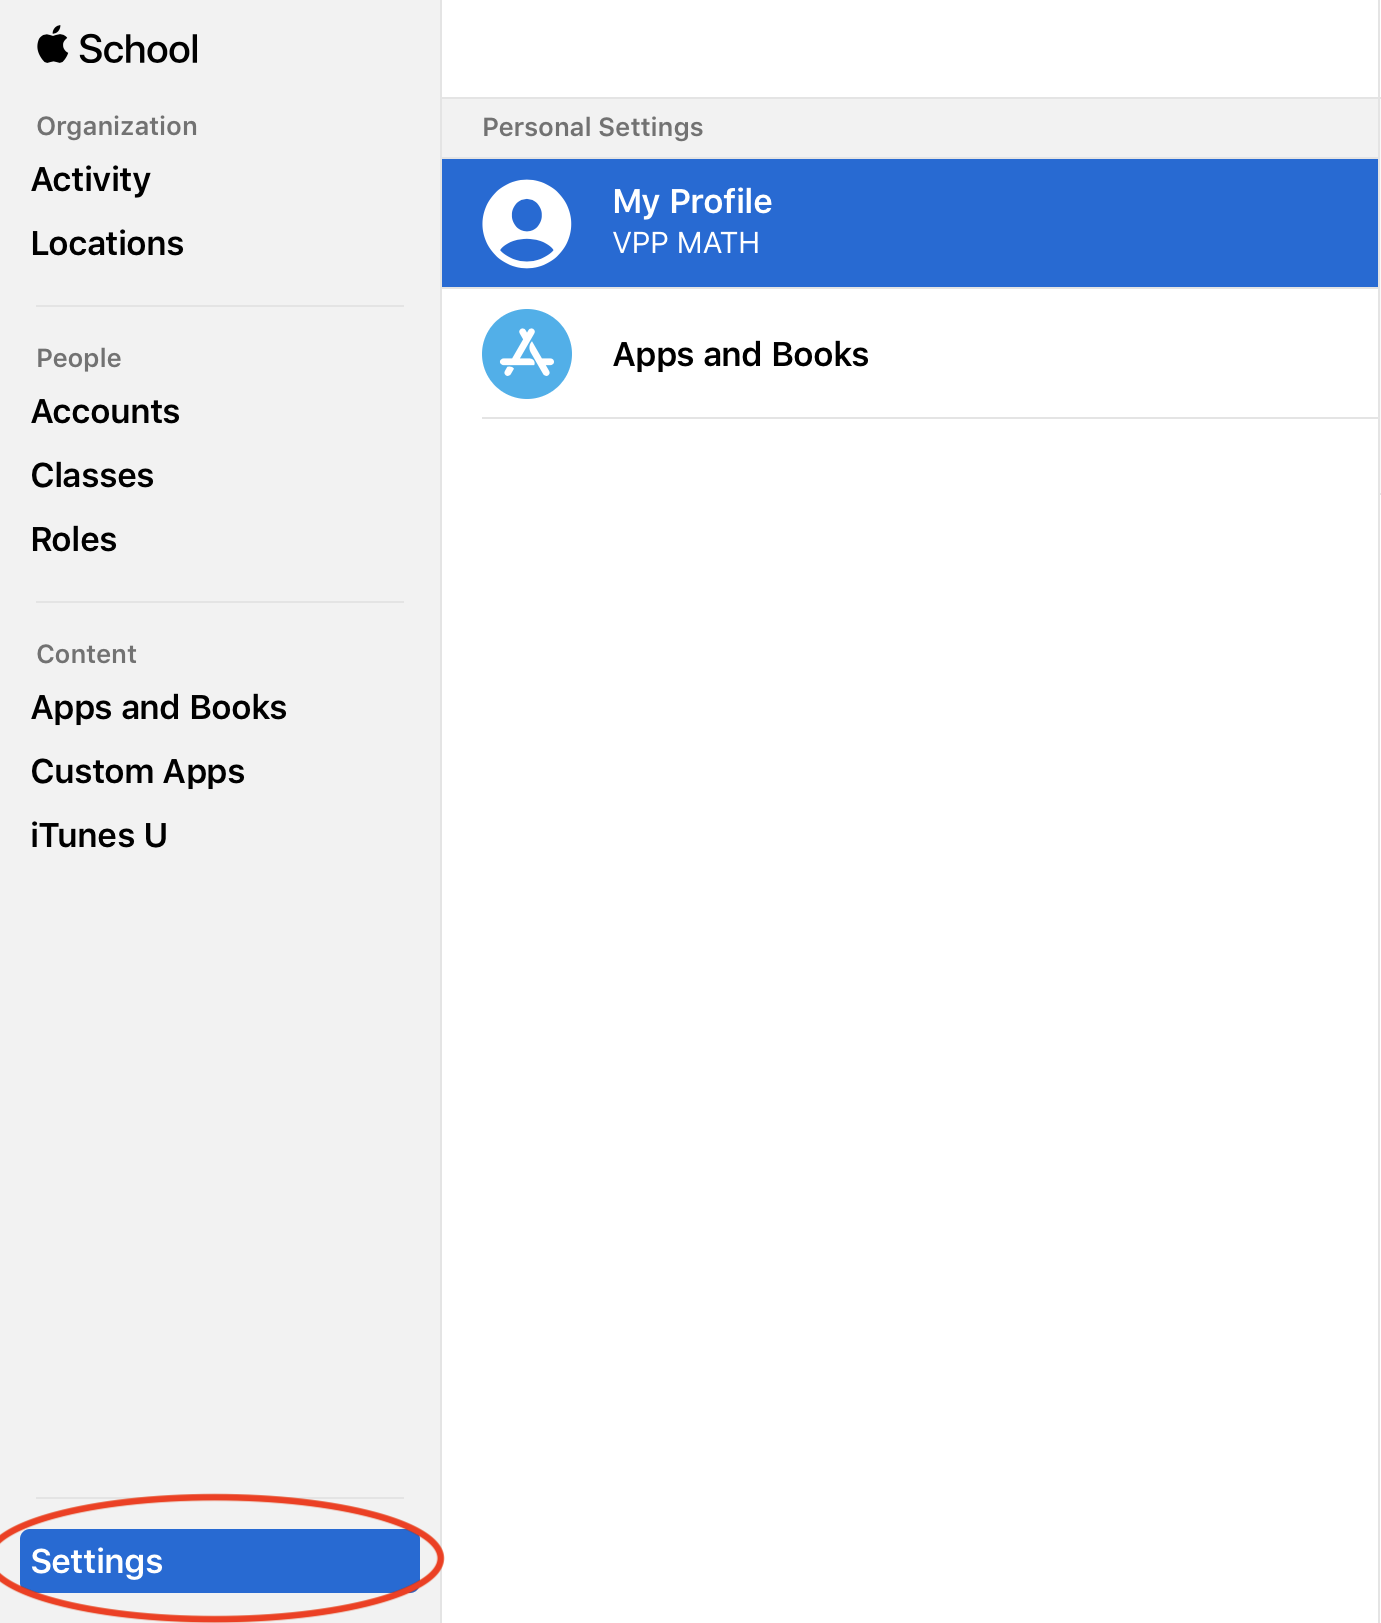
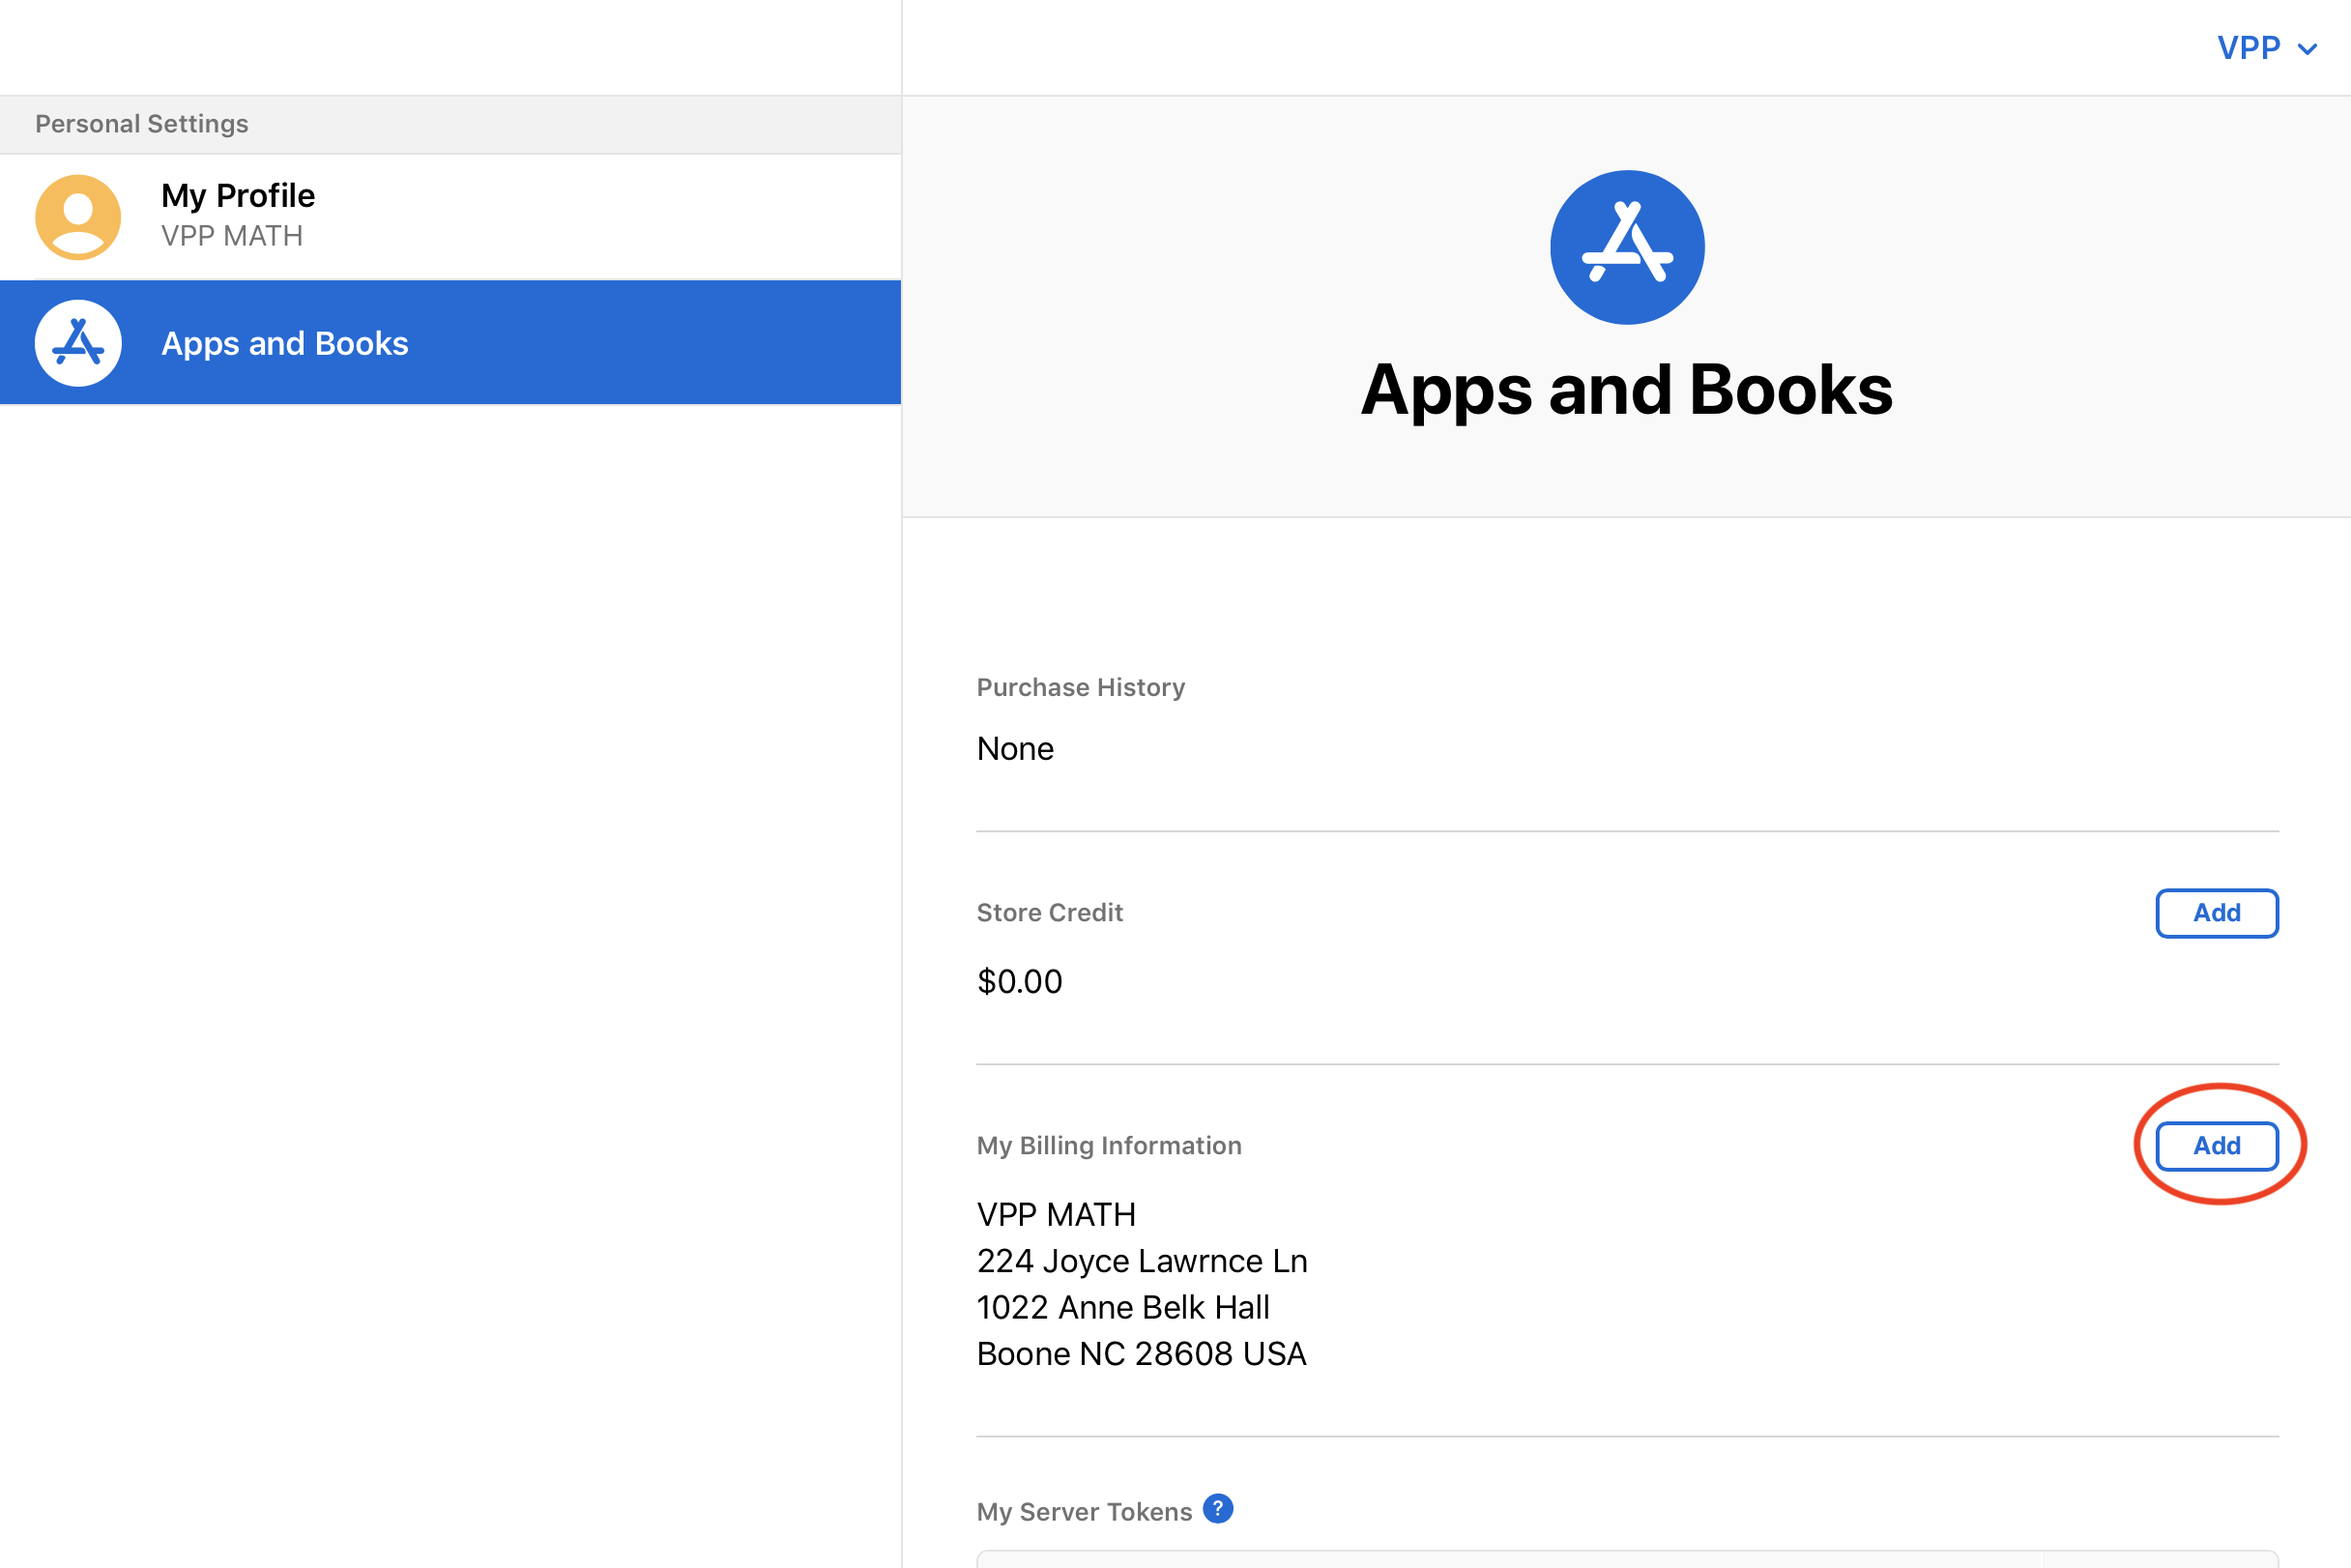
Click on Apps and Books under Personal Settings then click Add under My Billing Information. Next, click the dropdown to select Credit/Debit Card and add billing information for your P-Card and save.
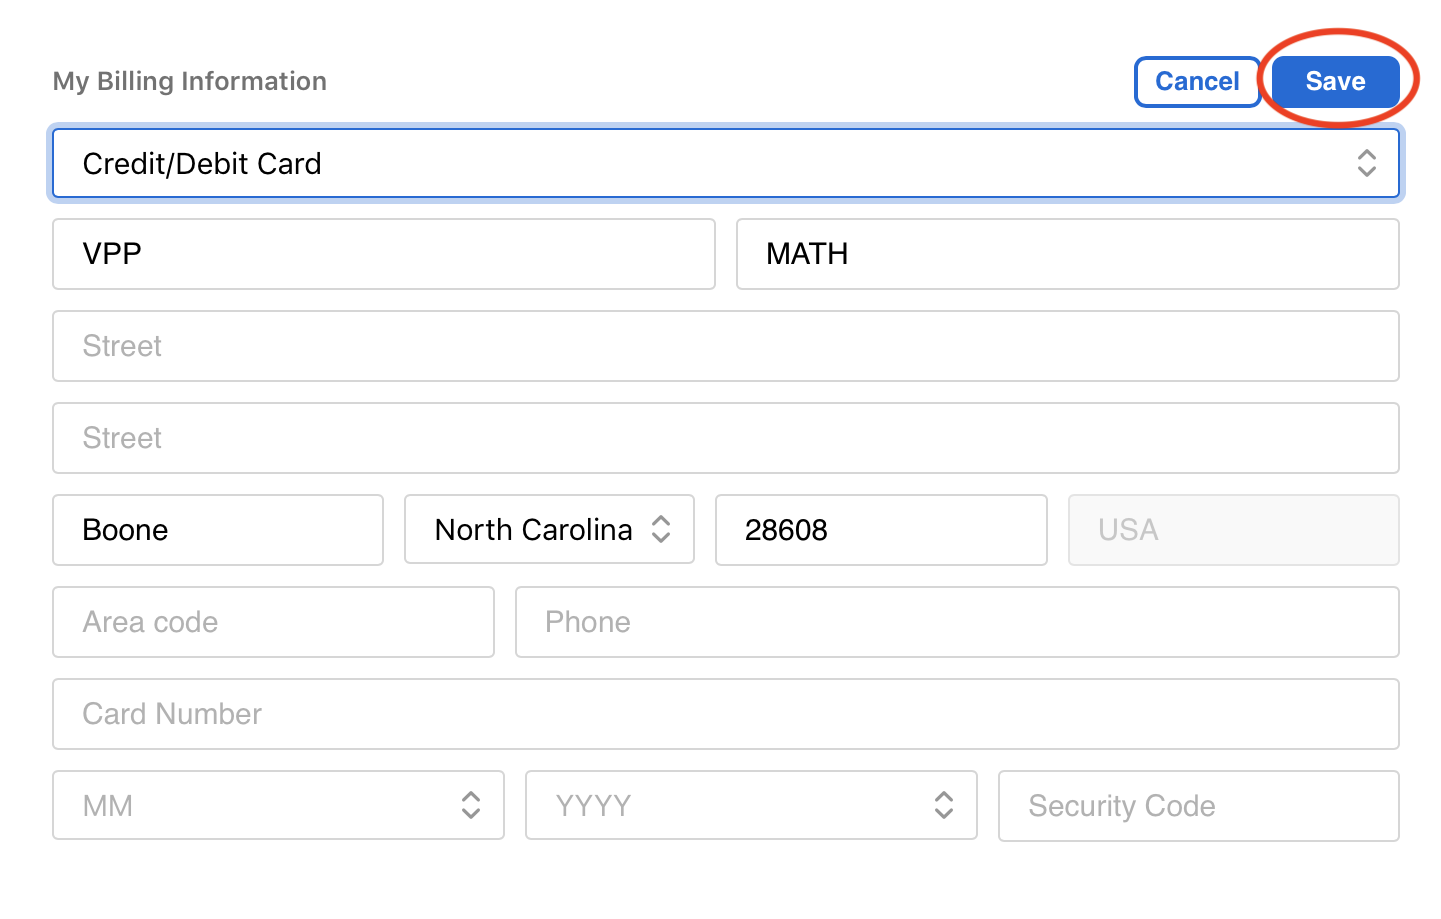

Apple is really particular about this information and will decline cards without the exact billing info. You may have to contact the purchasing office to enter it in exactly as specified by purchasing.
To Obtain Licenses of an App- **Note: Most apps will give you a 50% discount when purchasing 20 or more**
- Go to school.apple.com and log in with your ASM account
- From the left sidebar, click on Apps and Books under Content
- Apps that have been purchased will show up automatically
- Click filter beside the search bar to select what type of device the App is for
- Search for App name that you want and select it
- Under Assign to choose your location
- Select the quantity of the app that you need
- Click Buy and Apple will process the codes
- See here to request deployment of the purchased apps