- Provide detailed instructions to the students on what they need to submit. Similar to Assignments, students can submit links, files, or online text. Make sure to check off the appropriate boxes.
- Emphasize the due date in the instructions. Due to the nature of this assignment, the deadlines for submission are firm and cannot be extended for individual students.
- Allowing submissions after the deadline is an option that can be selected, however it is highly discouraged as it can interfere with the next phase of the Workshop.
- Provide very specific instructions on what you want the students do during the Assessment phase. The quality of these instructions will impact the quality of the feedback the students provide.
- Allowing students to assess their own work is an option that can be selected within the Assessment Settings.
- Open for submission
- Submission Deadline; there is an option to "switch to the next phase after the submission deadline." If used, be sure to set up the "schedule allocation method" (see below).
- Open for Assessment (this date must be later than the submission deadline.)
- Deadline for Assessment

Figure 1: Screenshot of the Phases of the Workshop Assignment. To complete setting up the Workshop Assignment, additional information must be entered on this page.
- Setup Phase: The workshop description and instructions for submission should be completed and will have a green checkmark located next to them. To make edits to either of these, simply click the link.
- Setup Phase: Click the Edit assessment form and complete the required fields. If Comment Grading was selected, here is where you can enter specific components from your grading guide or rubric (see Video Tutorial below).
- Submission Phase: Instructions for assessment should be completed and will have a green checkmark located next to it. To make edits to the assessment instructions, simply click the link.
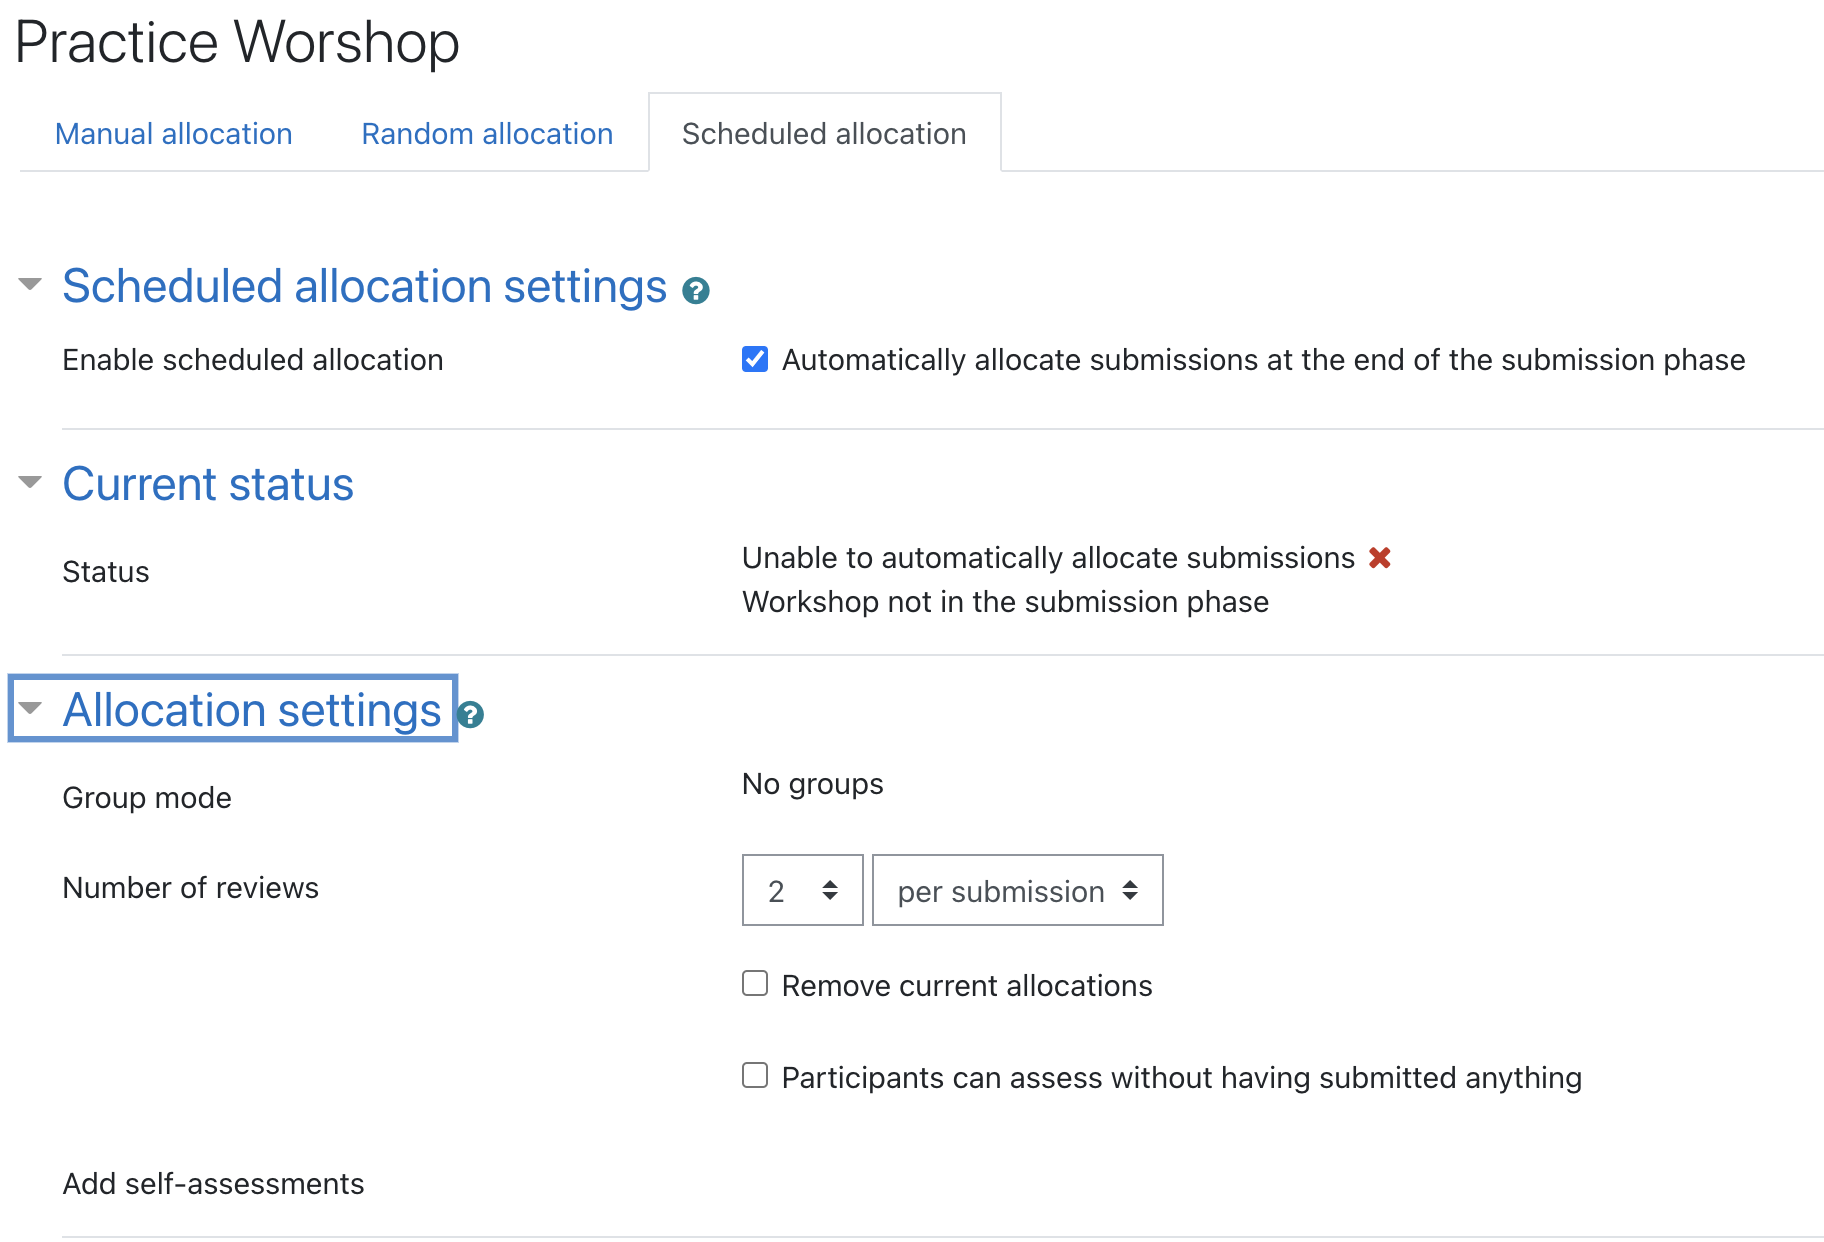
- Submission Phase: Click the Set up scheduled allocations (you should see a red "x" next to it, indicating that this needs to be completed). Make sure the box is checked next to "Automatically allocate submissions at the end of the submission phase. Under Allocation settings, set the number of peer reviews that each student will be assigned. It is strongly recommended that "Participants can NOT assess without having submitted anything" as this can interfere with the allocations. When finished, click Save changes. Next, click continue. This will take you back to the Scheduled allocation screen (Figure 2).

Figure 2: Screenshot of the Allocation Settings page within the Workshop assignment tool. - To return to the Phases of the Workshop page, click the link at the top of your AsULearn page that contains the name of your Workshop assignment (Figure 3).

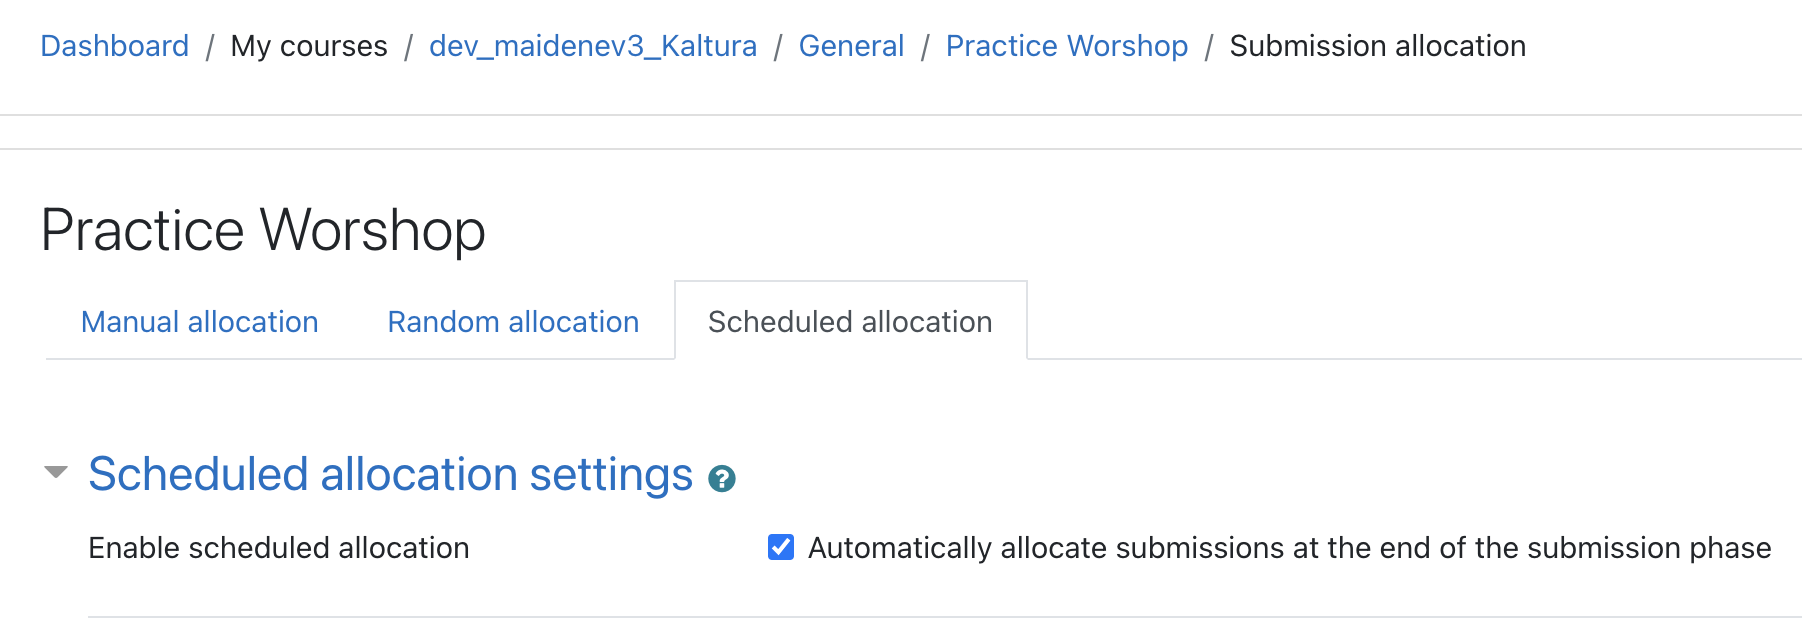
Figure 3: Screenshot of the Submission allocation page after the settings have been saved. To return to the Phases page, simply click the name of the Workshop assignment in the top navigation bar. - You should now see two green checkmarks in the Submission phase and a gray, striped checkmark next to "Allocate submissions." This indicates that it is set up, but no allocations have been made yet (Figure 4).

Figure 4: Screenshot of the Phases Workshop page after the additional settings have been saved. Notice that there are no red checkmarks. This means that all of the settings have been made. Items with a gray, striped checkmark cannot be completed until a previous action within the Workshop has completed. - The Workshop is now ready for students to complete. See the instructions for How to Manage a Workshop Once It is Open.
Grade Settings
Students can receive a grade for both their submission and their assessment of their peer's work. It is advised that the grading for this assignment be kept fairly simple. One strategy is to provide students credit for simply submitting their work product and credit for providing feedback to their assigned peers. Using this strategy means that the students are not grading the quality of the work submitted, but simply providing constructive feedback. To allow for this grading strategy, select Comments grading
Note: the type of grading strategy that you select will dictate how you set up the Assessment Phase of the Workshop.
The instructor has the ability to determine the number of points awarded for both the submission and the assessment of the Workshop. For more advanced grading options, please speak with your LTC.