Versions Compared

Key

  • This line was added.
  • This line was removed.
  • Formatting was changed.
Comment: Formatting.

...

The University shall not be responsible for any personal material or information stored on University Information Technology. The University assumes no responsibility for backing up personal material or personal information stored on University Information Technology and shall have no obligation to produce any such personal material or information at any point during or after an individual’s period of employment, enrollment, or other affiliation. The user accepts all responsibility of removing personal materials prior to their separation with the University. This provision does not apply to current students’ academic work stored on University Information Technology.


Expand
titleTransferring Data on a Windows Device


Expand
titleStep 1: Move all personal emails into one label

1. In your App State email inbox click on the gear icon and then select "See all settings".

Image Modified


2. Select "Labels" and scroll down to select "Create new label".

Image Modified

3. Create a new label - we recommend calling the label "Personal" - and keep the "Next label under:" box unselected. Select "Create".

4. In your email, locate all emails that you wish to retain, select them by checking the checkbox beside each email, and then select the “Move to” icon at the top. Move them into your newly created personal label.


Expand
titleStep 2: Install Thunderbird 

1. Navigate to thunderbird.net.

2. Select “Free Download”.

Image Modified

3. Run the .exe file that is downloaded.

Image Modified

4. Select “Yes” when prompted if you would like to allow the program to make changes to your computer.


Expand
titleStep 3: Configure

...

Thunderbird

1. Select “Next” on the Mozilla Thunderbird Setup Wizard.
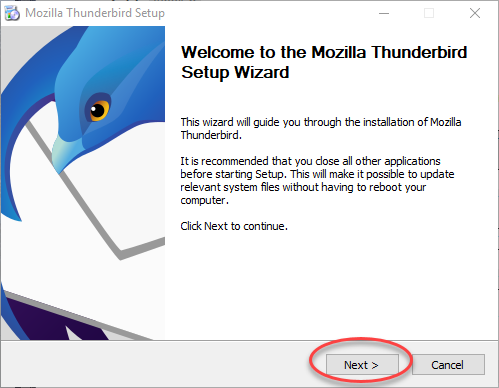
Image Modified

2. Select “Next” on the Setup Type screen.
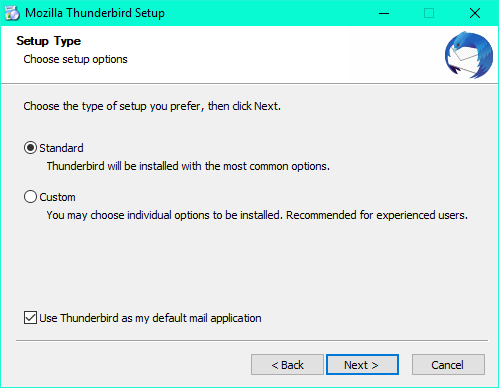
Image Modified

3. Select “Install” on the Summary screen.
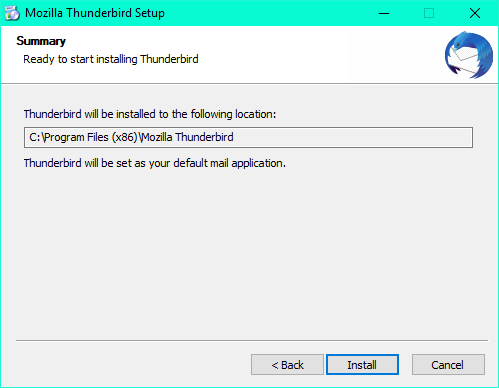
Image Modified

4. Select “Finish” to complete the setup (if “Launch Mozilla Thunderbird now” is selected, Mozilla Thunderbird should start once you select Finish).
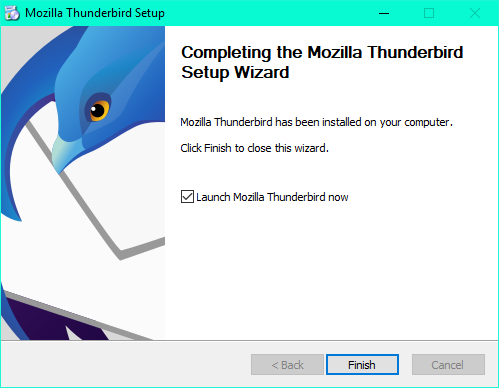
Image Modified

5. Enter your App State email account information in the “Add Mail Account” box under "Account Actions." Click "Continue".


Image Modified


6. Select "Configure manually"
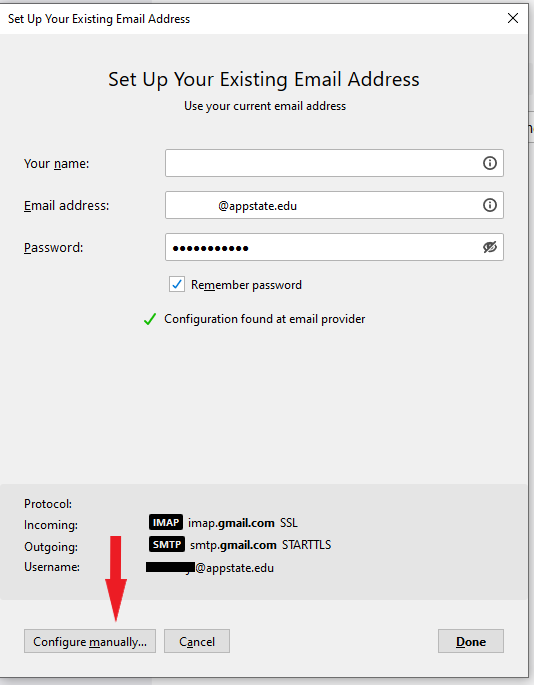
Image Modified


7. Change the Authentication Method from "Normal Password" to "OAuth2" on both Incoming and Outgoing servers.
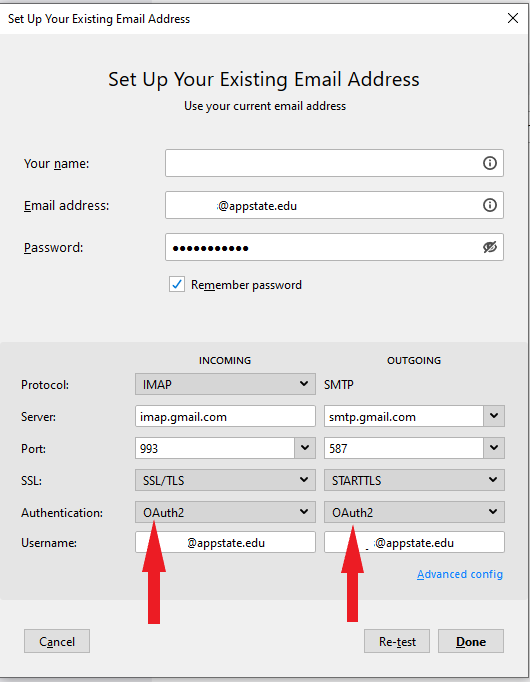
Image Modified

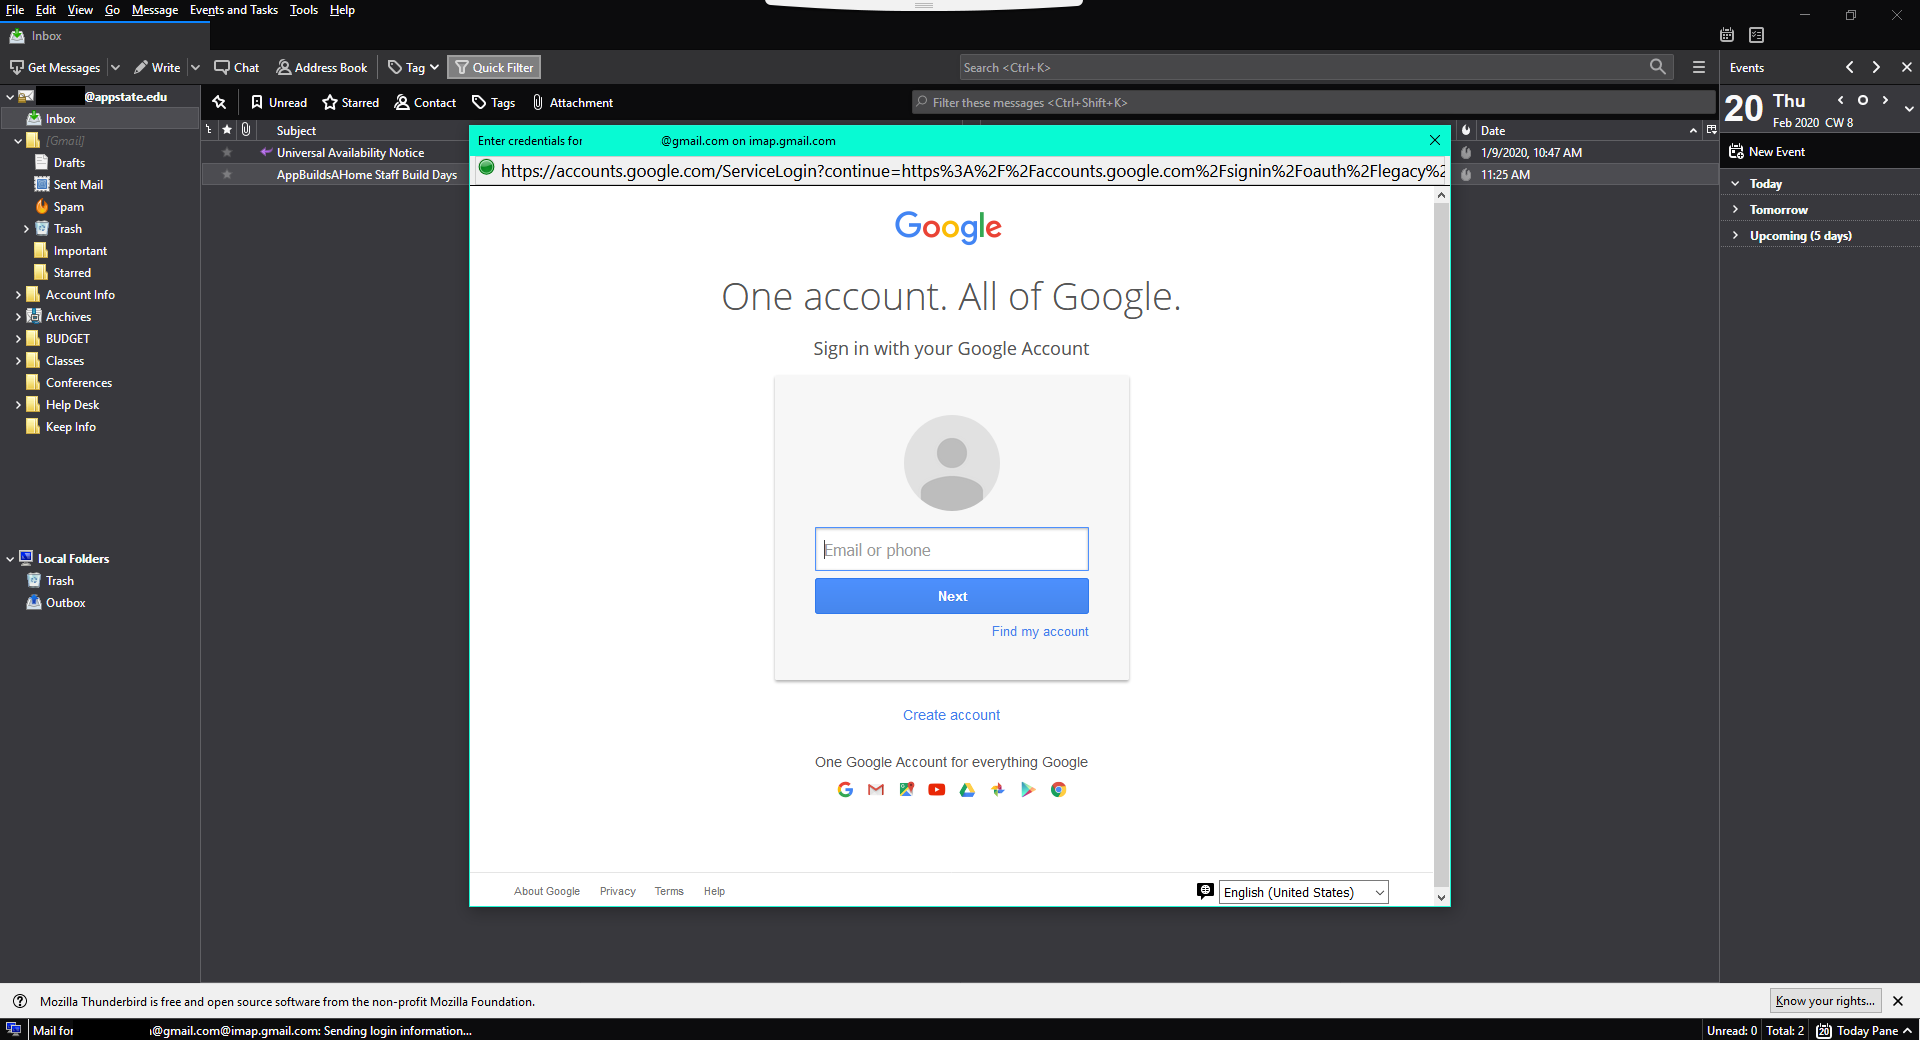
8. Then select "Done"

9. You will see a pop-up asking you to sign in with your Google Account. Enter your App State email address.
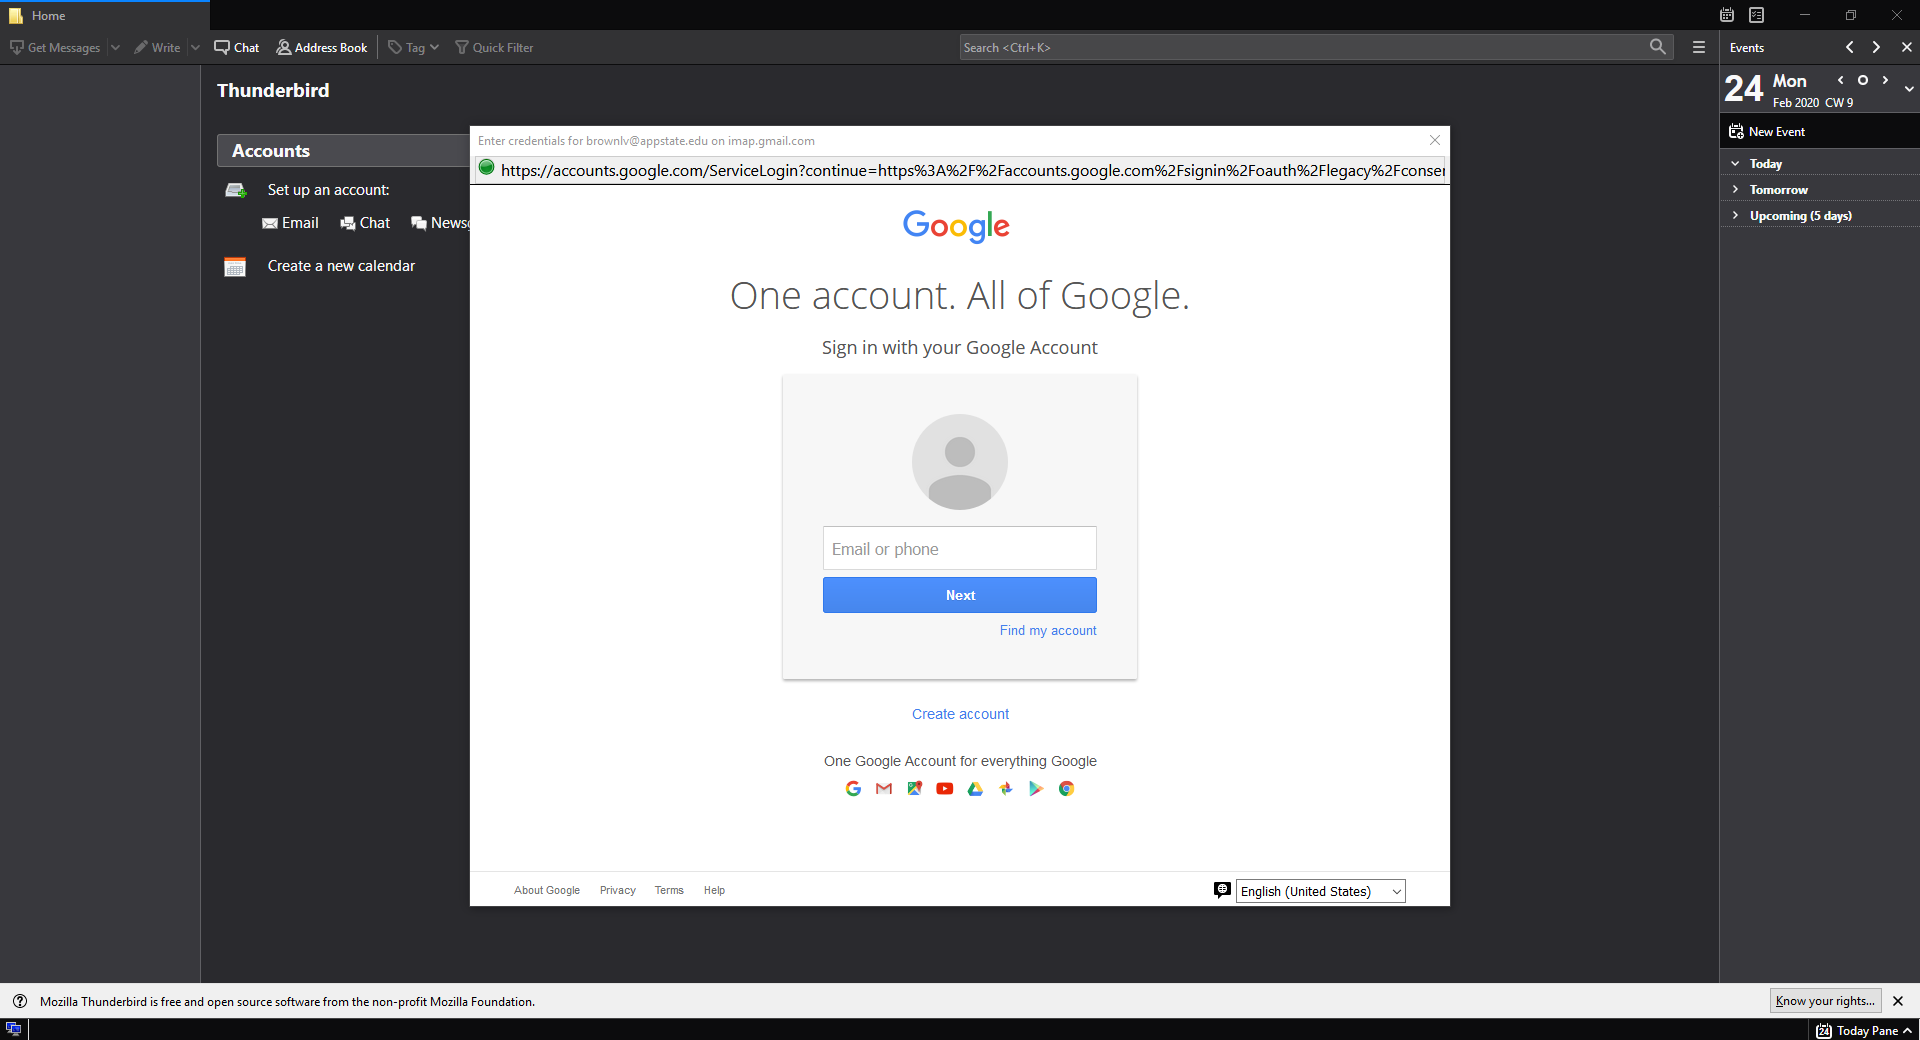
Image Modified

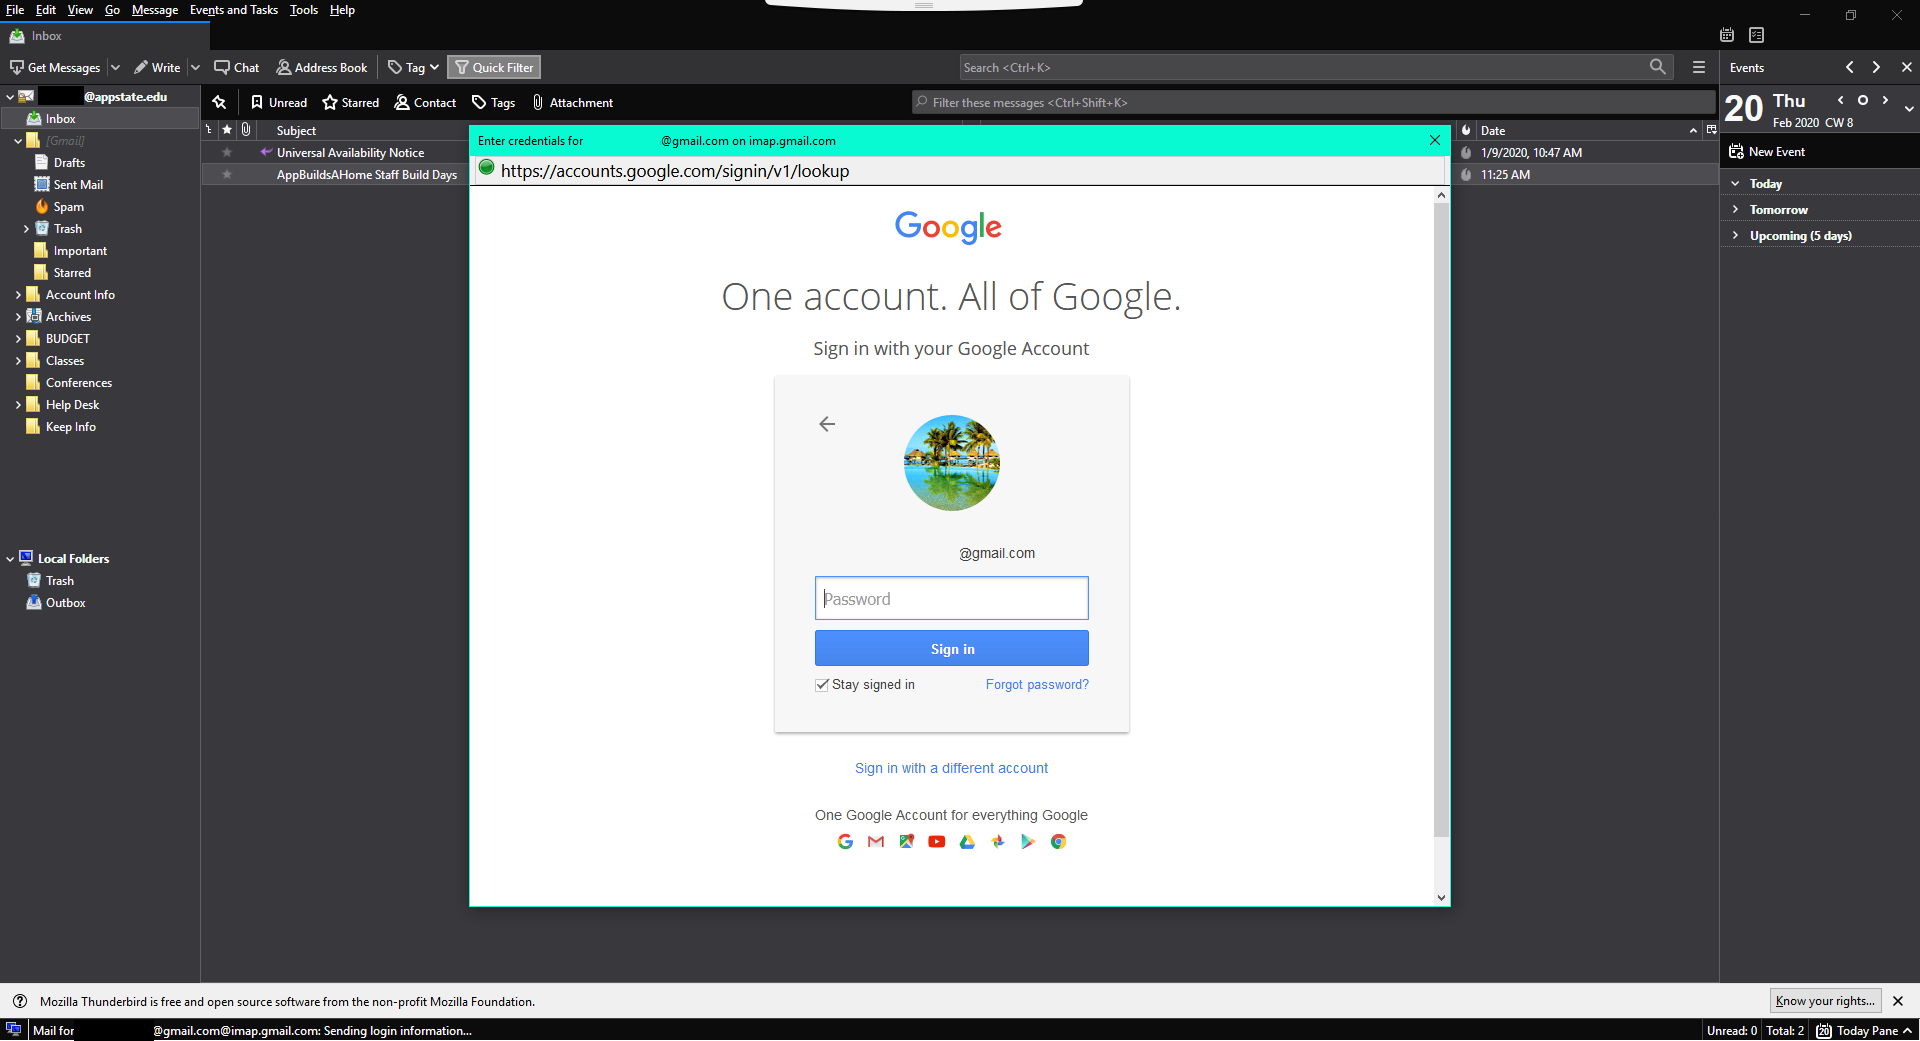
10. Enter your App State credentials.
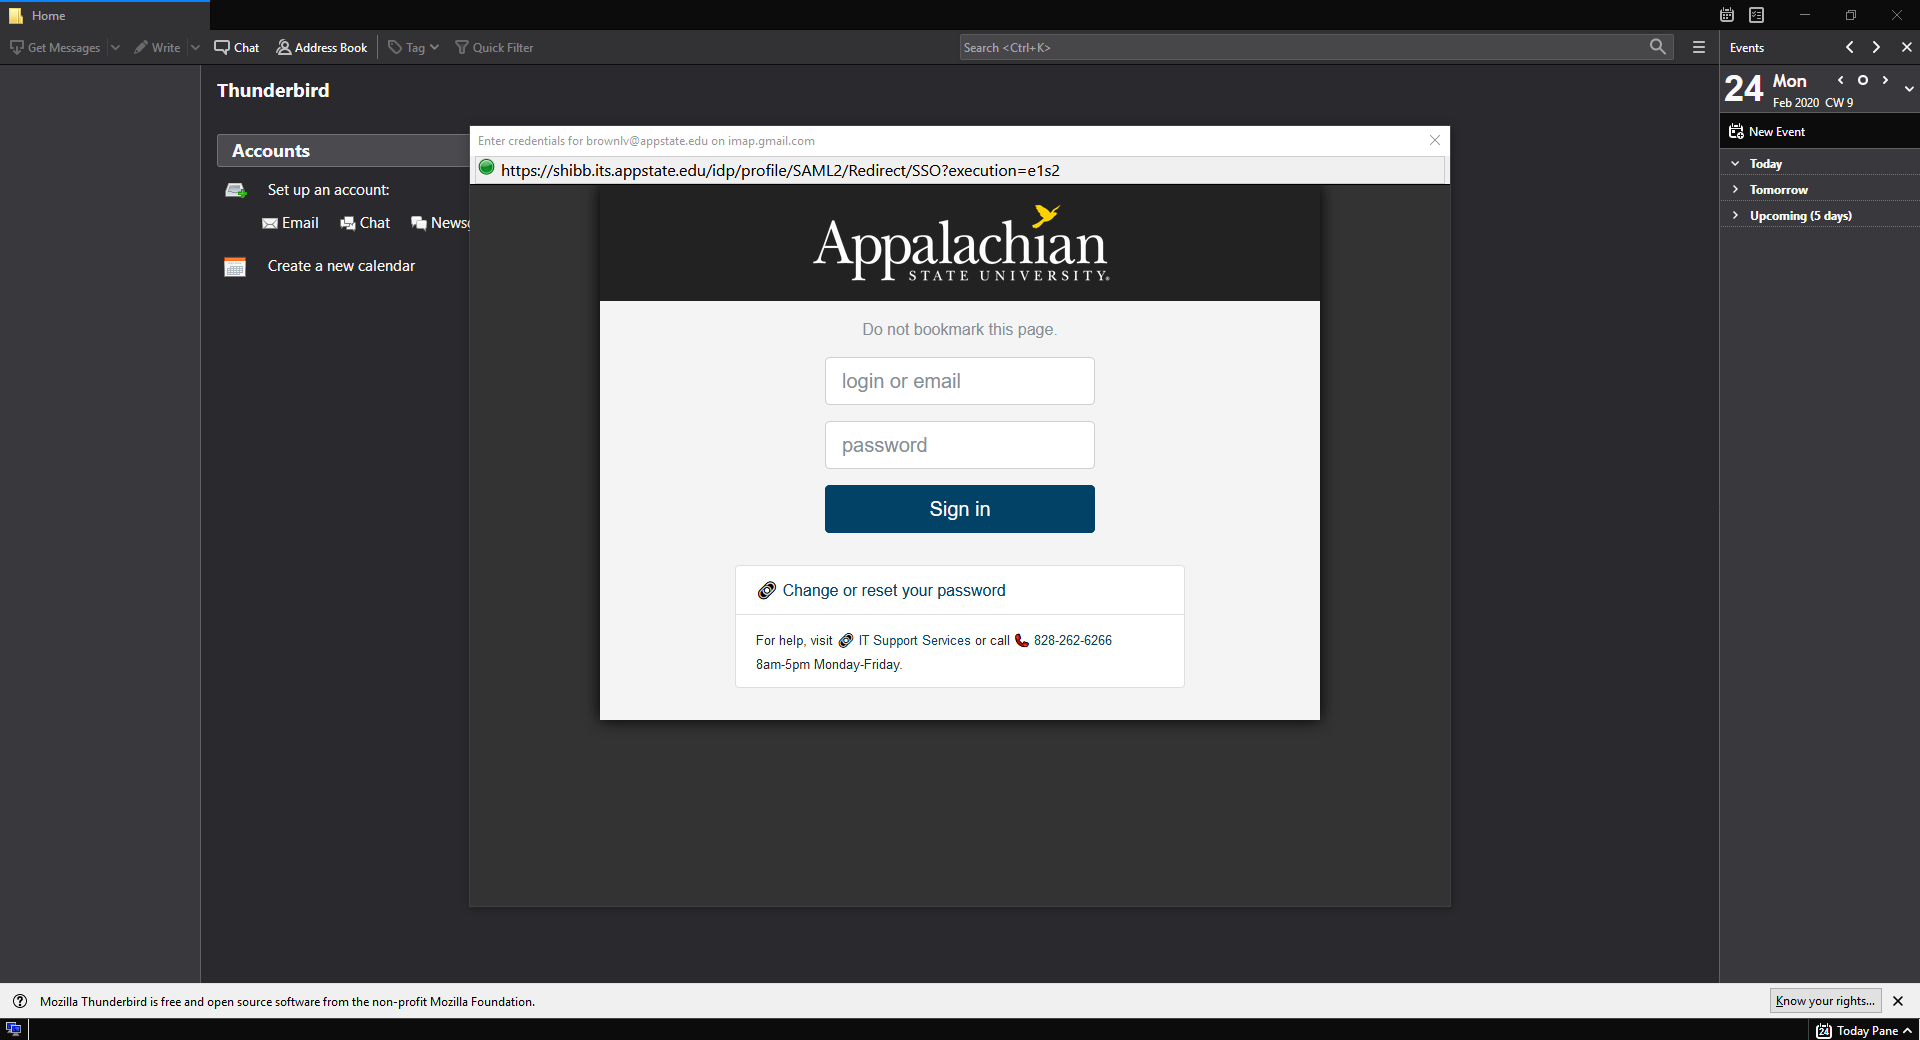
Image Modified

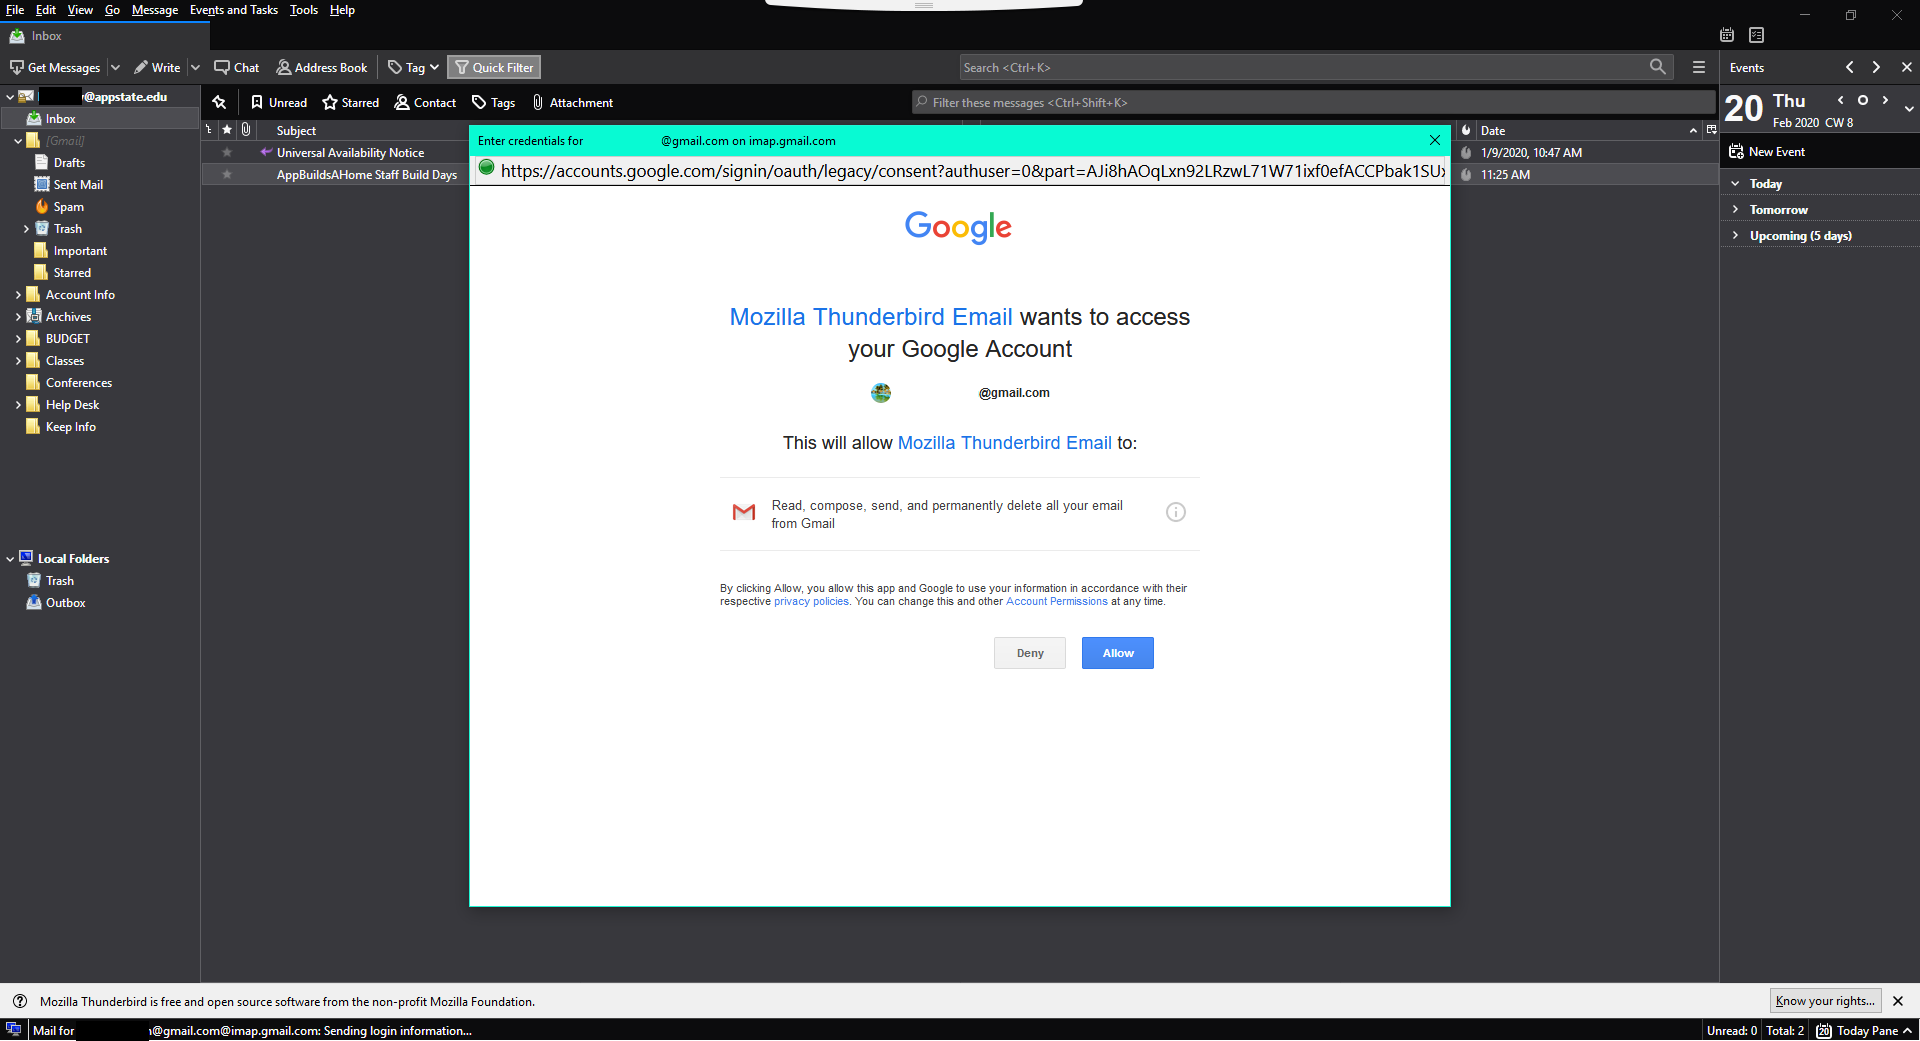
11. You will need to allow Mozilla Thunderbird Email access to your App State Google Account.
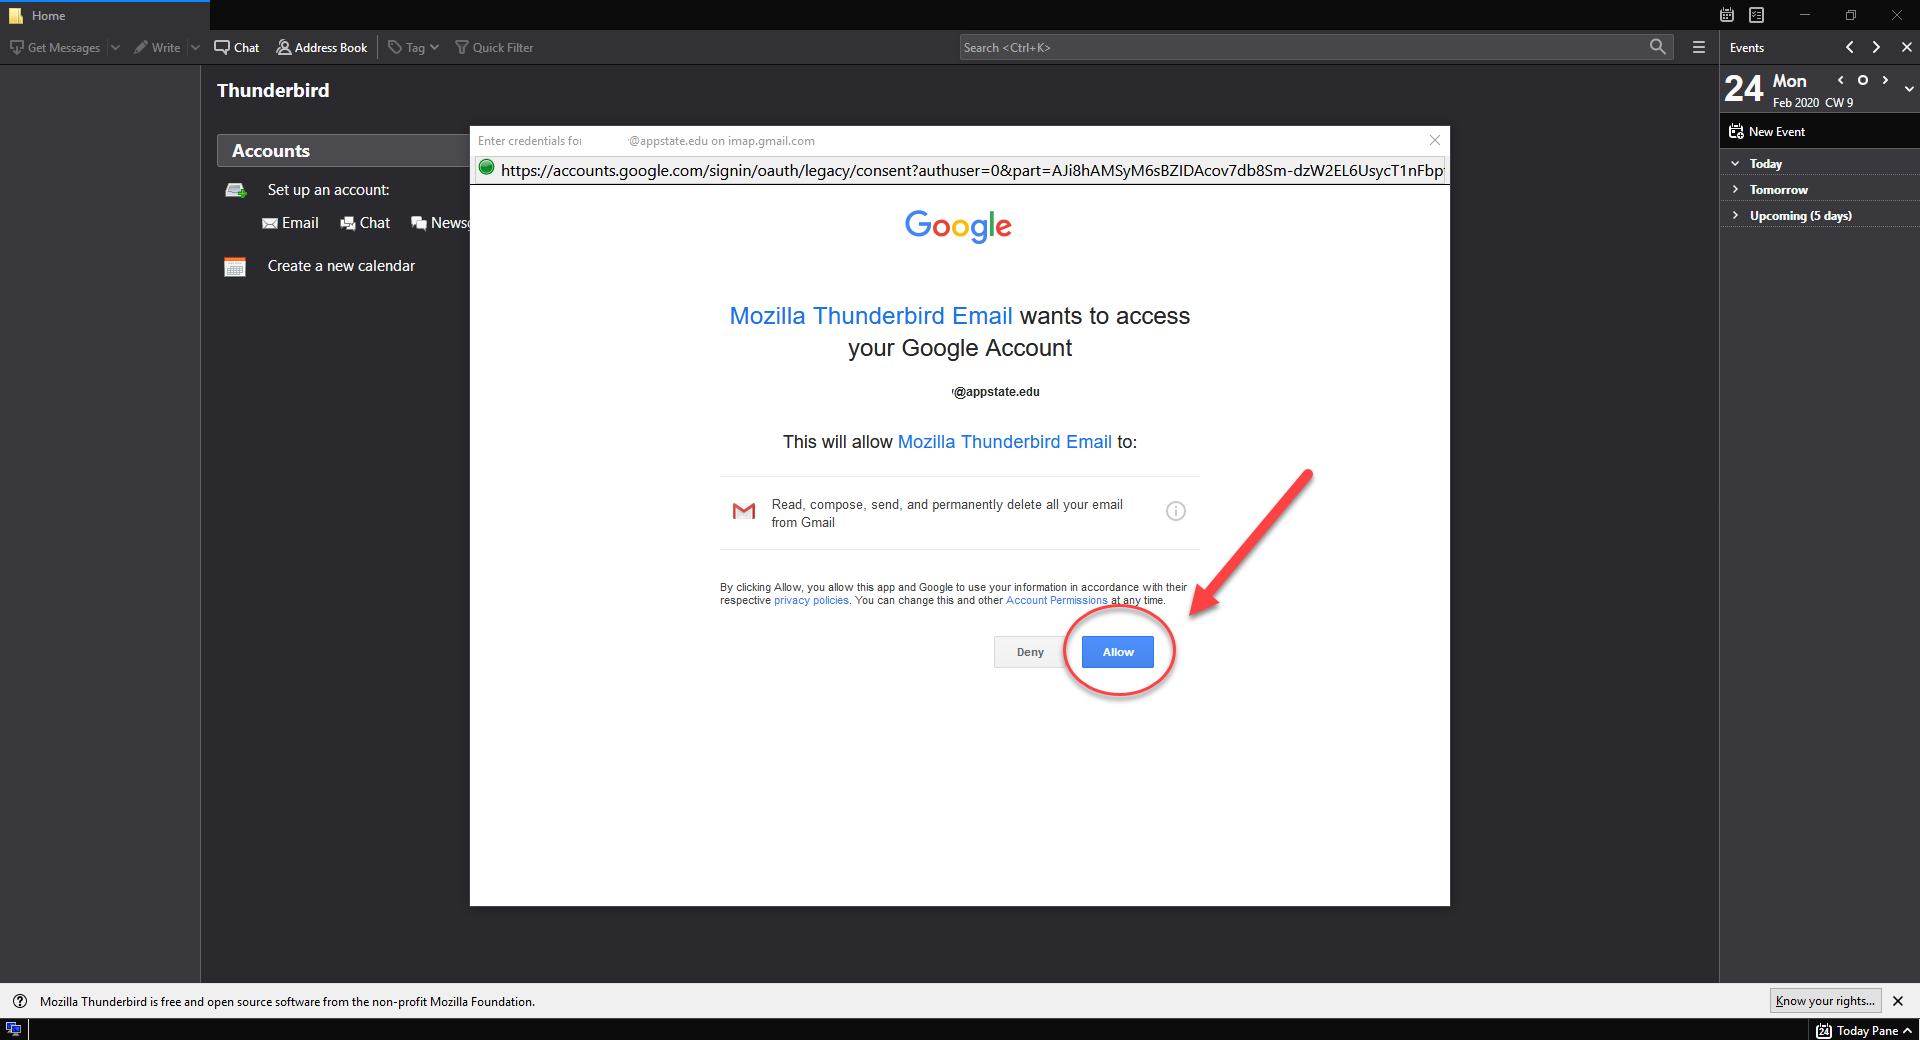
Image Modified

12. Under the System Integration pop-up, we recommend selecting “Skip Integration”.
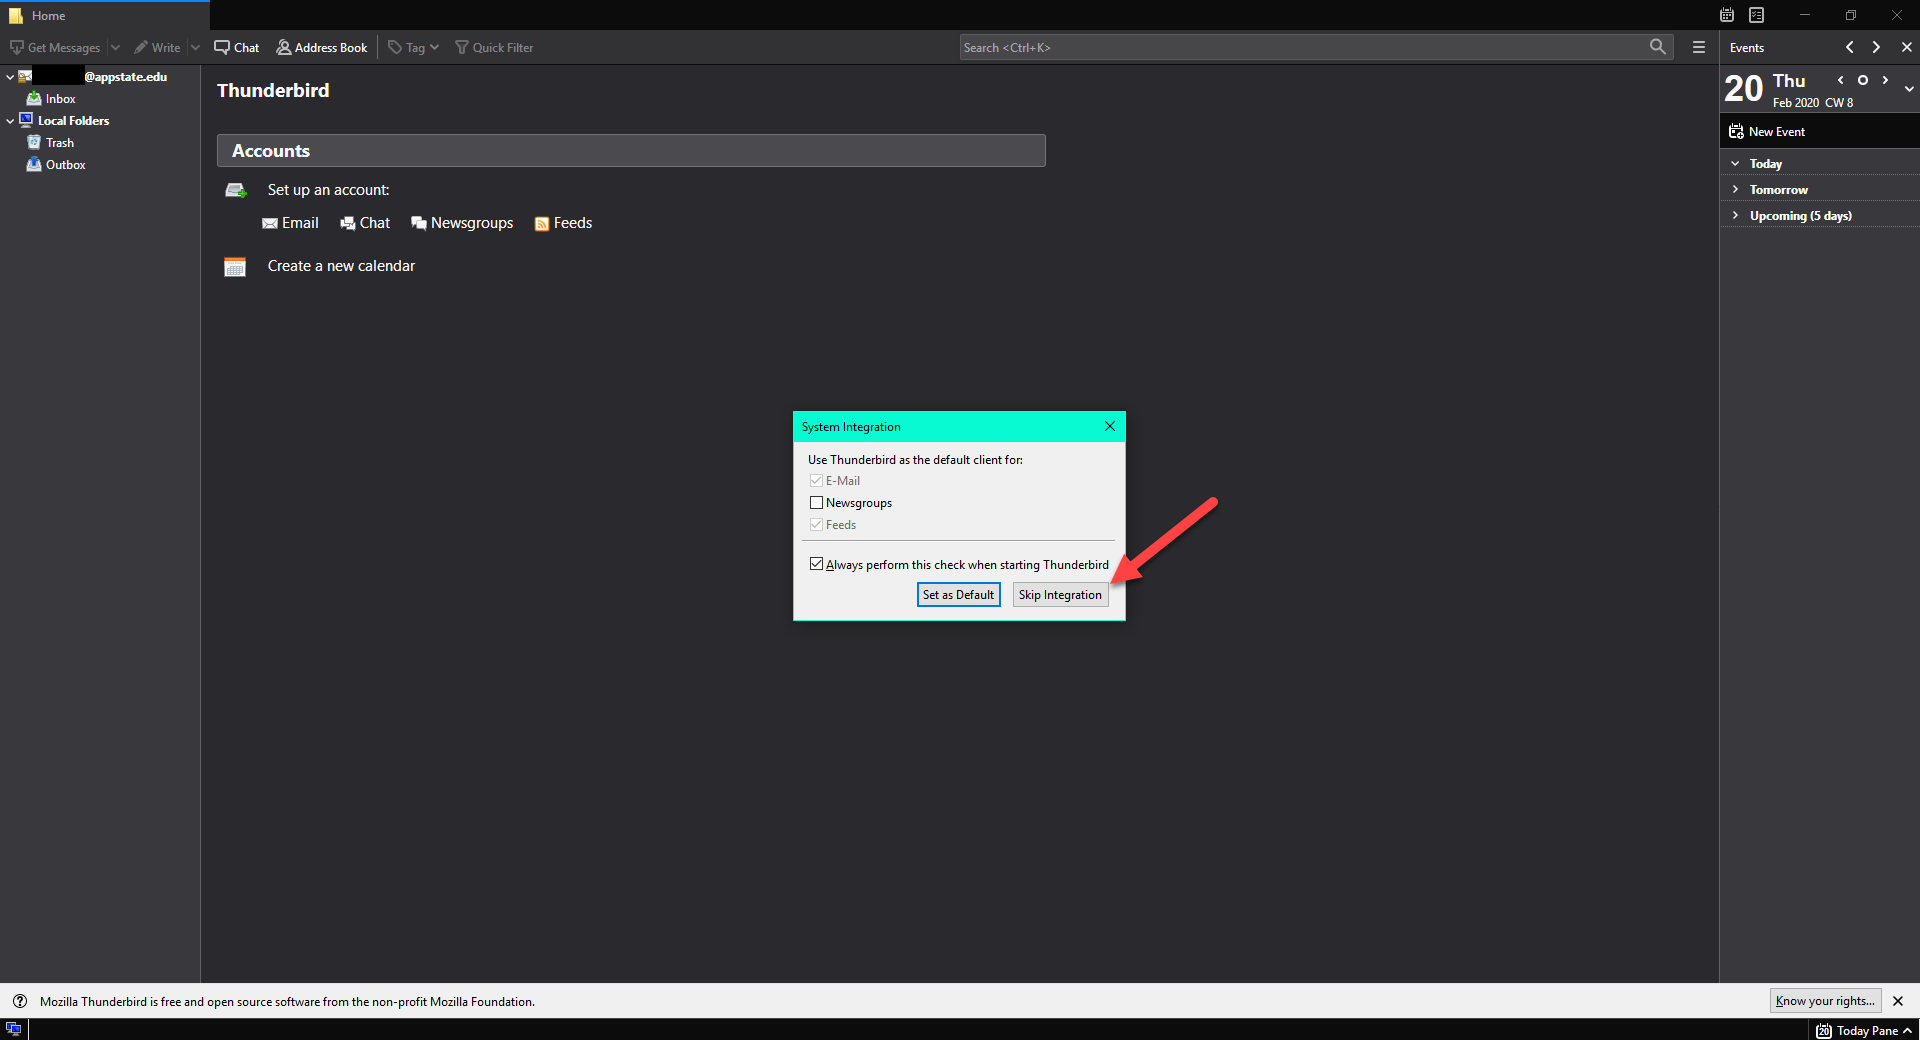
Image Modified

13. If your menu bar is not showing at the top, you may need to right-click at the top and select “Menu Bar”.
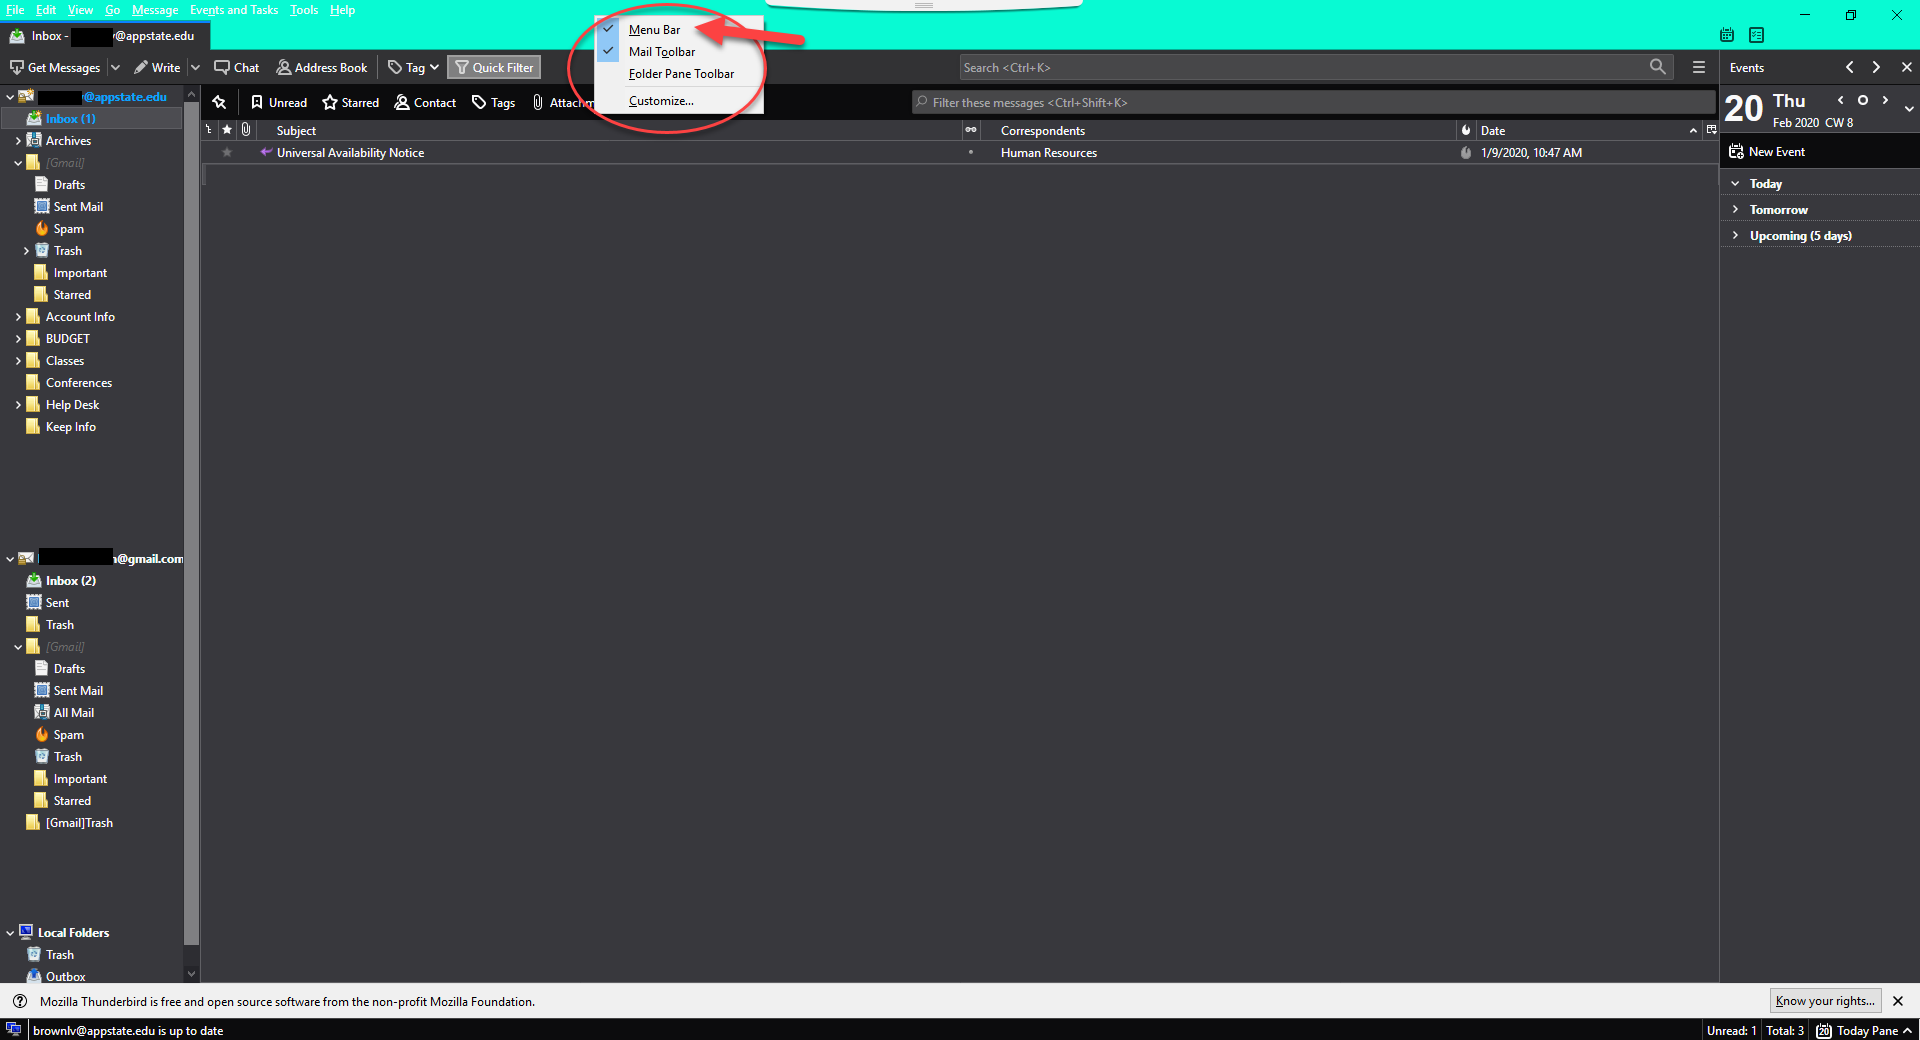
Image Modified

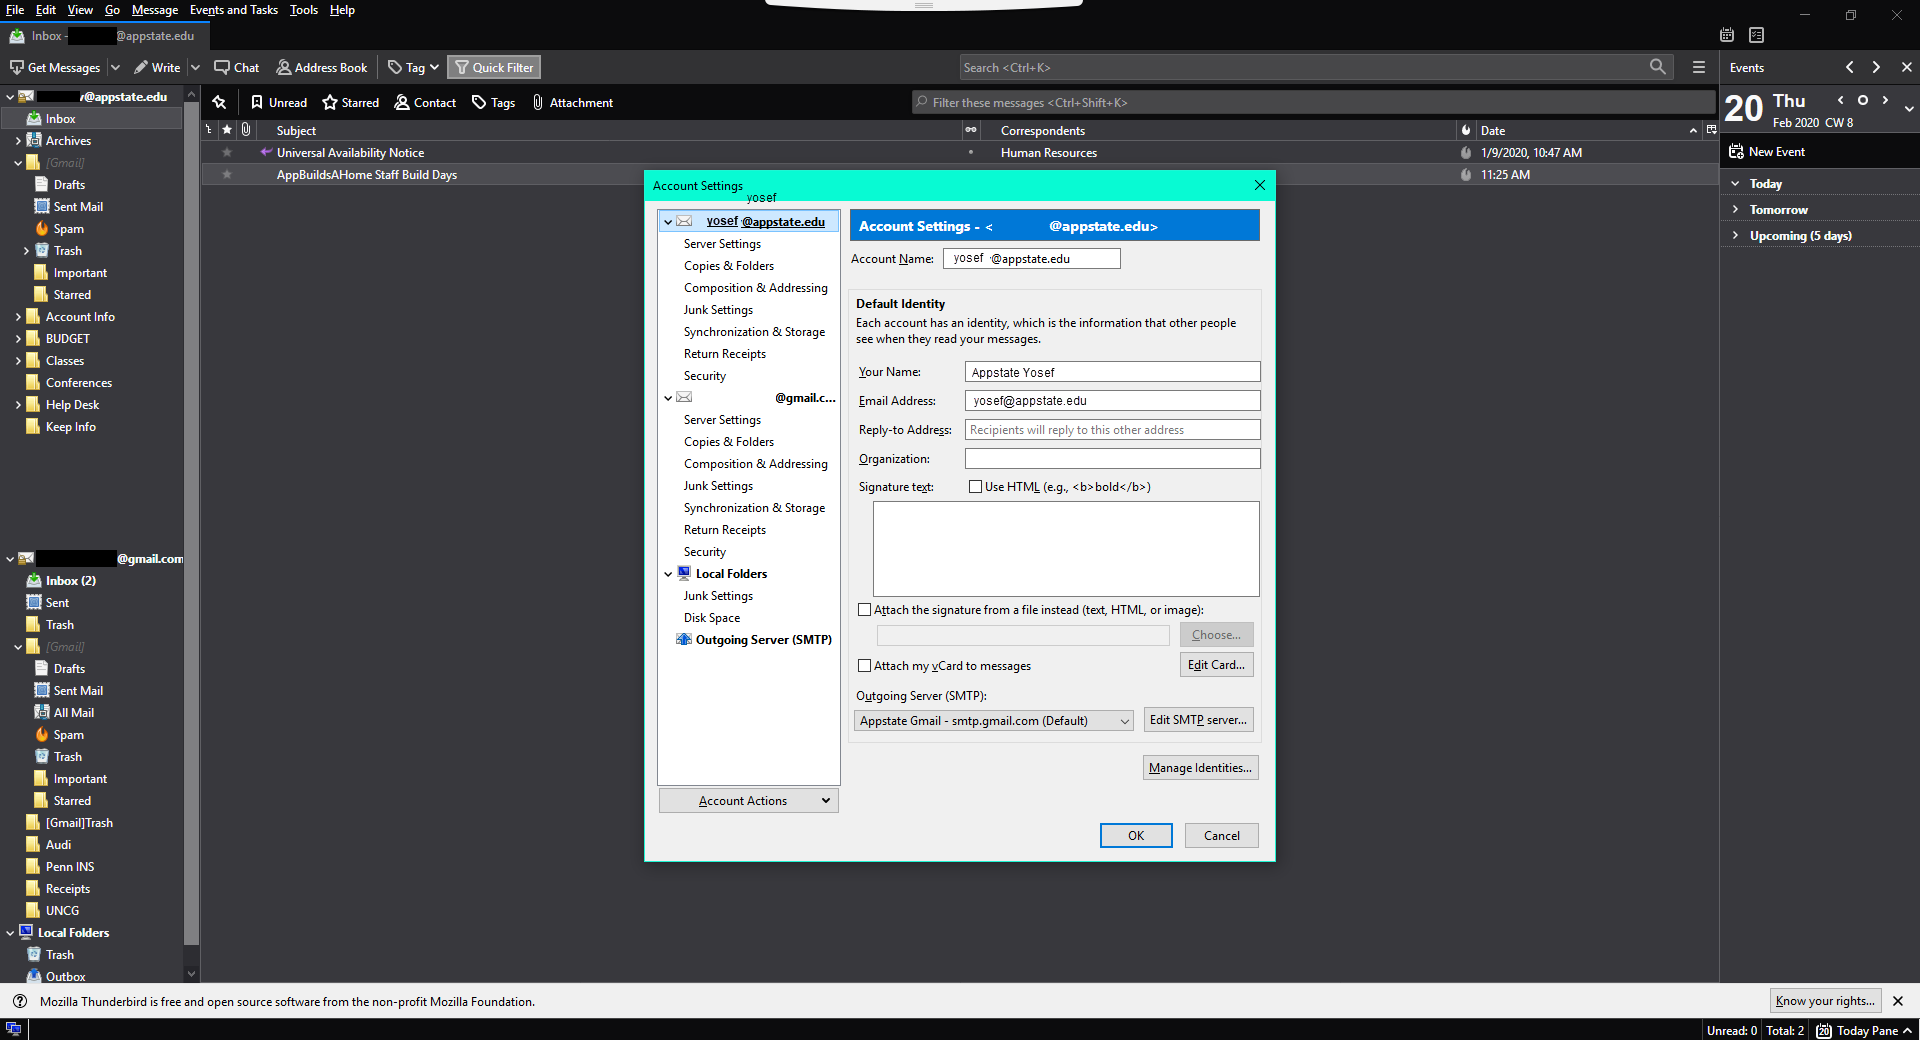
14. Select “Tools” from the Menu Bar and then select “Account Settings”.
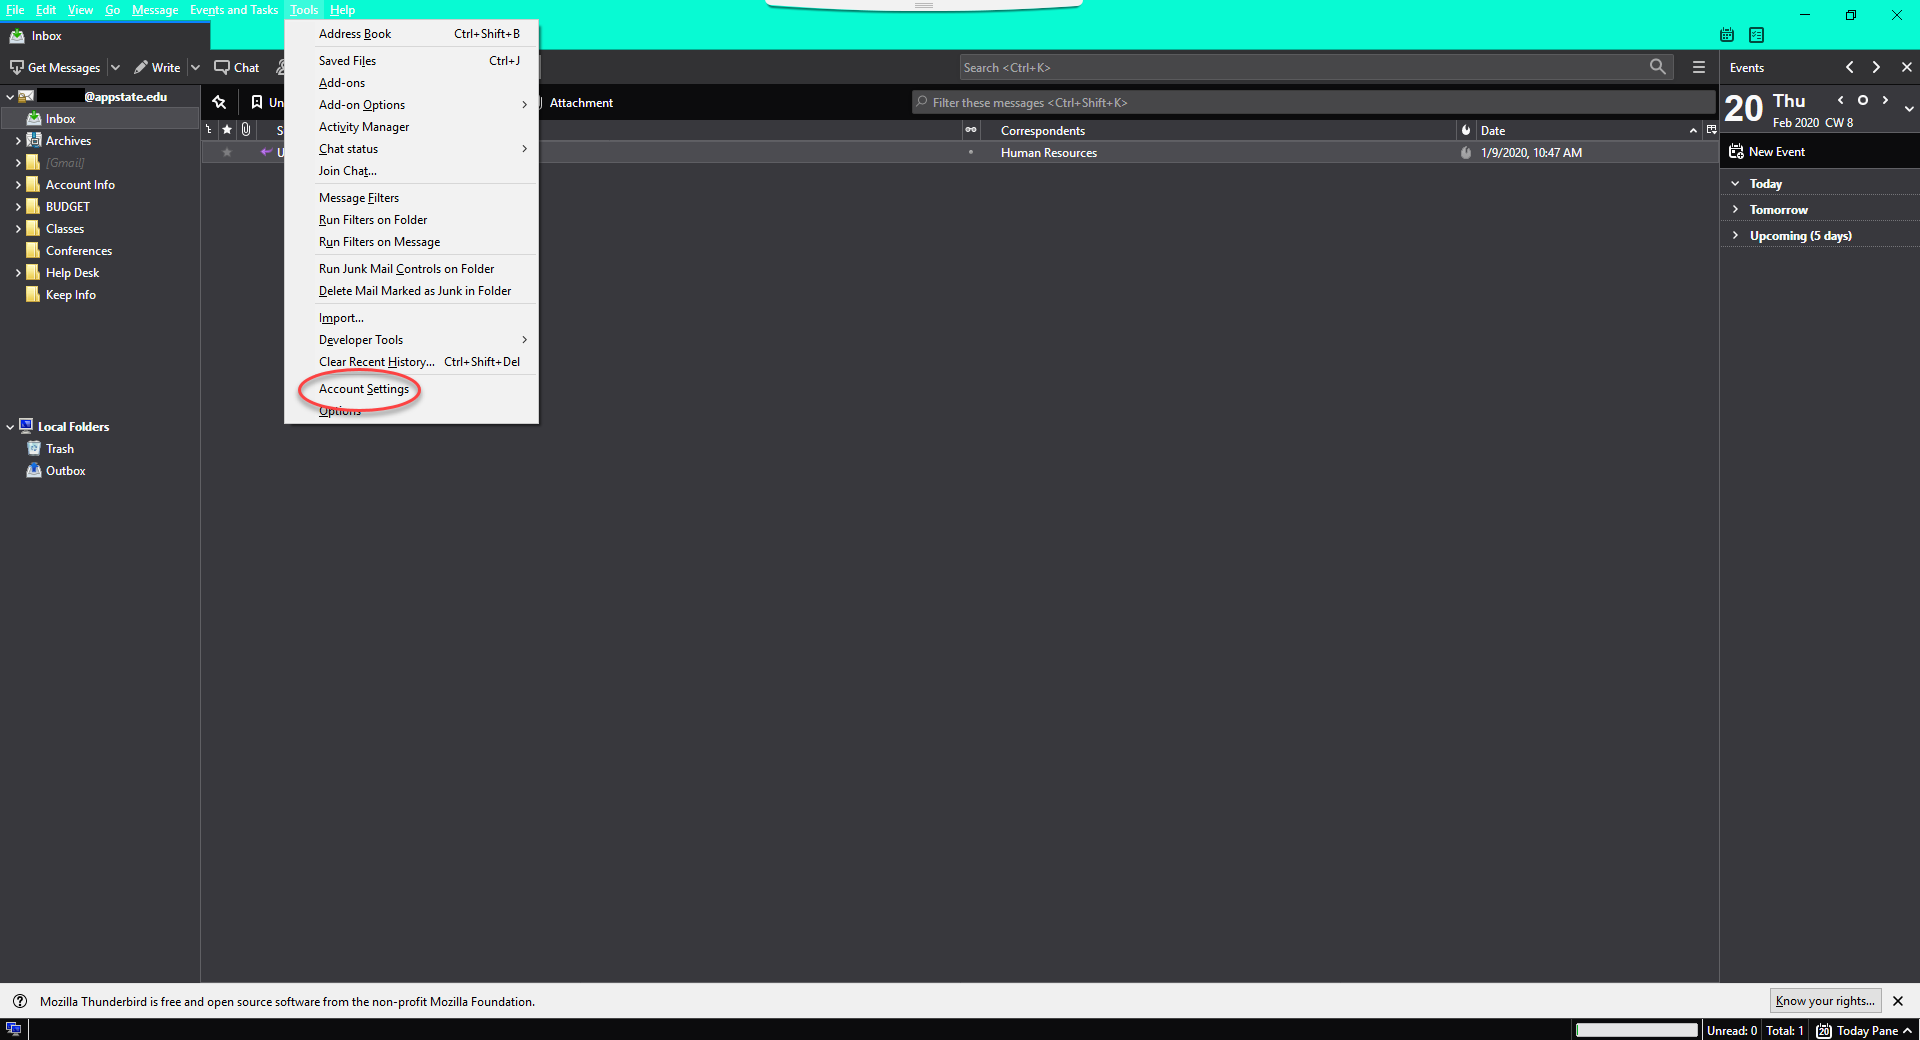
Image Modified

15. Select “Account Actions” and then select “Add Mail Account…”

Image Modified

16. Enter your new retiree Gmail information and click “Continue”.

Your Name: First Last

Email Address:

...

 username@retired.appstate.edu (your username will not change) 

Password: New password established on your first sign-in to the web interface.  

Image Modified

17. You will see the screen below and be prompted to sign in again. Enter your full retiree address, username@retired.appstate.edu.

Image Modified

18. Enter your password.

Image Modified

19. You will need to select “Allow” so that Mozilla Thunderbird Email will have access to your account.

Image Modified

You should now see both your old App State email account and your new retiree email account listed under the “Account Settings”. Select "OK".

Image Modified


Expand
titleStep 4: Copy your personal emails from App State to @Retired Gmail account

You can now drag the personal folder you created from your App State email account and drop them in your personal email account

 Image Added


*NOTE:
If you have a large number of emails, the process could take a while for all emails in the folder to migrate


Expand
titleTransferring Data on a Mac Device


Expand
titleStep 1: Install Thunderbird Mail Client

1. Navigate tothunderbird.net.

2. Select “Free Download”.


Image Added


3. Look in the lower-left corner for the .dmg file that is downloaded. Click it to start the installation (If you do not see the .dmg file there, open your “Downloads” folders and click on the .dmg file to start the installation.

Image Added


4. Drag the Thunderbird icon to the Applications folder icon.

Image Added

5. Go to your Applications folder and launch Thunderbird. Select “Open” when prompted.


Image Added


Expand
titleStep 2: Configure Thunderbird

1. When Thunderbird opens, select File>New>Existing Mail Account.


Image Added

2. Enter your App State email account information in the “Set Up Your Existing Email Address” box and then click "Continue."

Image Added

3. Click "Configure Manually".

Image Added

4. Change "Authentication" on the Incoming and Outgoing servers to "OAuth2". Click Done.

Image Added


5. Sign in to your App State account.

Image Added

6. Enable Thunderbird to access your App State Google account.

Image Added


Expand
titleStep 3: Add your personal email account to Thunderbird

1. Select “Tools” from the Menu Bar and then select “Account Settings”.

Image Added

2. Select “Account Actions” and then select “Add Mail Account…”

Image Added


3. Enter your personal email information and click “Continue”.

Image Added

4. If your personal email account is a Google account, you will see the screen below and be prompted to sign in again. Enter your personal Gmail address and password and sign in. Click “Allow” when prompted let Thunderbird access your email.

Image Added


5. You should now see both your App State email account and your personal email account listed under the “Account Settings”. Select “OK”.

Image Added


Expand
titleStep 4: Copy your personal emails from App State to @Retired Gmail account

You can now drag folders from your App State email account and drop them in your personal email account.

 Image Modified

*NOTE: If you have a large number of emails, the process could take a while for all emails in the folder to migrate.


Content by Label
showLabelsfalse
max50
showSpacefalse
sorttitle
cqllabel = "google-backup" and space = currentSpace()


Search Knowledge Base


Submit a Service Request


Page properties
hiddentrue


Related issues


...