Overview
GitHub Desktop provides a graphical interface for Git operations, eliminating the need for command-line knowledge while maintaining full Git functionality.
Initial Setup
- Navigate to GitHub Desktop and click download.

- Choose the download for your device type.
Linux users can use the community fork github.com/shiftkey/desktop.

- Open the installer.

- Open the GitHub desktop application and click File then Options.

- Choose the option to Sign into GitHub Enterprise.
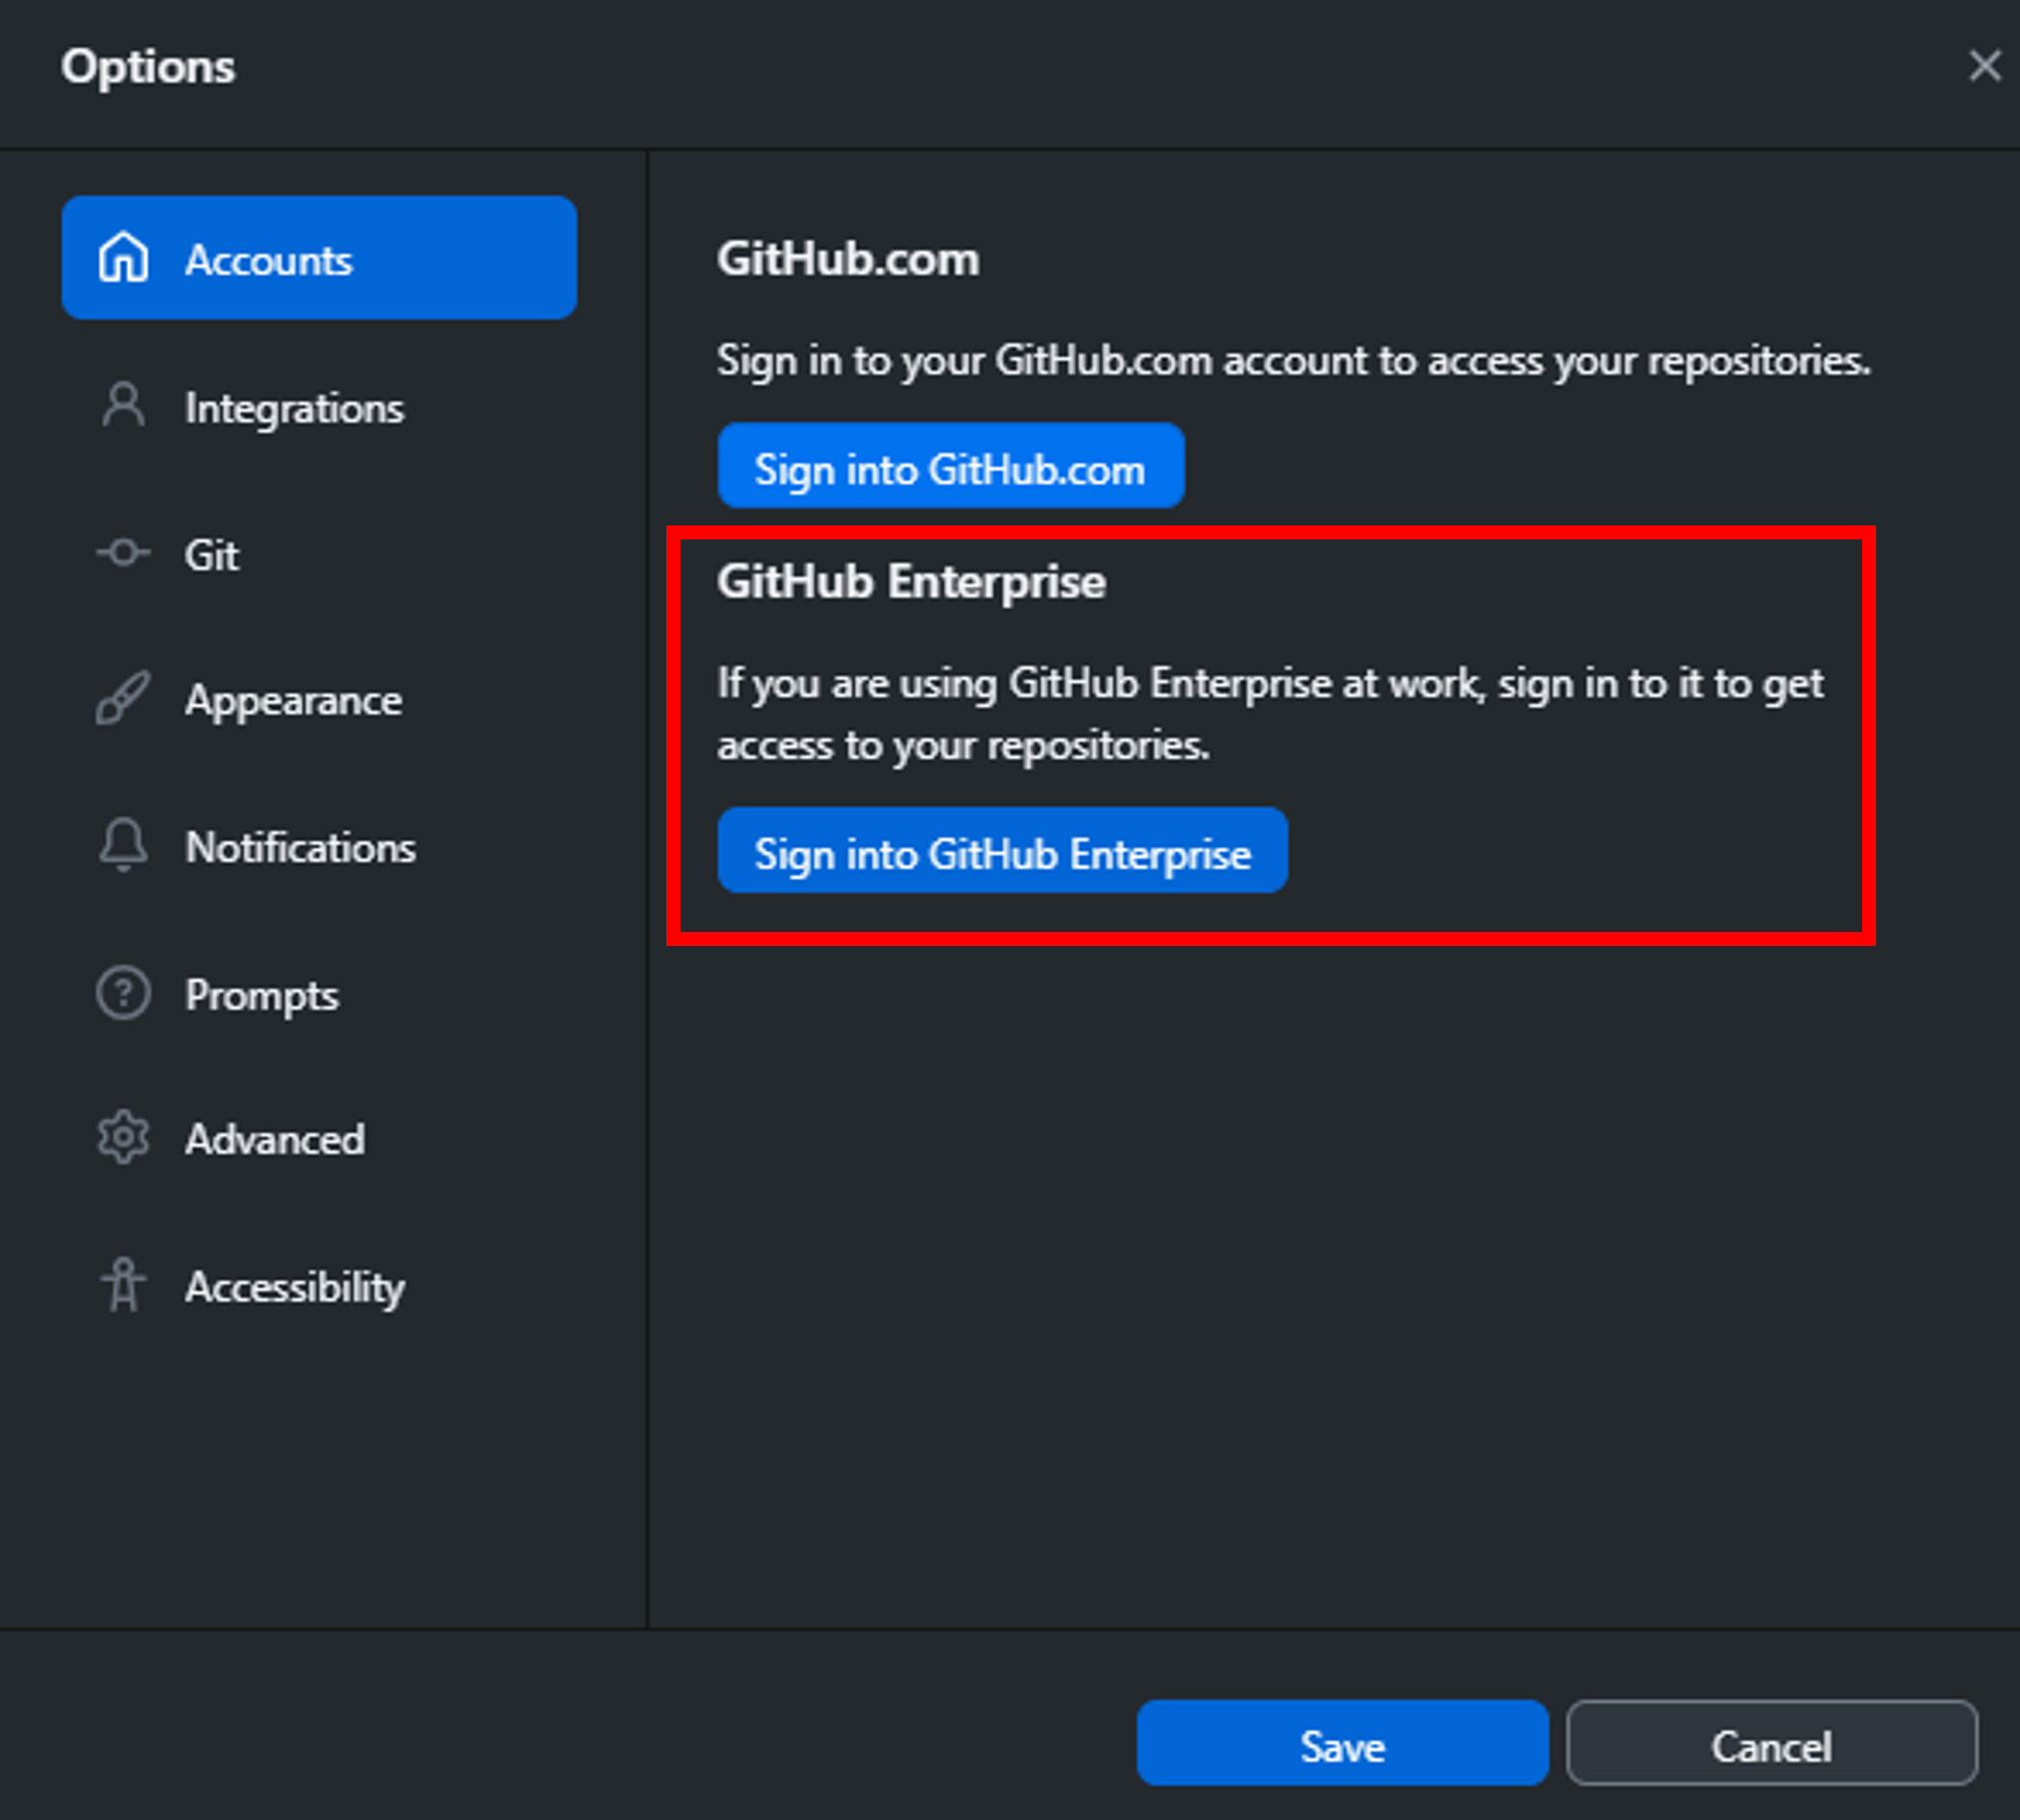
- Enter the Enterprise address, which is "https://github.com/" + "your username" + "_appstate" and then click Continue.

- Next, click Continue with browser.

- This will automatically open your browser at the enterprise domain, where you can verify your GitHub desktop session. Click Continue to verify.

- Click Authorize desktop to gain access to your GitHub account in the desktop application.

Configure your Git settings:
- Click your profile picture icon in the GitHub desktop app left sidebar, then click Open git settings.

- From here, you can add your name or update your default branch name to something that better matches your workflow.

Core GitHub Desktop Operations
Cloning Repositories
Committing and reviewing changes
Merging & Pull Requests
- Creating a pull request
- Creating an issue or pull request from GitHub Desktop
- Viewing a pull request in GitHub Desktop
Syncing Changes
Merge Conflicts
GitHub Desktop Features
- Stashing changes
- Cherry-picking a commit
- Managing commits (includes reverting)
- Viewing the branch history
Integration & Configuration
Editor Integration
Git LFS
.gitignore - Ignoring files
Signed Commits - About commit signature verification
Settings & Configuration
- Configuring basic settings
- Configuring Git for GitHub Desktop
- Setting up GitHub Desktop
- GitHub Desktop keyboard shortcuts
Tips
- Review before commit: Always check the diff view
- Commit often: Small, focused commits
- Sync regularly: Fetch/pull frequently
- Use branches: Don't work directly on main
- Write good messages: Clear commit summaries