...
| Expand | |||||||
|---|---|---|---|---|---|---|---|
| |||||||
1. Authenticate at the printer by either AppCard, Banner ID or App State username and password. 2. After logging in and clicking Scan from the main menu, load your document into the scanning tray face up with the left horizontal edge feeding into the printer.
3. On the printer, click Google Drive.
4. On the Scan Details screen that follows, you can change the filename of your document or adjust the print settings.
5. Change the filename of your document by clicking the filename box, typing a new name, and click OK.
6. To change the print settings, click Change Settings:
7. In the Scan Settings screen that follows, you can change the duplex mode, orientation, paper size, file type, DPI, or color mode of your scan. Click Start after your changes have been made.
8. To scan multiple pages, click the Scan next page button. To scan multiple documents, click the Scan new document button.
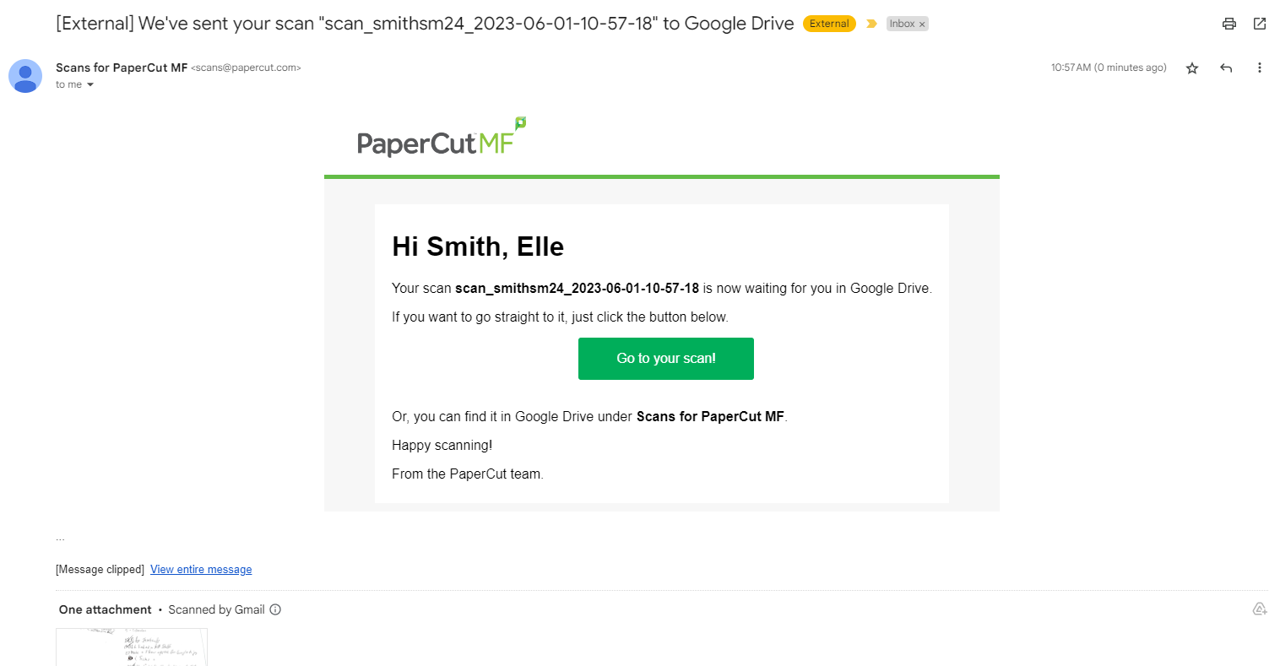
You will be sent an email confirmation that the scan has been sent to your Drive.
9. To find your scan in Drive, locate the folder called Scans for PaperCut MF.
First-time users of the Scan to Drive feature must authorize PaperCut to access their Google Drive.
|


...