This guide will show you how to use Jamf Self Service+ on your University-owned Mac to install apps or run utilities available from Appalachian State University. Self Service+ is installed on all University-owned Macs with an App State Build. If it is not already installed, please submit a service request.
Note: Jamf Self Service+ and the apps available from Self Service+ are licensed to Appalachian State University and are for University-owned machines only. These Applications can not be installed on your home/personal machine at this time.
Step-by-step guide
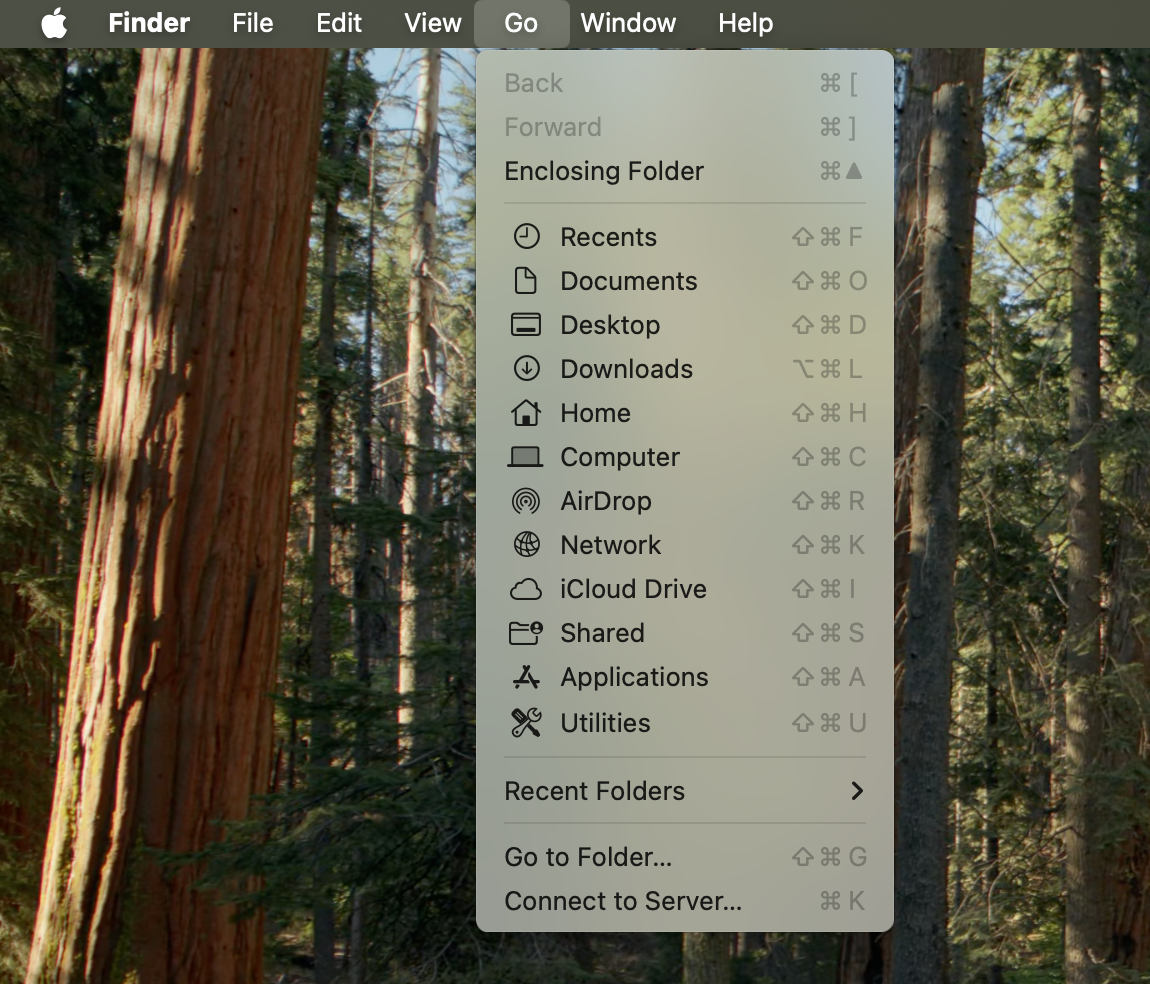
- Go to your Applications folder by clicking on your desktop background, and in the Menu Bar, select Go then Applications.
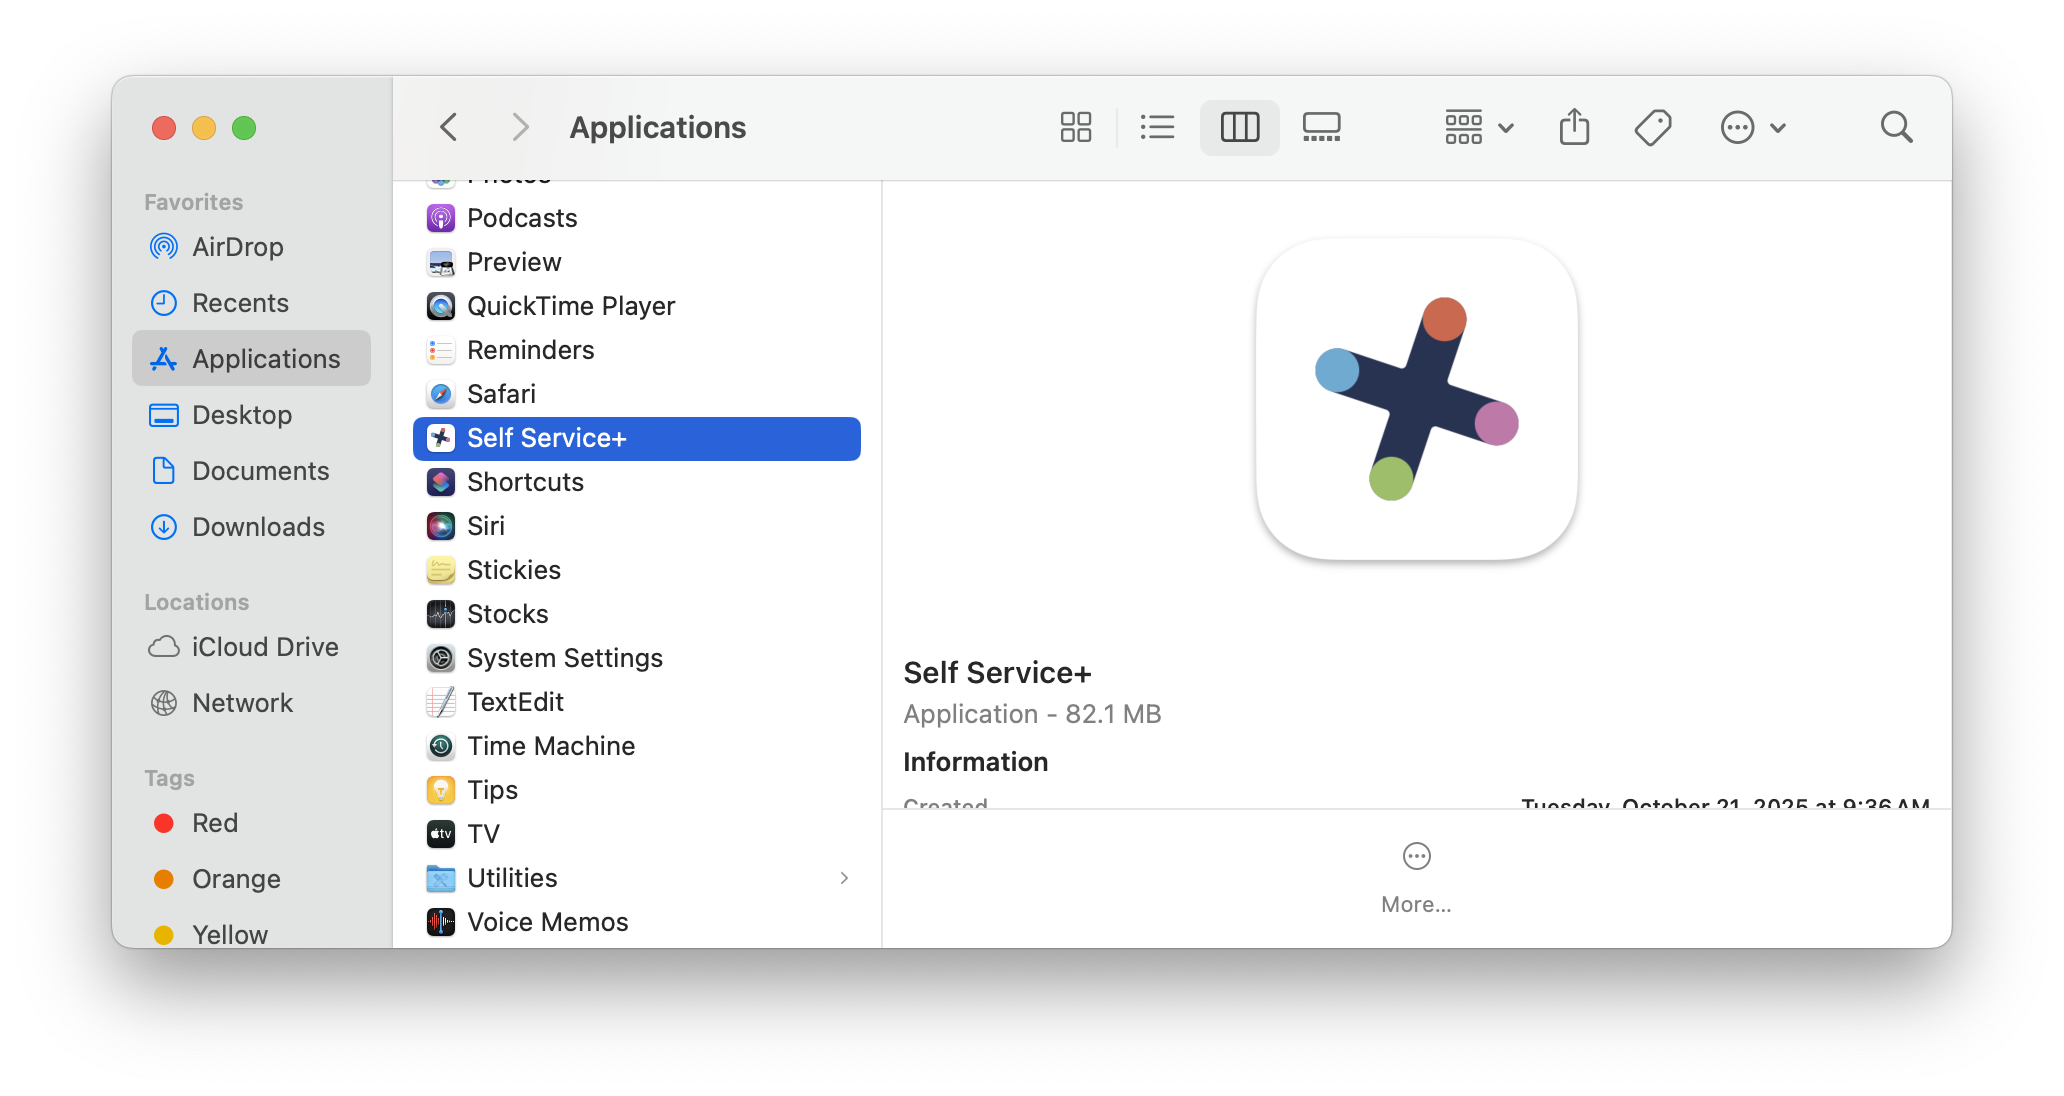
- Double-click Self Service+ to launch it.
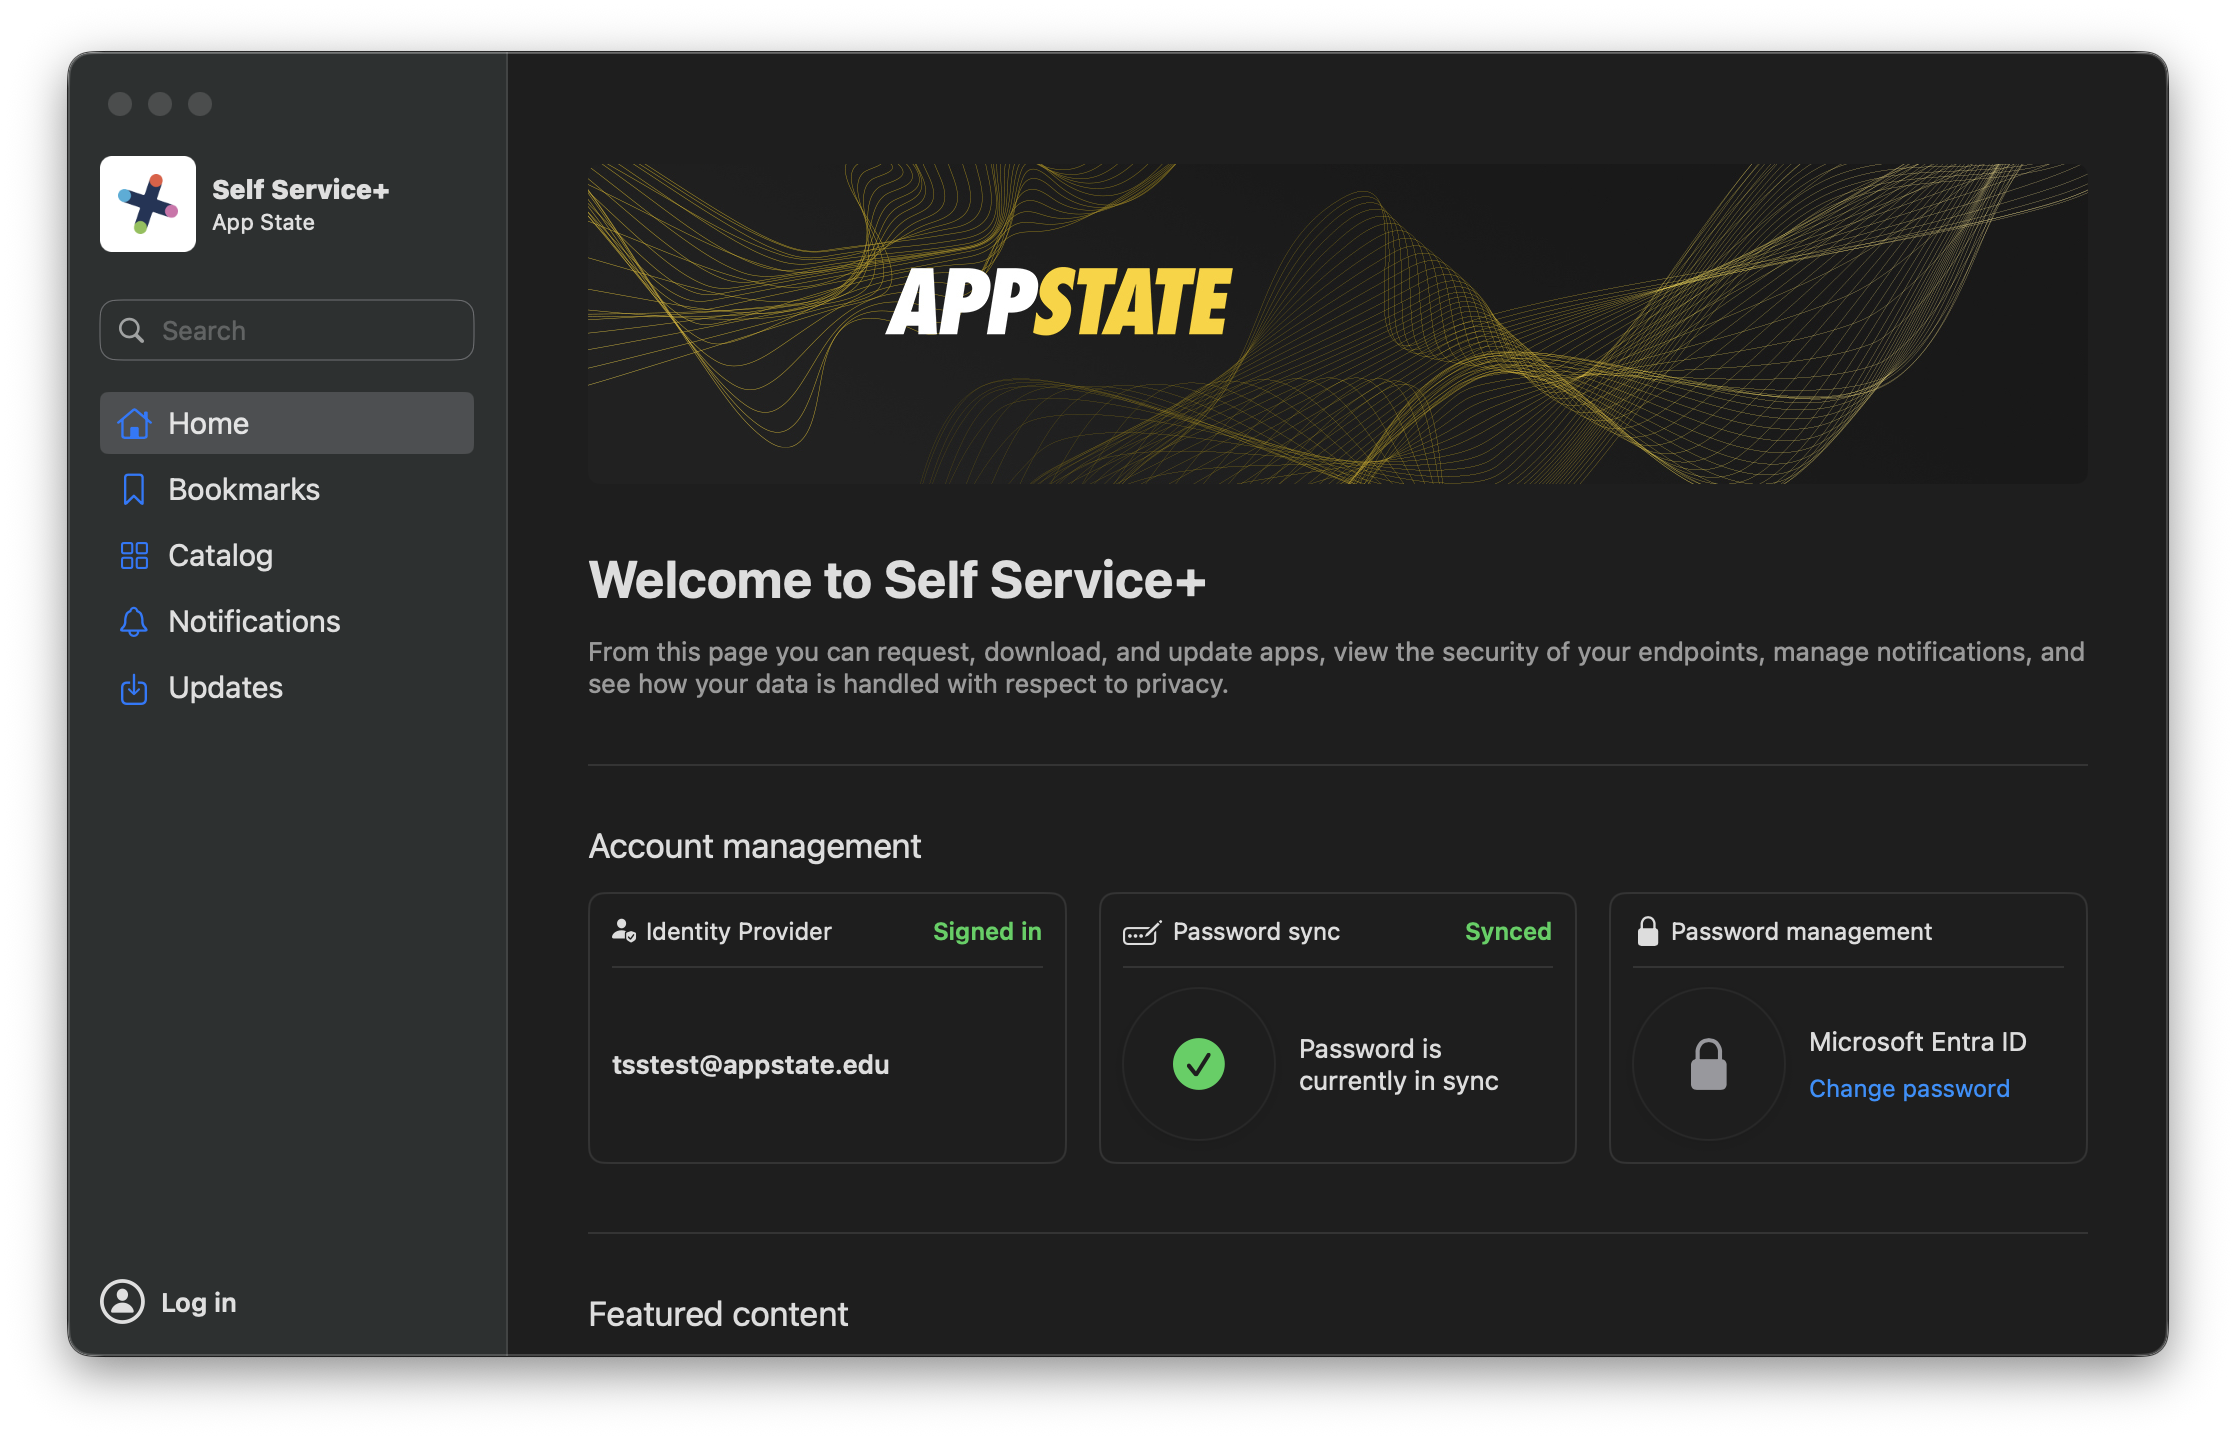
- You will be greeted with the Home page that shows information about the User, Identity Provider and Password Status. If you scroll down you will then see Featured content, which are the new or recommended apps. You can also find more apps by clicking on the Catalog on the left. Some apps are only available once you log in using your App State credentials. To do this, click on Log In in the bottom left.
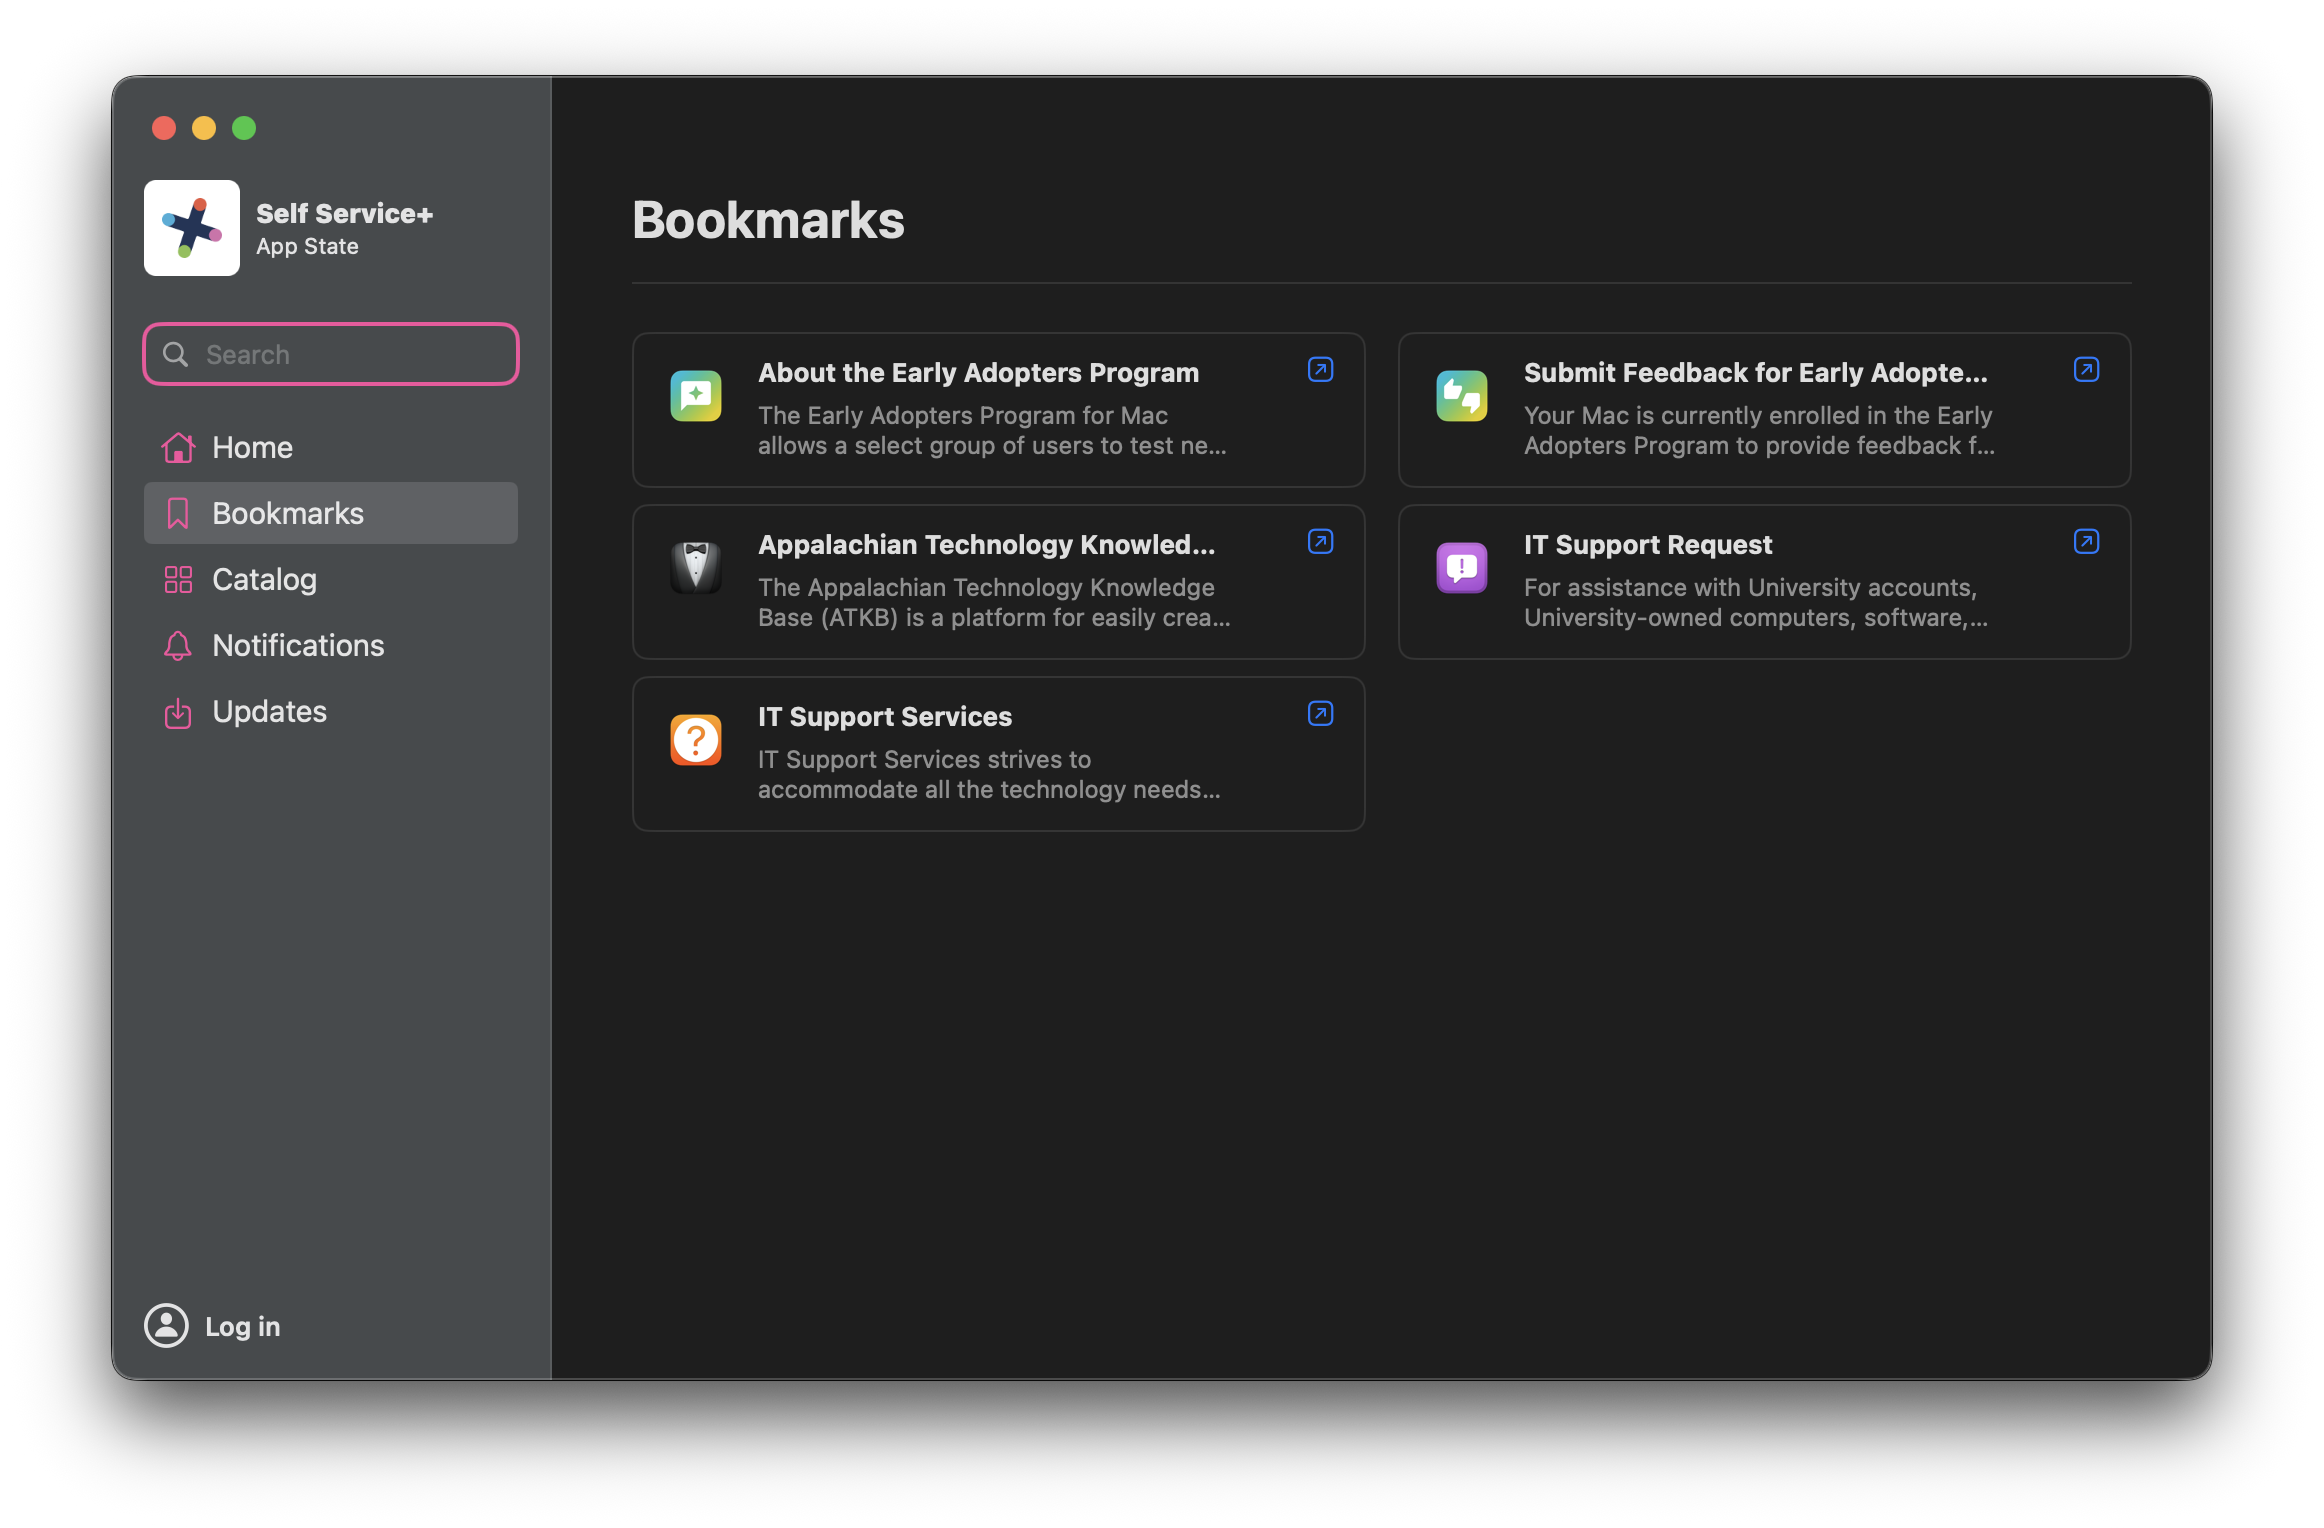
- For more information about the Early Adopters Program as well as Help Options with IT Support Services, select Bookmarks from the tab on the left.
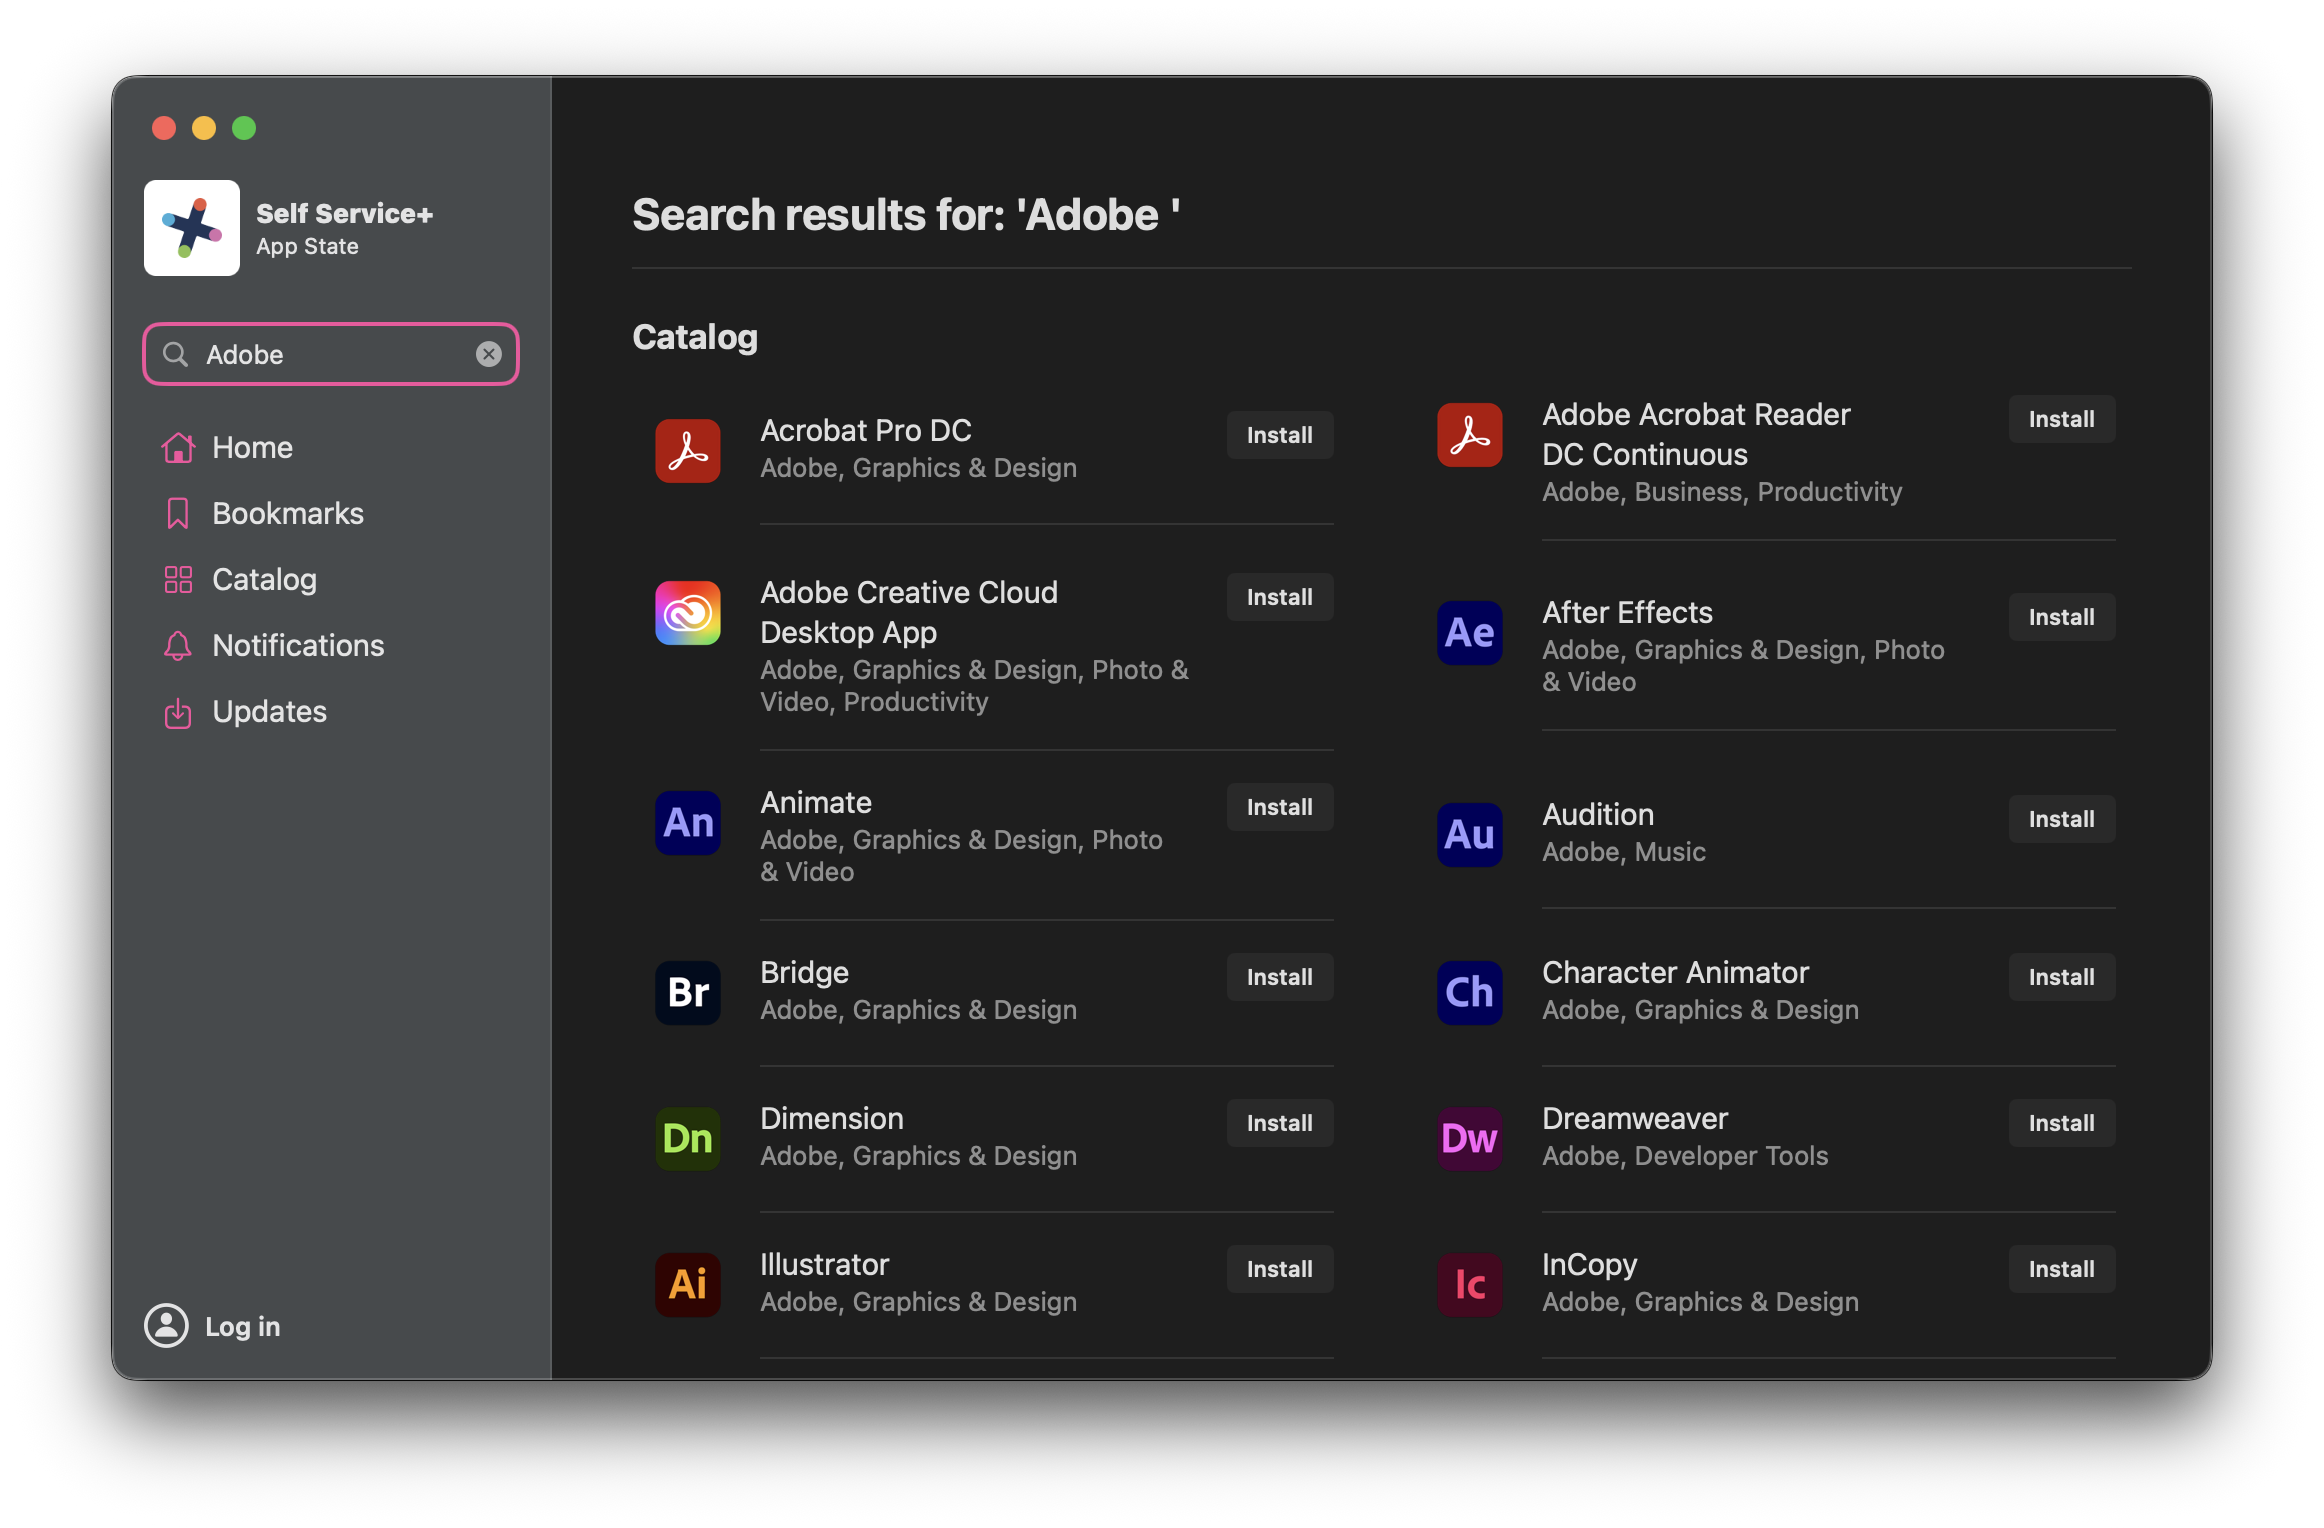
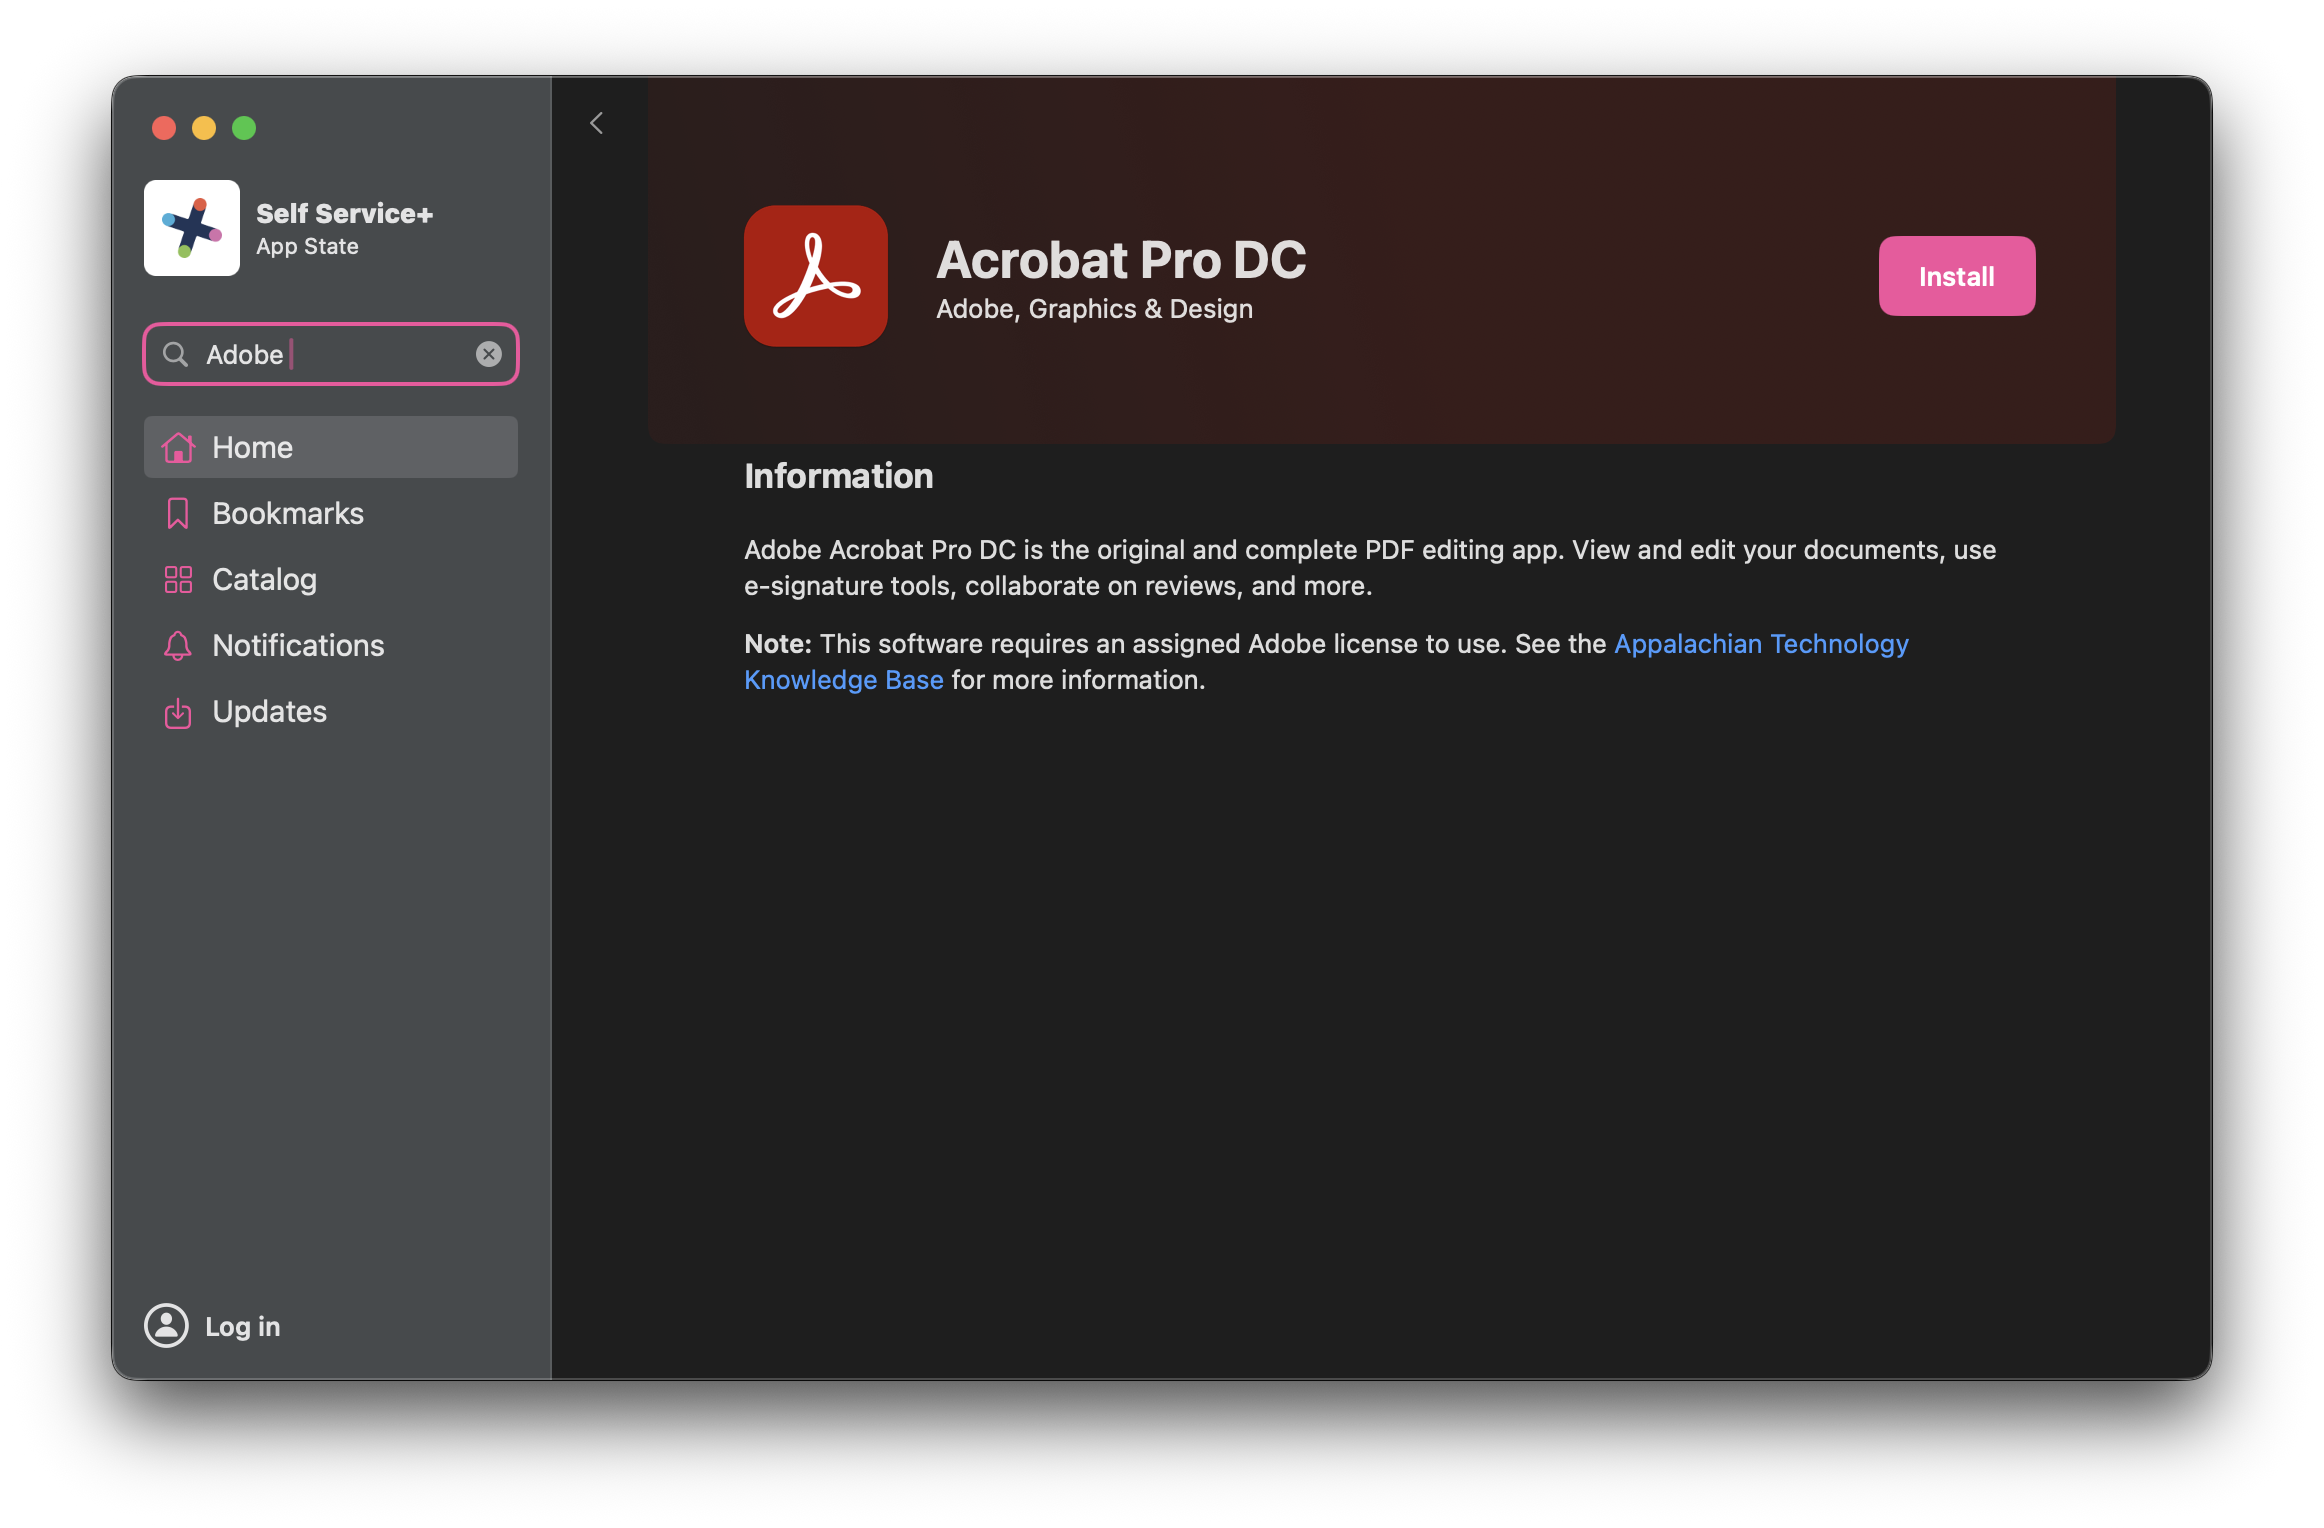
- When you find an app that you would like to install, click on the icon to bring up more details about the app. If you’re ready to install it, simply click Install.
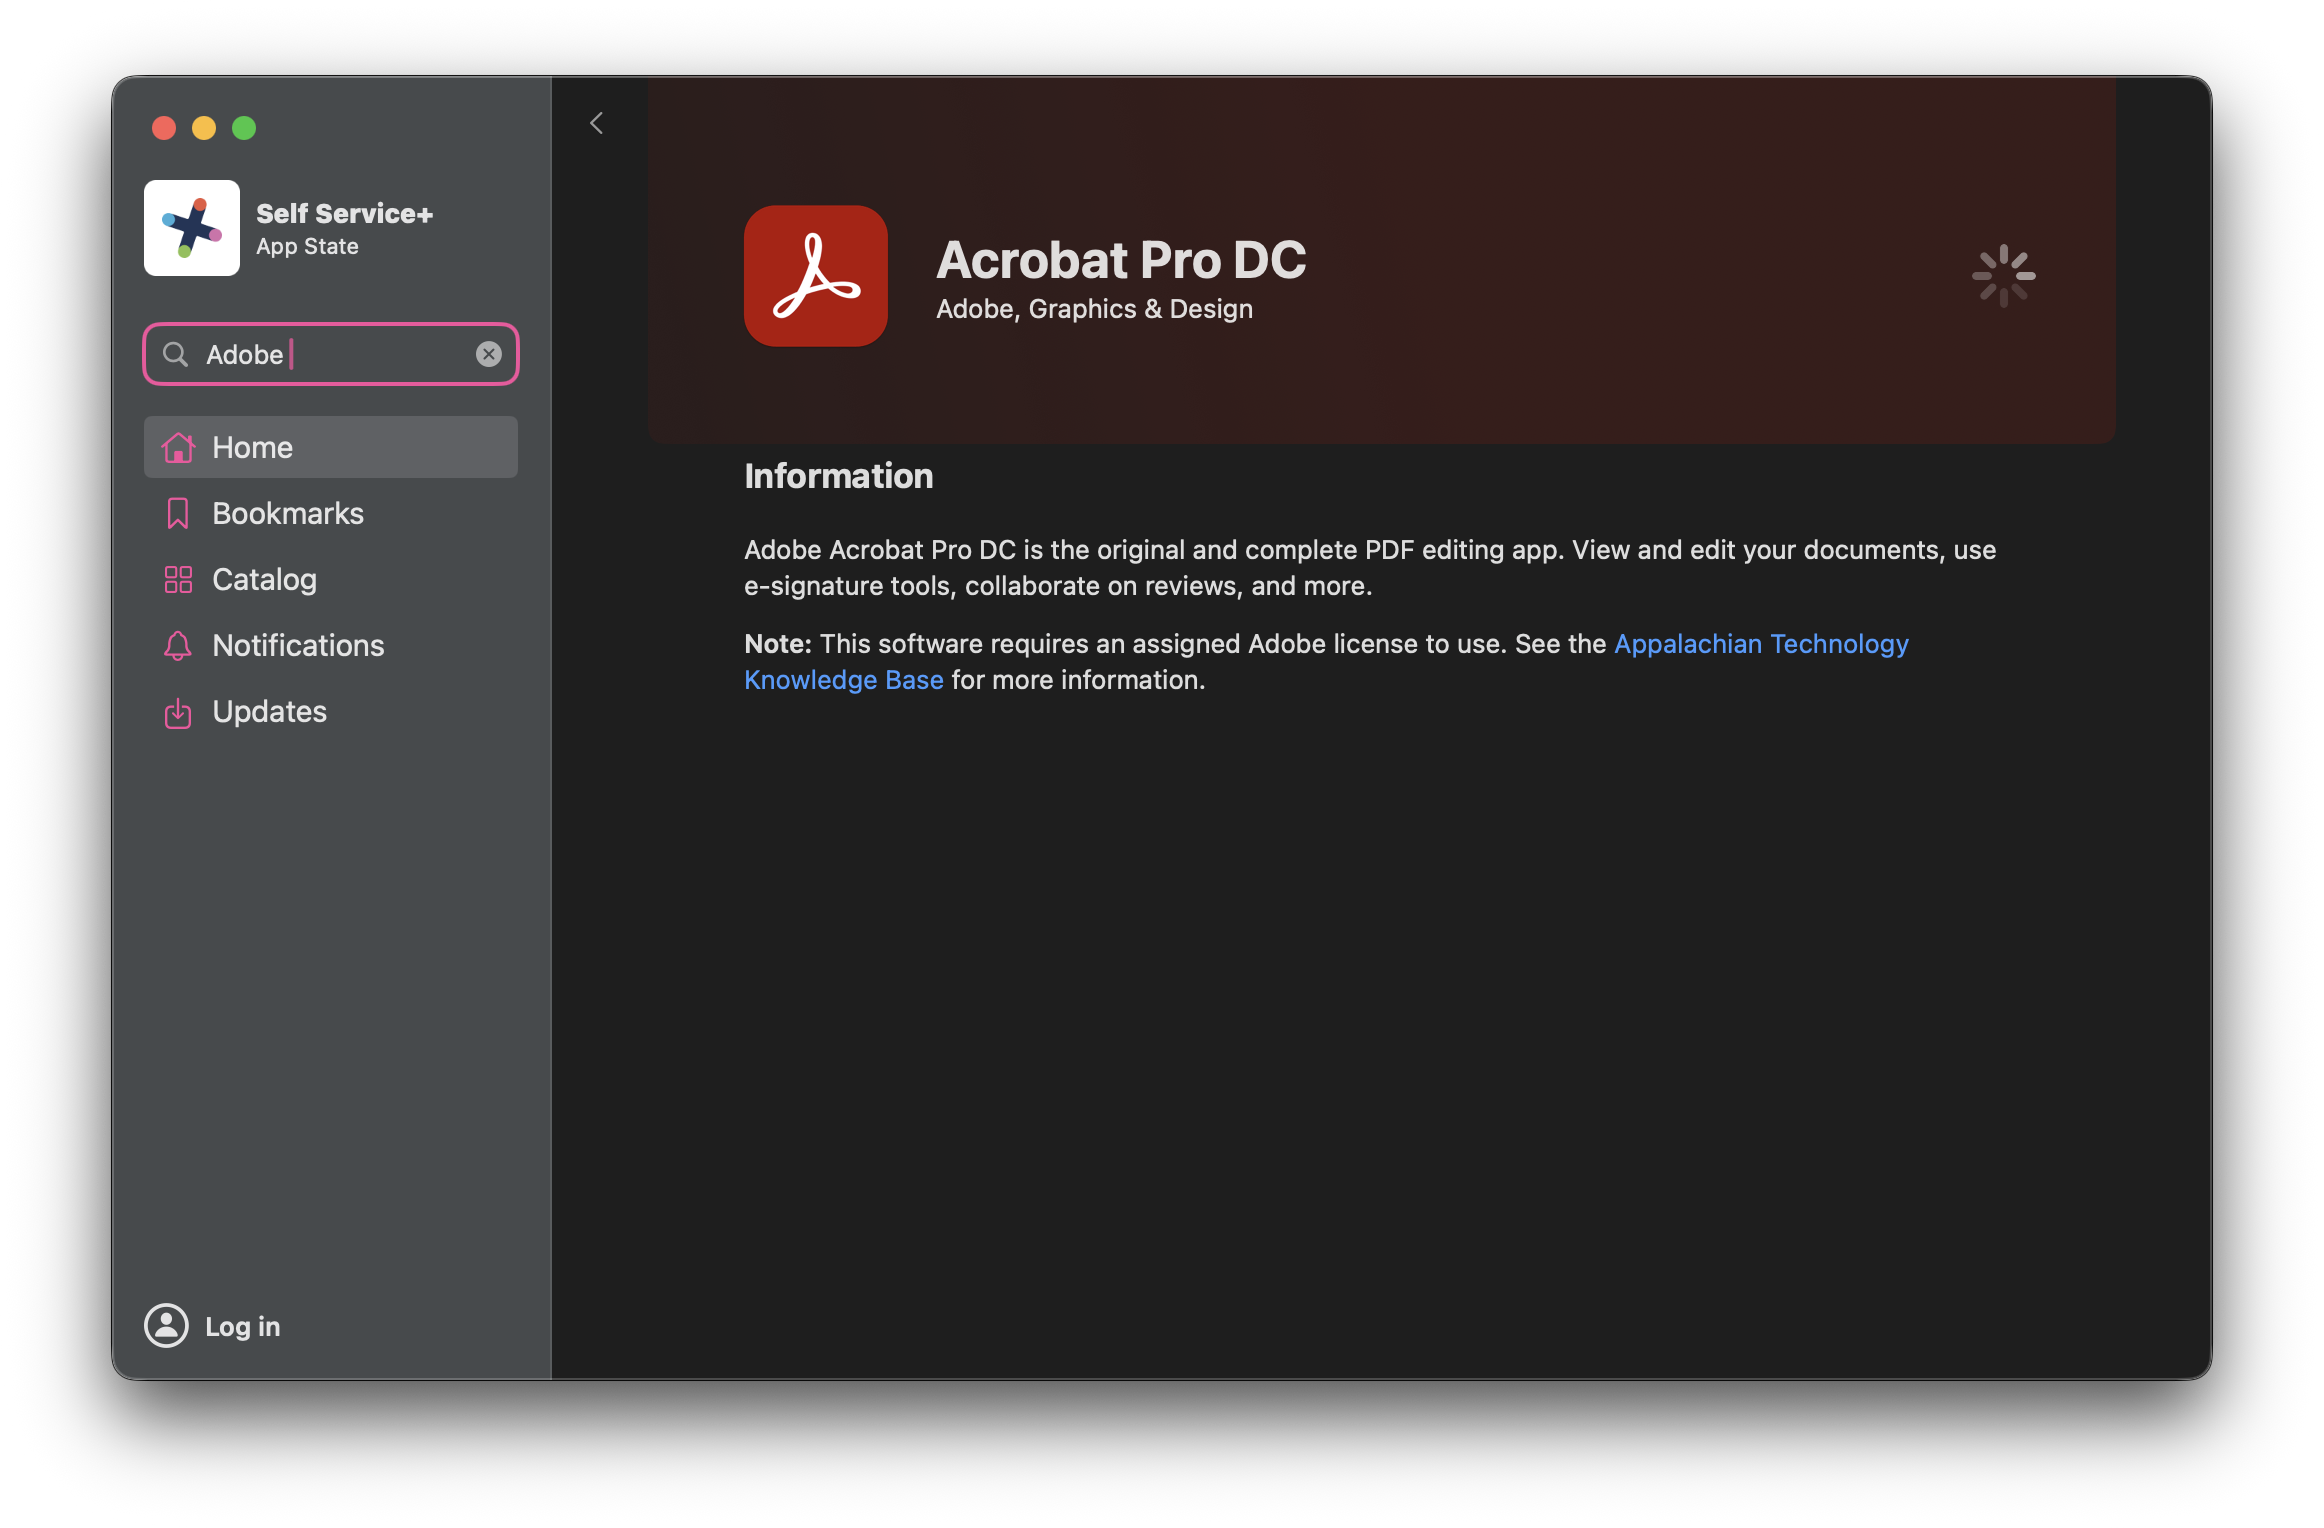
- Self Service+ will show you the install status where the install button was previously.
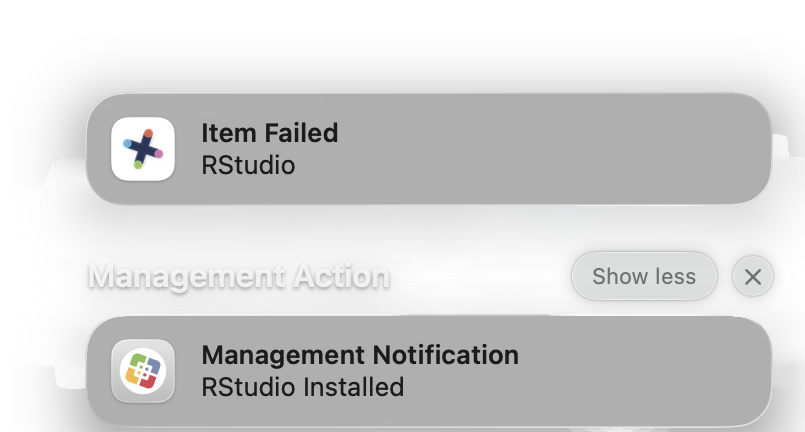
- Some installs will display a notification in the upper right corner with status information. For others, you may see no notification. Below is an example of what might appear when an application fails to install, followed by an example of what it might look like when an application successfully installs onto a device.