3rd-Party Updates/Patches are software updates for applications that are not part of Apple's operating system (macOS). This includes software used for University business such as Google Chrome, Zoom, and others. You are always responsible for keeping ALL installed software on your Mac up to date; however, ITS may use a patch management tool in order to facilitate updating some software on University-owned machines.
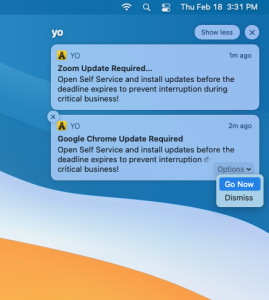
When ITS deploys a 3rd-Party Update, a Yo notification will appear daily until the installation deadline date has been reached. Once the deadline has been reached, the updates/patches will be forced to install automatically. Being proactive and installing the application updates/patches before the deadline expires will prevent interference during University business.
Note:
The deadline is generally 7 days from deployment of the update. For patching security vulnerabilities, ITS may update/patch software immediately and without a notification.
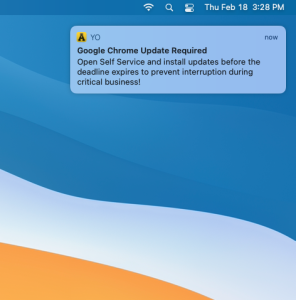
Example of 3rd-Party Software Update/Patch Notifications
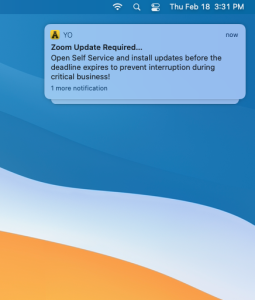
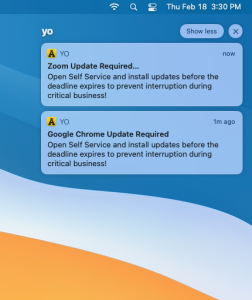
Yo notifications may be displayed as Single or Multiple stacked updates, depending on how many notifications are present.
Info:
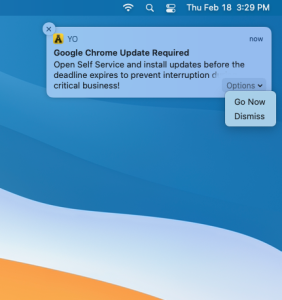
By hovering over the message with the mouse pointer, you can select "Go Now" or Dismiss.
Example of Single Update:
Example of Multiple updates that are stacked:
Installing the 3rd-Party Updates:
Important:
Once the deadline has been reached, the update will apply automatically and may require the application to quit even during business hours.
- When a 3rd-Party Update/Patch notification is received, two options are available for selection: Go Now or Dismiss.
- Selecting Dismiss will cause this notification to disappear and notifications will continue to be sent daily until the deadline has been reached.
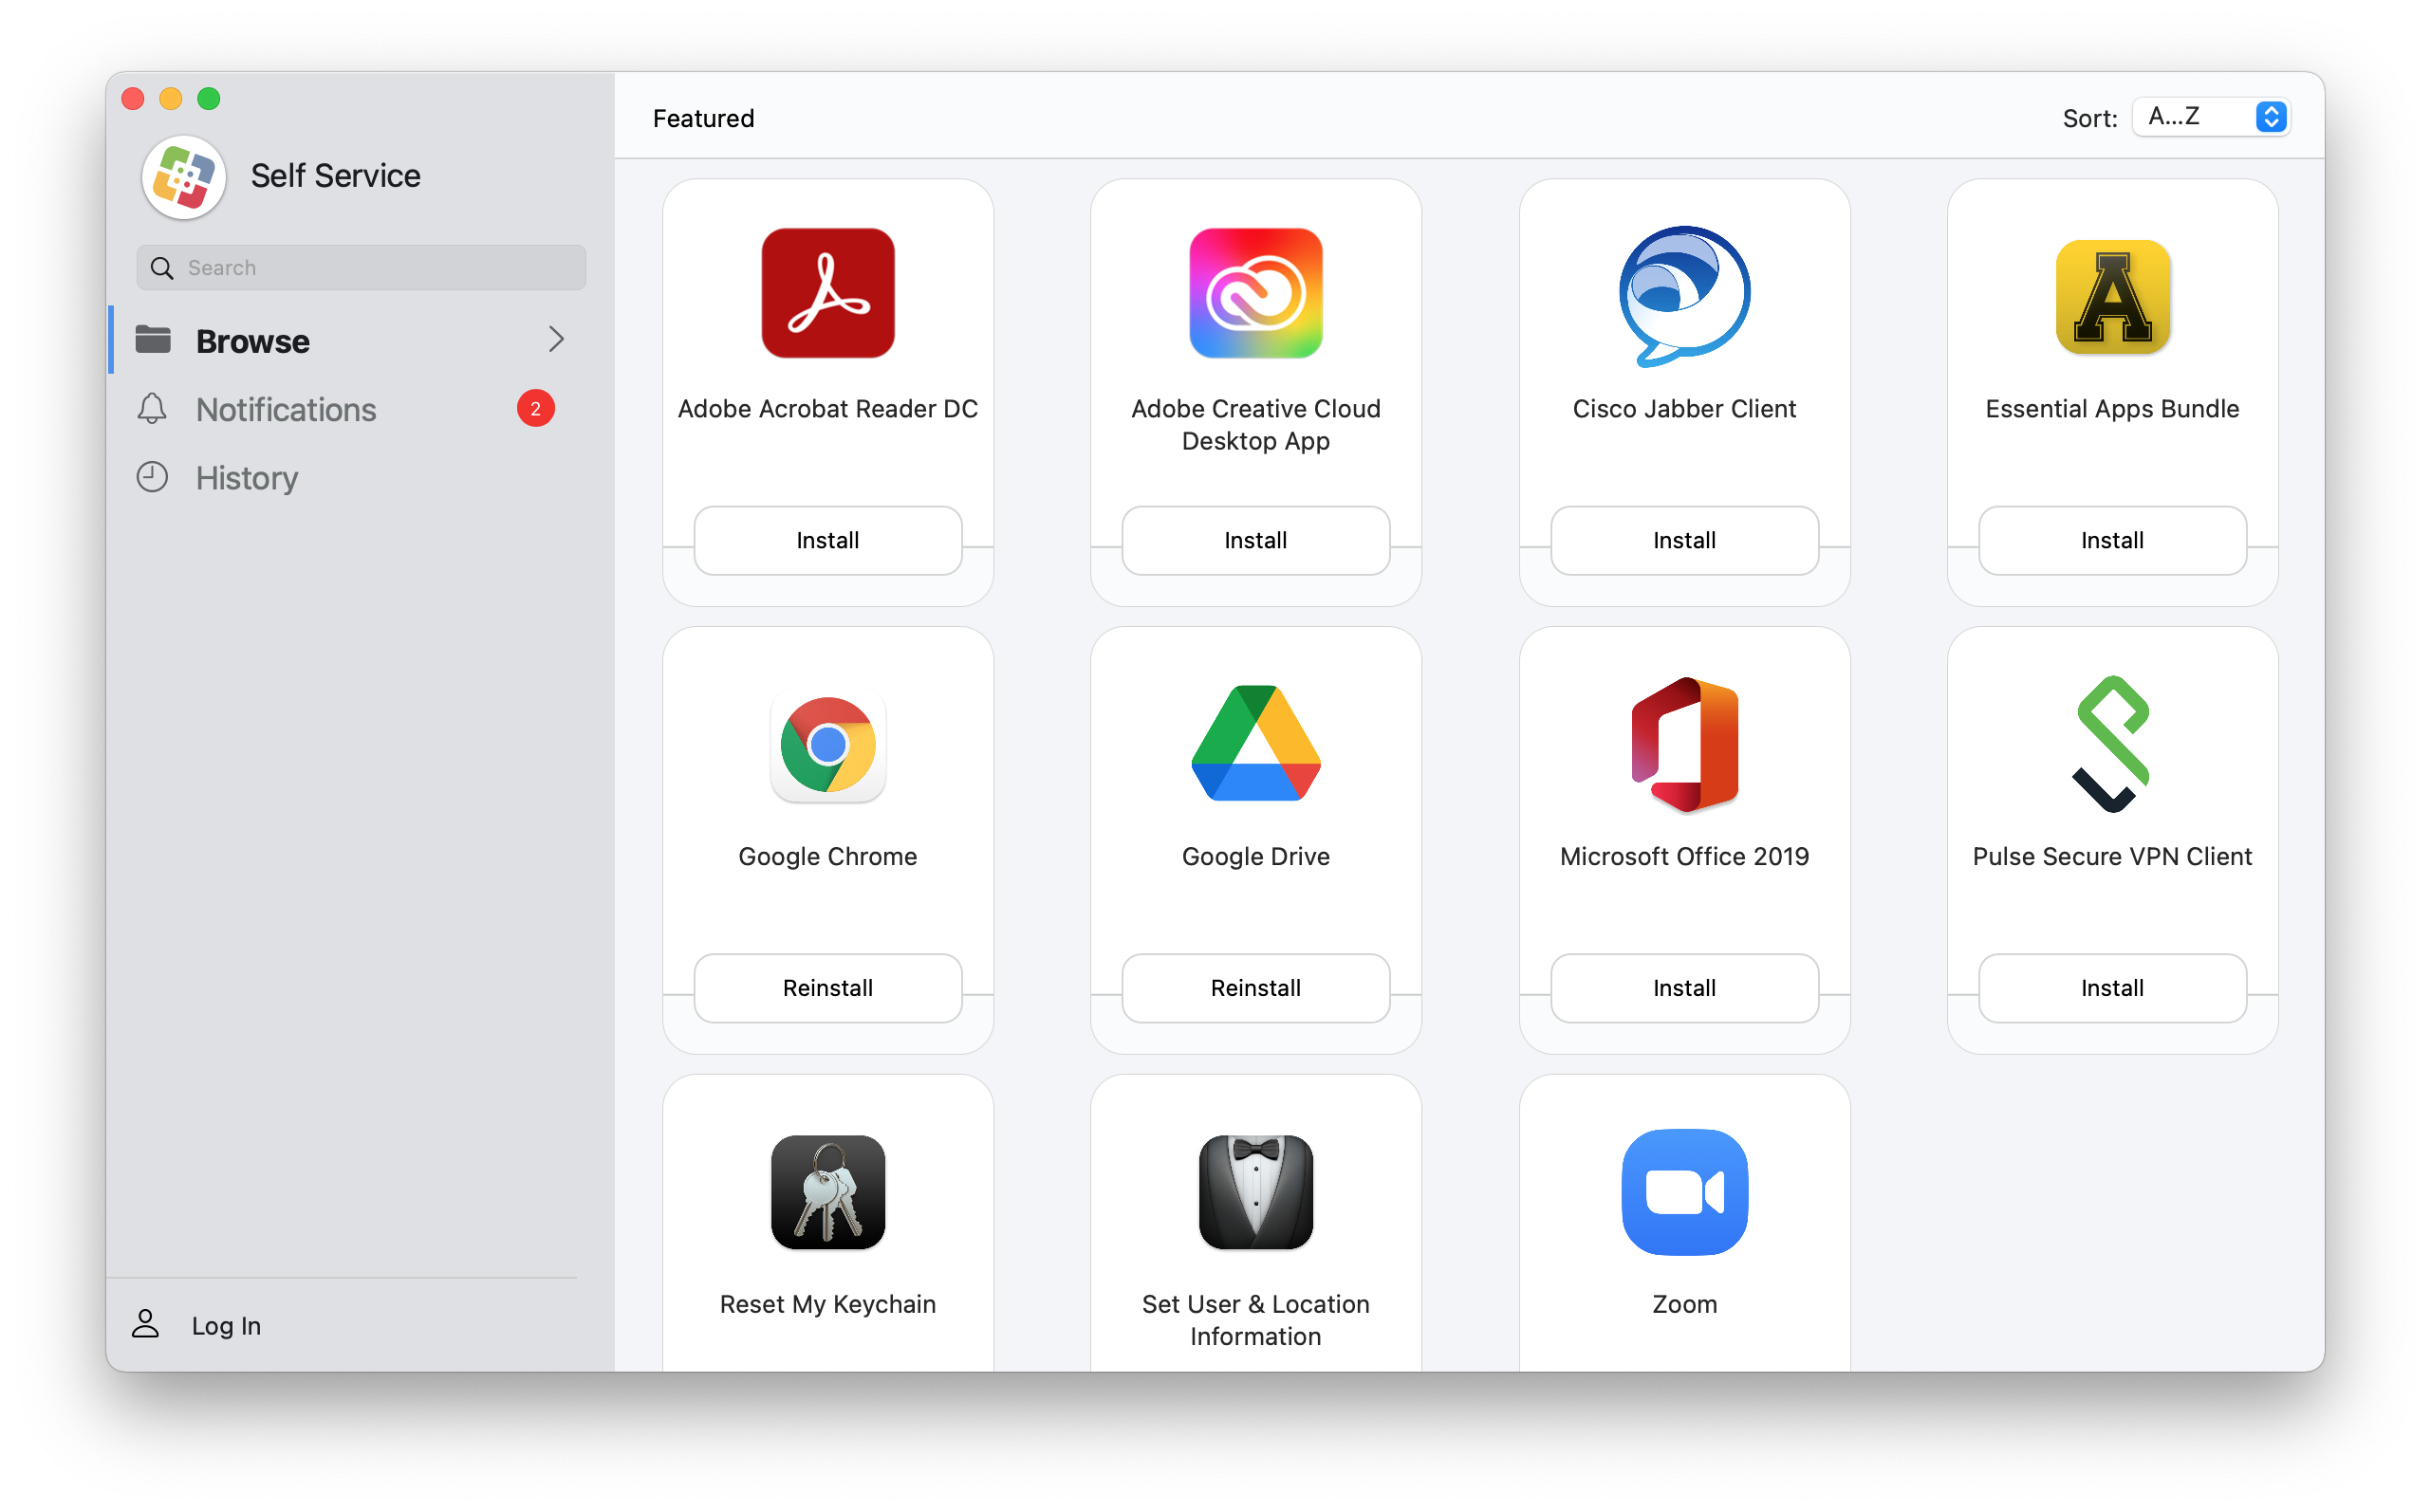
Selecting Go Now will launch Self Service automatically and take you to the Notifications Tab, however if you wish to manually view available updates in Self Service, click on the Notification Bell on the left. The red bubble indicates the number of updates and/or notifications available for this Mac.
Note:
It is recommended that you open Self Service regularly to check for available updates/patches, regardless of whether you receive a notification.
- The Notifications Tab displays available updates/patches, as well as the Patch Deadline and additional information.
- Apply the update/patch by clicking Update beside each required update.
Related Articles
Search Knowledge Base
Submit a Service Request
We value your feedback! Click HERE to suggest updates to an existing article, request a new article, or submit an idea.
-
