The information below is for the very limited number users who have been issued a manual login account on AsULearn, Appalachian’s learning management system, or on AsULearn-Projects, our associated projects site. It does not apply to members of the Appalachian community with @appstate.edu accounts who log in via SSO (Shibboleth).
Step-by-step guide
When a manual login account is created by an AsULearn administrator, an email will be sent to the user's external email address from AsULearn Admin User <moodle@appstate.edu> containing the username, a temporary password that the user will be forced to update upon login, and a link to log in to either AsULearn or AsULearn-Projects:
Sample (excerpt):
A new account has been created for you at AsULearn[-Projects] and you have been issued with a new temporary password. Your current login information is now:
username: xxxxxx
password: xxxxxx (you will have to change your password when you login for the first time)
To start using AsULearn[-Projects], login at https://asulearn[-projects].appstate.edu/auth/shibbuncif/wayf.php
After the user updates their password, in addition to clicking the link in the email, they can also log in following the directions below:
- Point a browser (Chrome is preferred) to https://asulearn.appstate.edu or https://asulearn-projects.appstate.edu (whichever hosts the account).
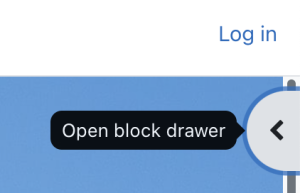
- Open the Block drawer link at the top right:
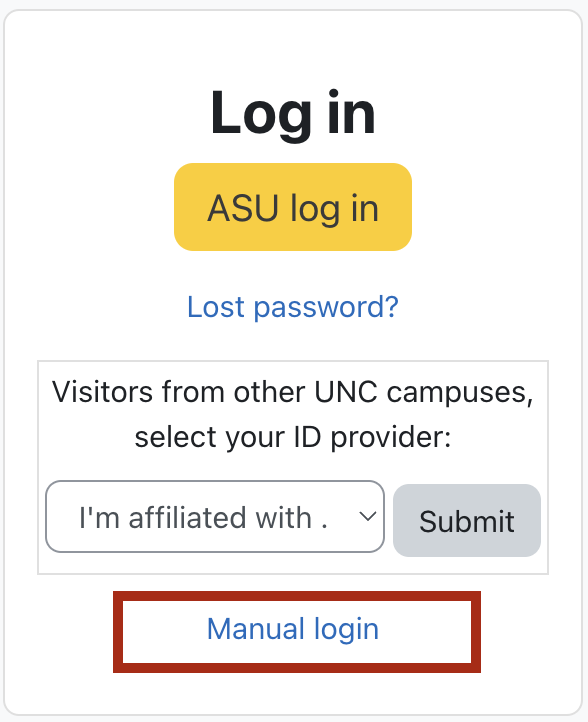
- In the Log in block at the top, click the Manual login link:
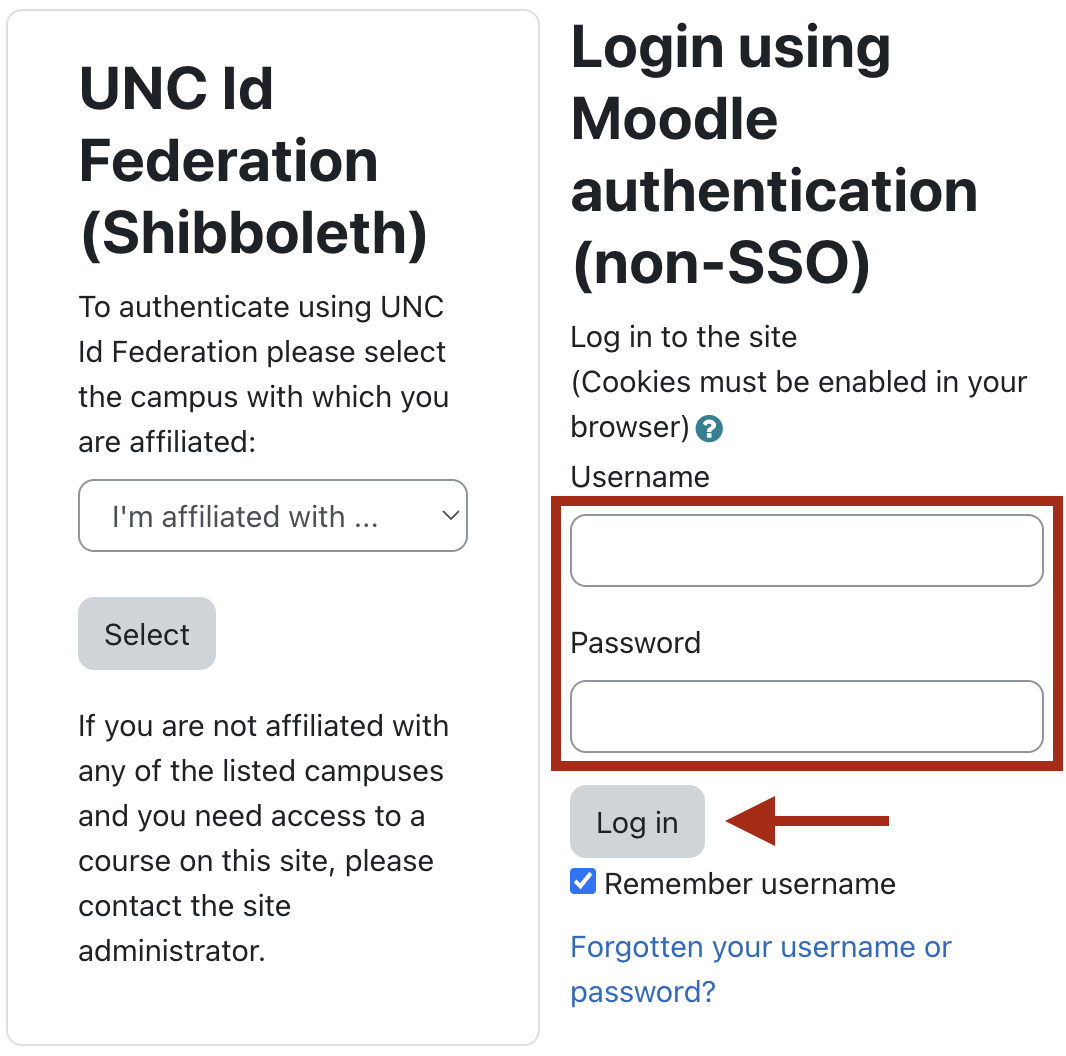
Using the Moodle authentication (non-SSO) section on the right:
Enter the (case-sensitive) username and password and click Log in. The username is included in the email, and the user will have reset their password during the login process.Note!
If they have forgotten their username or password, users may click the Forgotten your username or password? link shown above, then enter either their username or the email address associated with their account, and an email will be sent to allow them to regain access.
- Click on My Courses in the Site Menu at the top:
- Once the sponsoring party or office has enrolled the external user, they will see the course(s) to which they've been assigned in the Course Overview block in the center. Click the course link to enter the course. If they do not see any courses listed, they should please contact the sponsoring party or office.


